I’m really excited to share this post with you! I’ve been having so much fun creating projects with my new Cricut Maker over the past couple weeks, and this is one of my favorites. But, you don’t have to have a Cricut to make these Play-Doh Party Favors (although it will make the task much, much easier if you do!). I’ve included instructions below so both Cricut users and those who don’t have a Cricut can make these non-candy party favors for kids. Read on for the details!
This post contains commissionable links. Please see the Legal page for more info.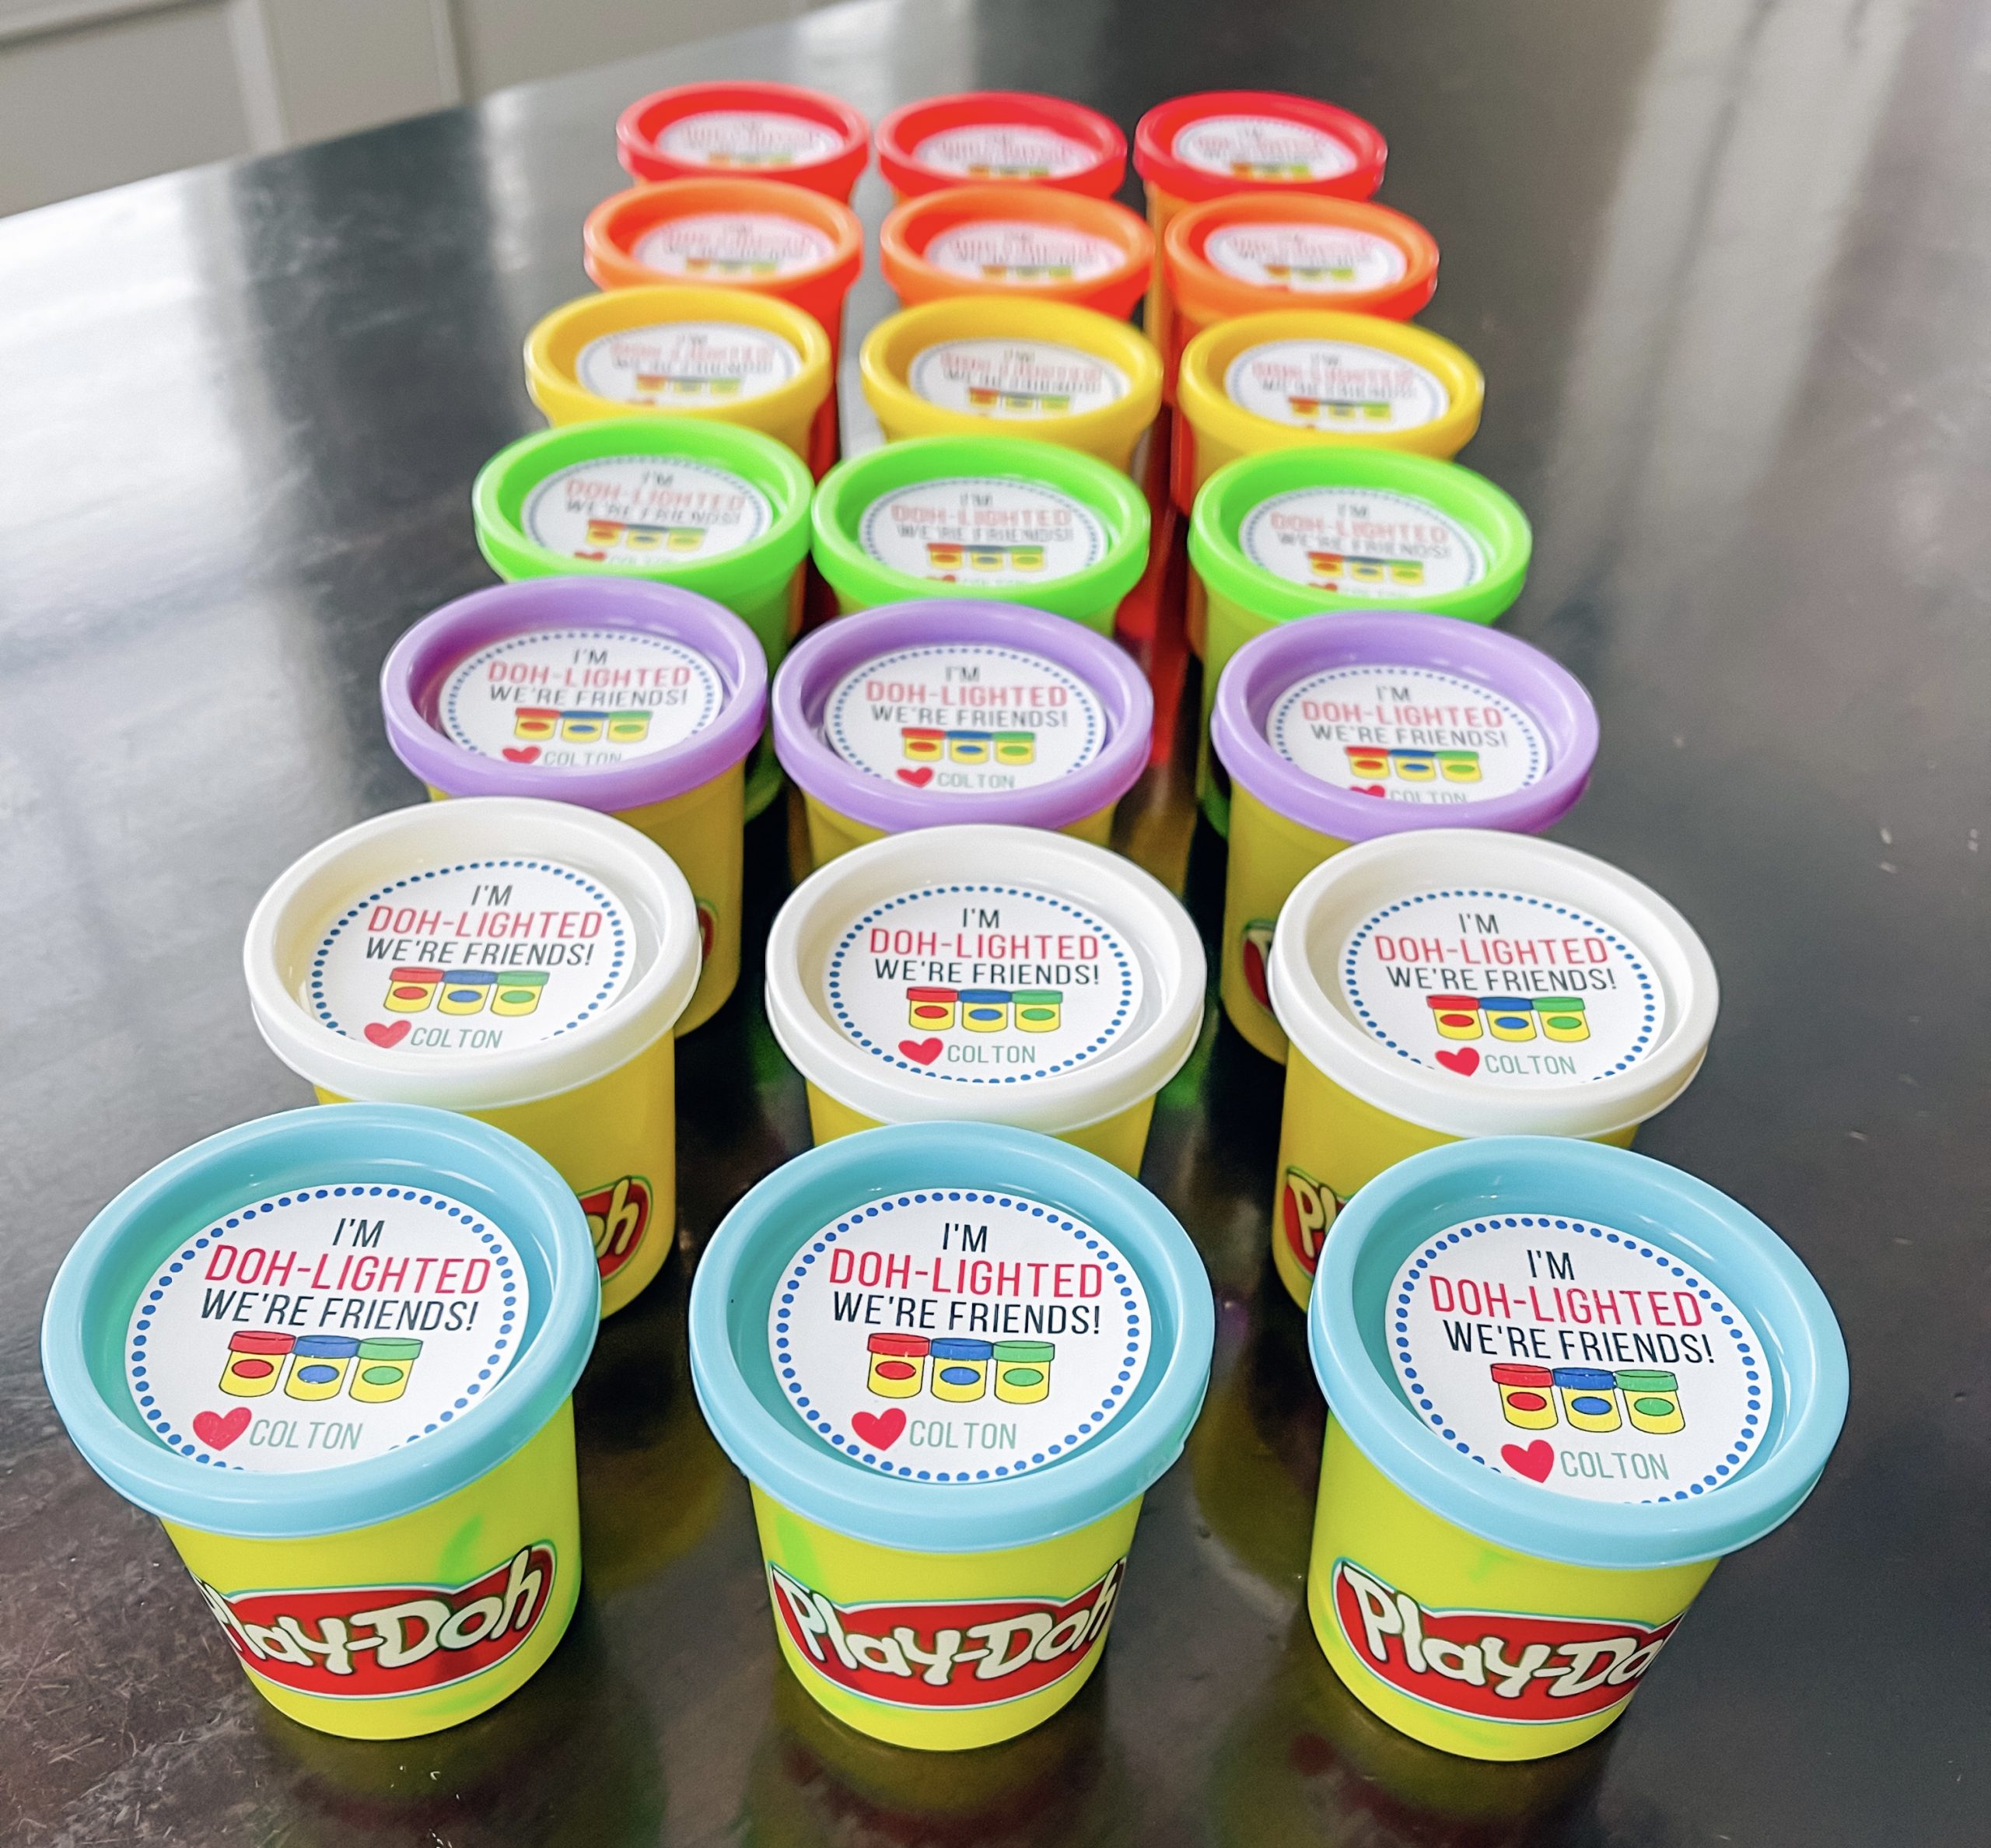
Colton’s 6th birthday is coming up this week! Hard to believe he’s going to be 6–his birth story still seems so fresh in my mind. He’s a big kindergartener now, and he amazes me every day with the things he’s learning in school. If you follow me on Instagram, you know he’s in a Chinese Immersion kindergarten class. That means he spends half of his day learning in English and the other half with a different teacher, learning in Chinese!
His school doesn’t allow parents to send treats for birthdays, but we are allowed to send classroom party favors. And his classmates will sing happy birthday to him in both languages!
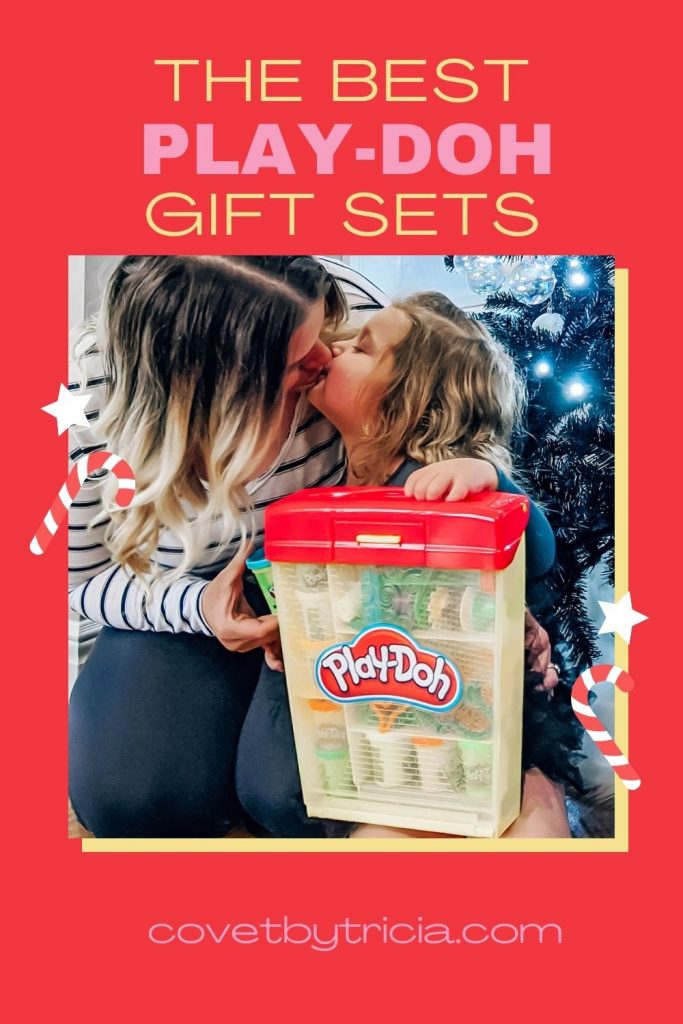
Remember when I shared these fun Play-Doh gift packs recently? My kids had so much fun with them that I decided to use one of these big packs to create Play-Doh party favors!
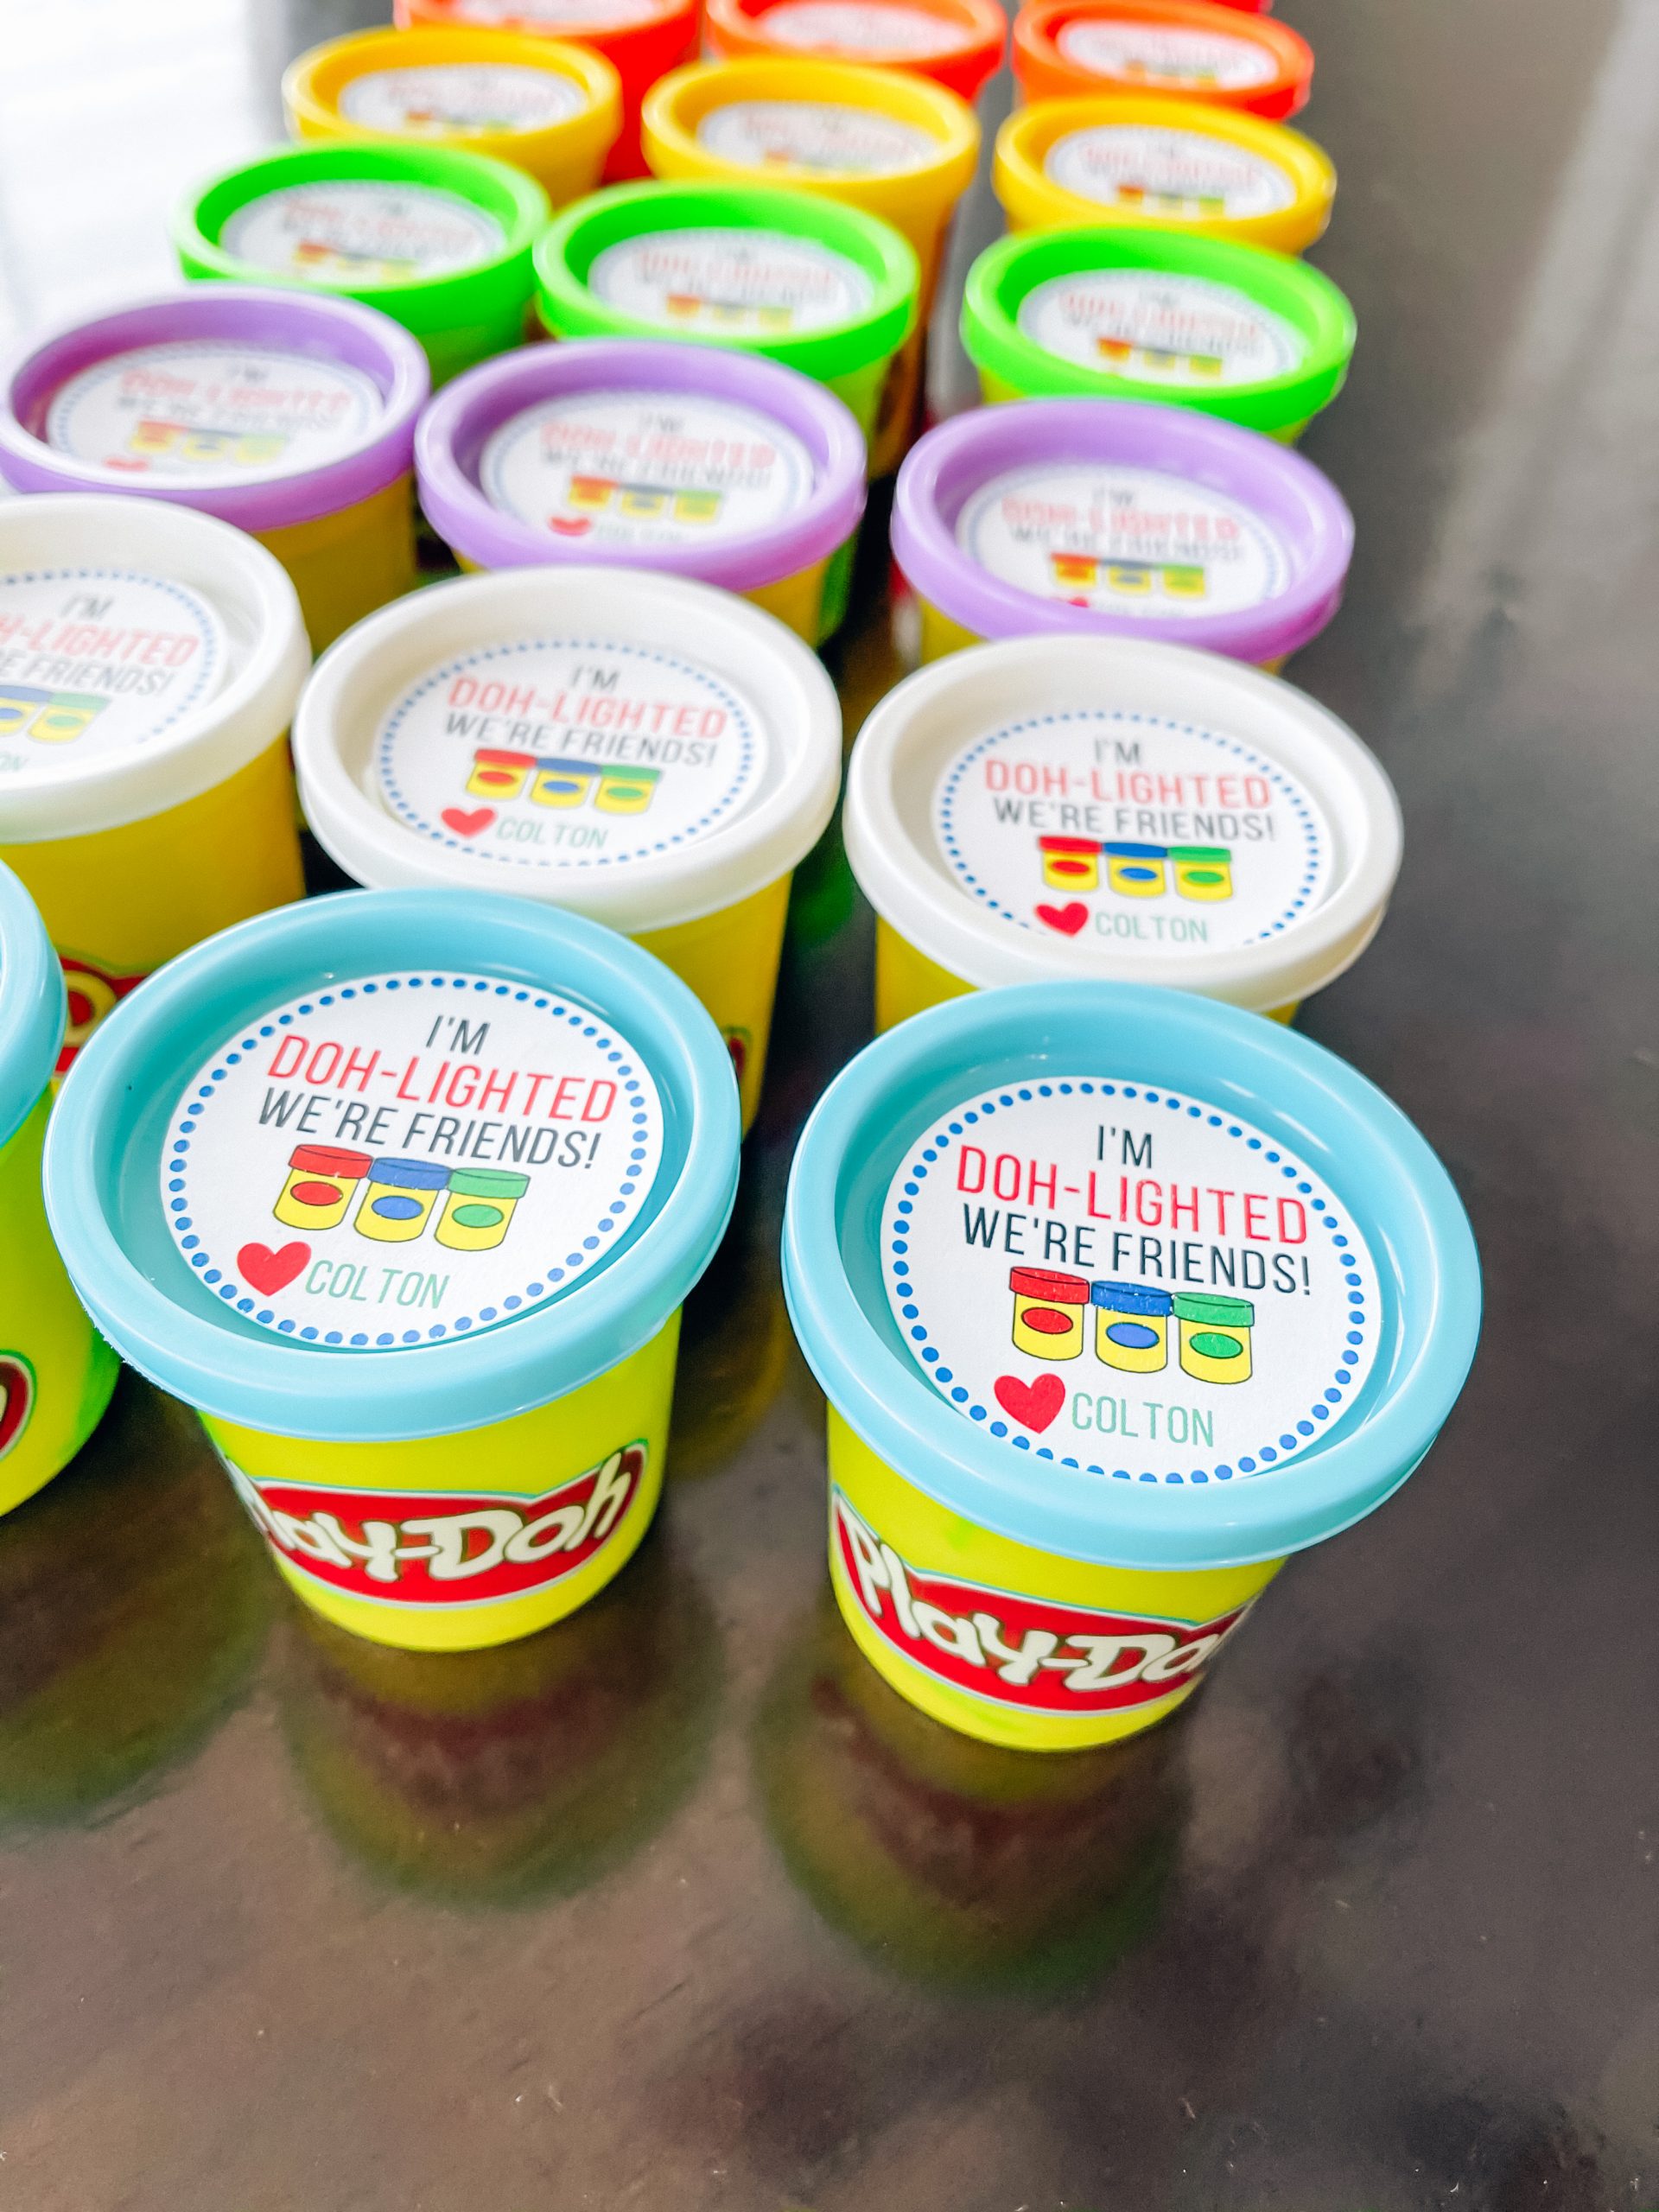
I got a Cricut Maker as an early Christmas gift this year. I’ve been having so much fun exploring everything it can do–and I’ve barely scratched the surface! This was my first “Print and Cut” project. Basically, that means I designed the labels using Cricut Design Space (Cricut’s free software), then Design Space sent the design to my printer to print. Then, my Cricut cuts the labels out perfectly! It’s truly fascinating to watch in action. (I actually have a video of it in action on my Instagram Stories, if you’re reading this this post on the day it’s posted!)
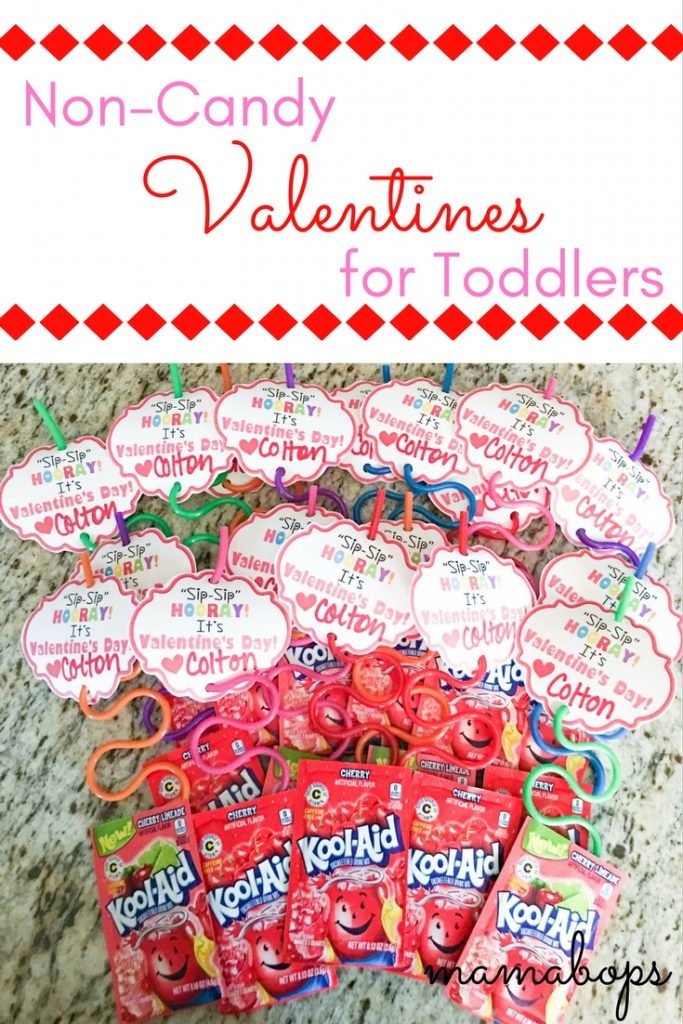
If you don’t have a Cricut, fear not! I also saved the labels as a PDF so you will be able to make these Play-Doh Party Favors as well! It will require some more work on your end, but I wanted everyone to have access to these! Especially with Valentine’s Day coming up–wouldn’t these be just perfect as classroom Valentines? (Btw, here’s another non-candy Valentines idea I did a few years ago!)
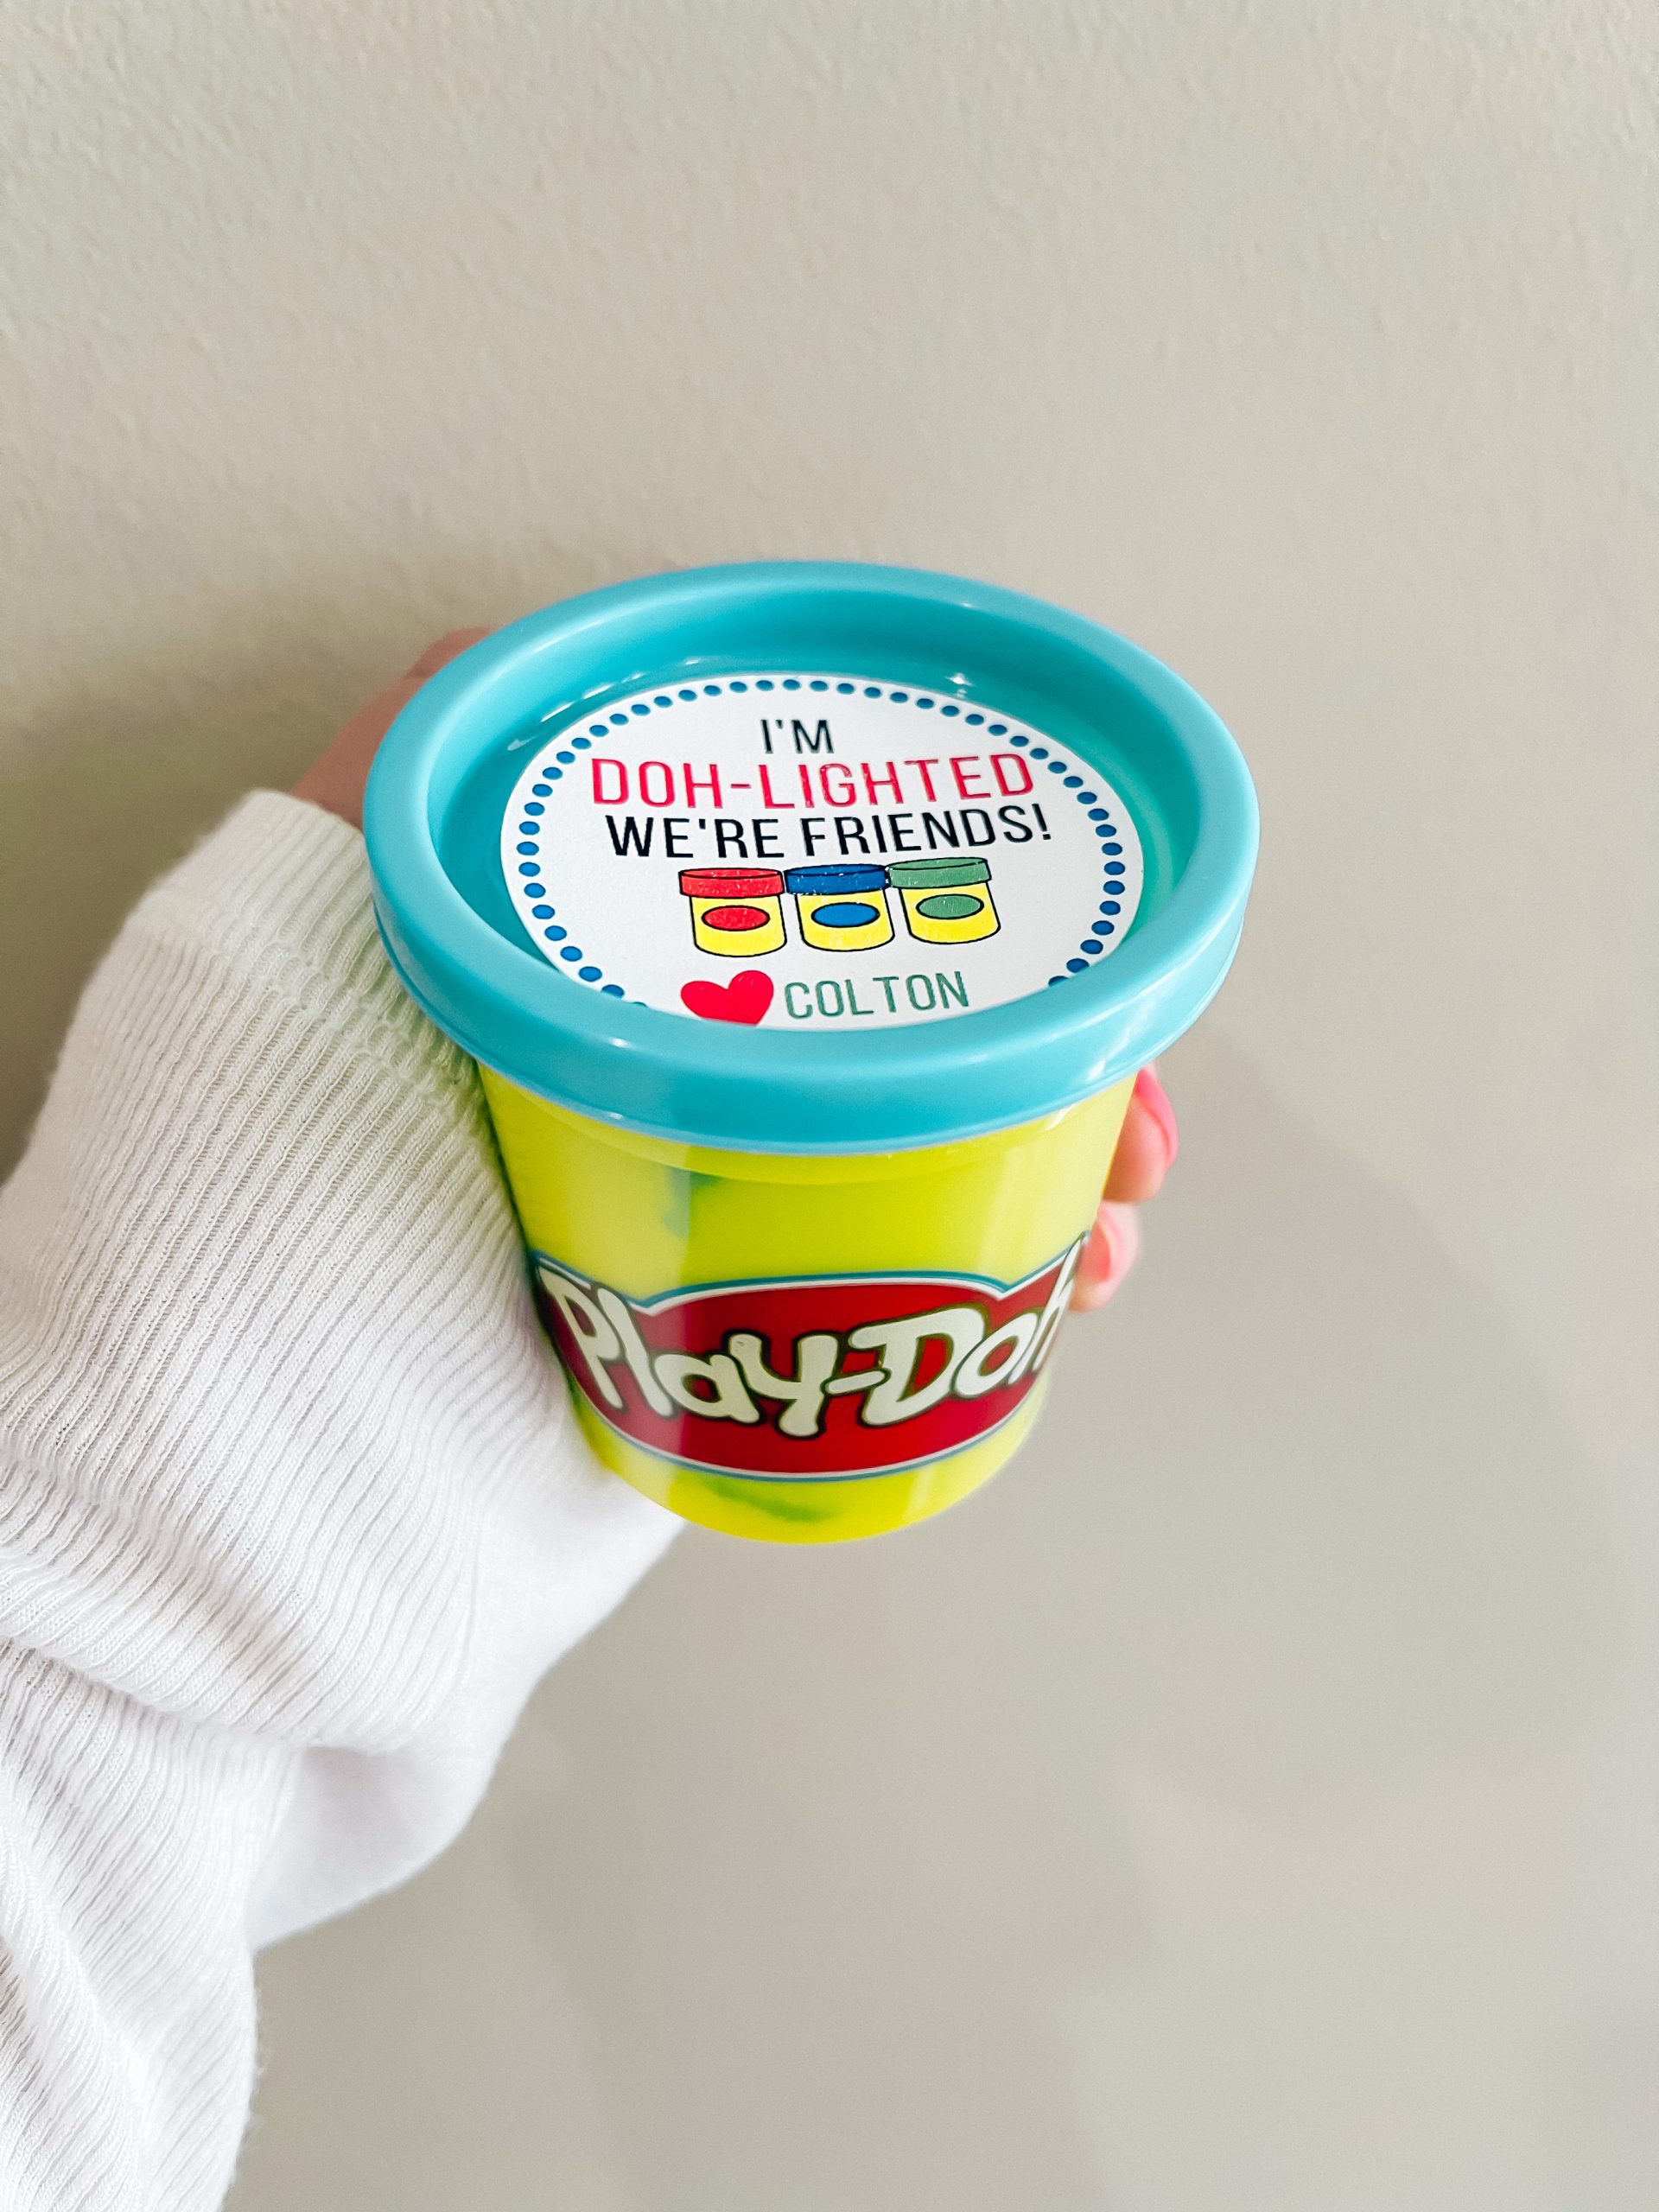
Supplies Needed for Play-Doh Party Favors with Cricut
- Cricut Machine (You’ll need either the Maker or Explore Air 2 for this project)
- Cricut LightGrip map (blue mat)
- Play-Doh
- Cardstock
- Tape
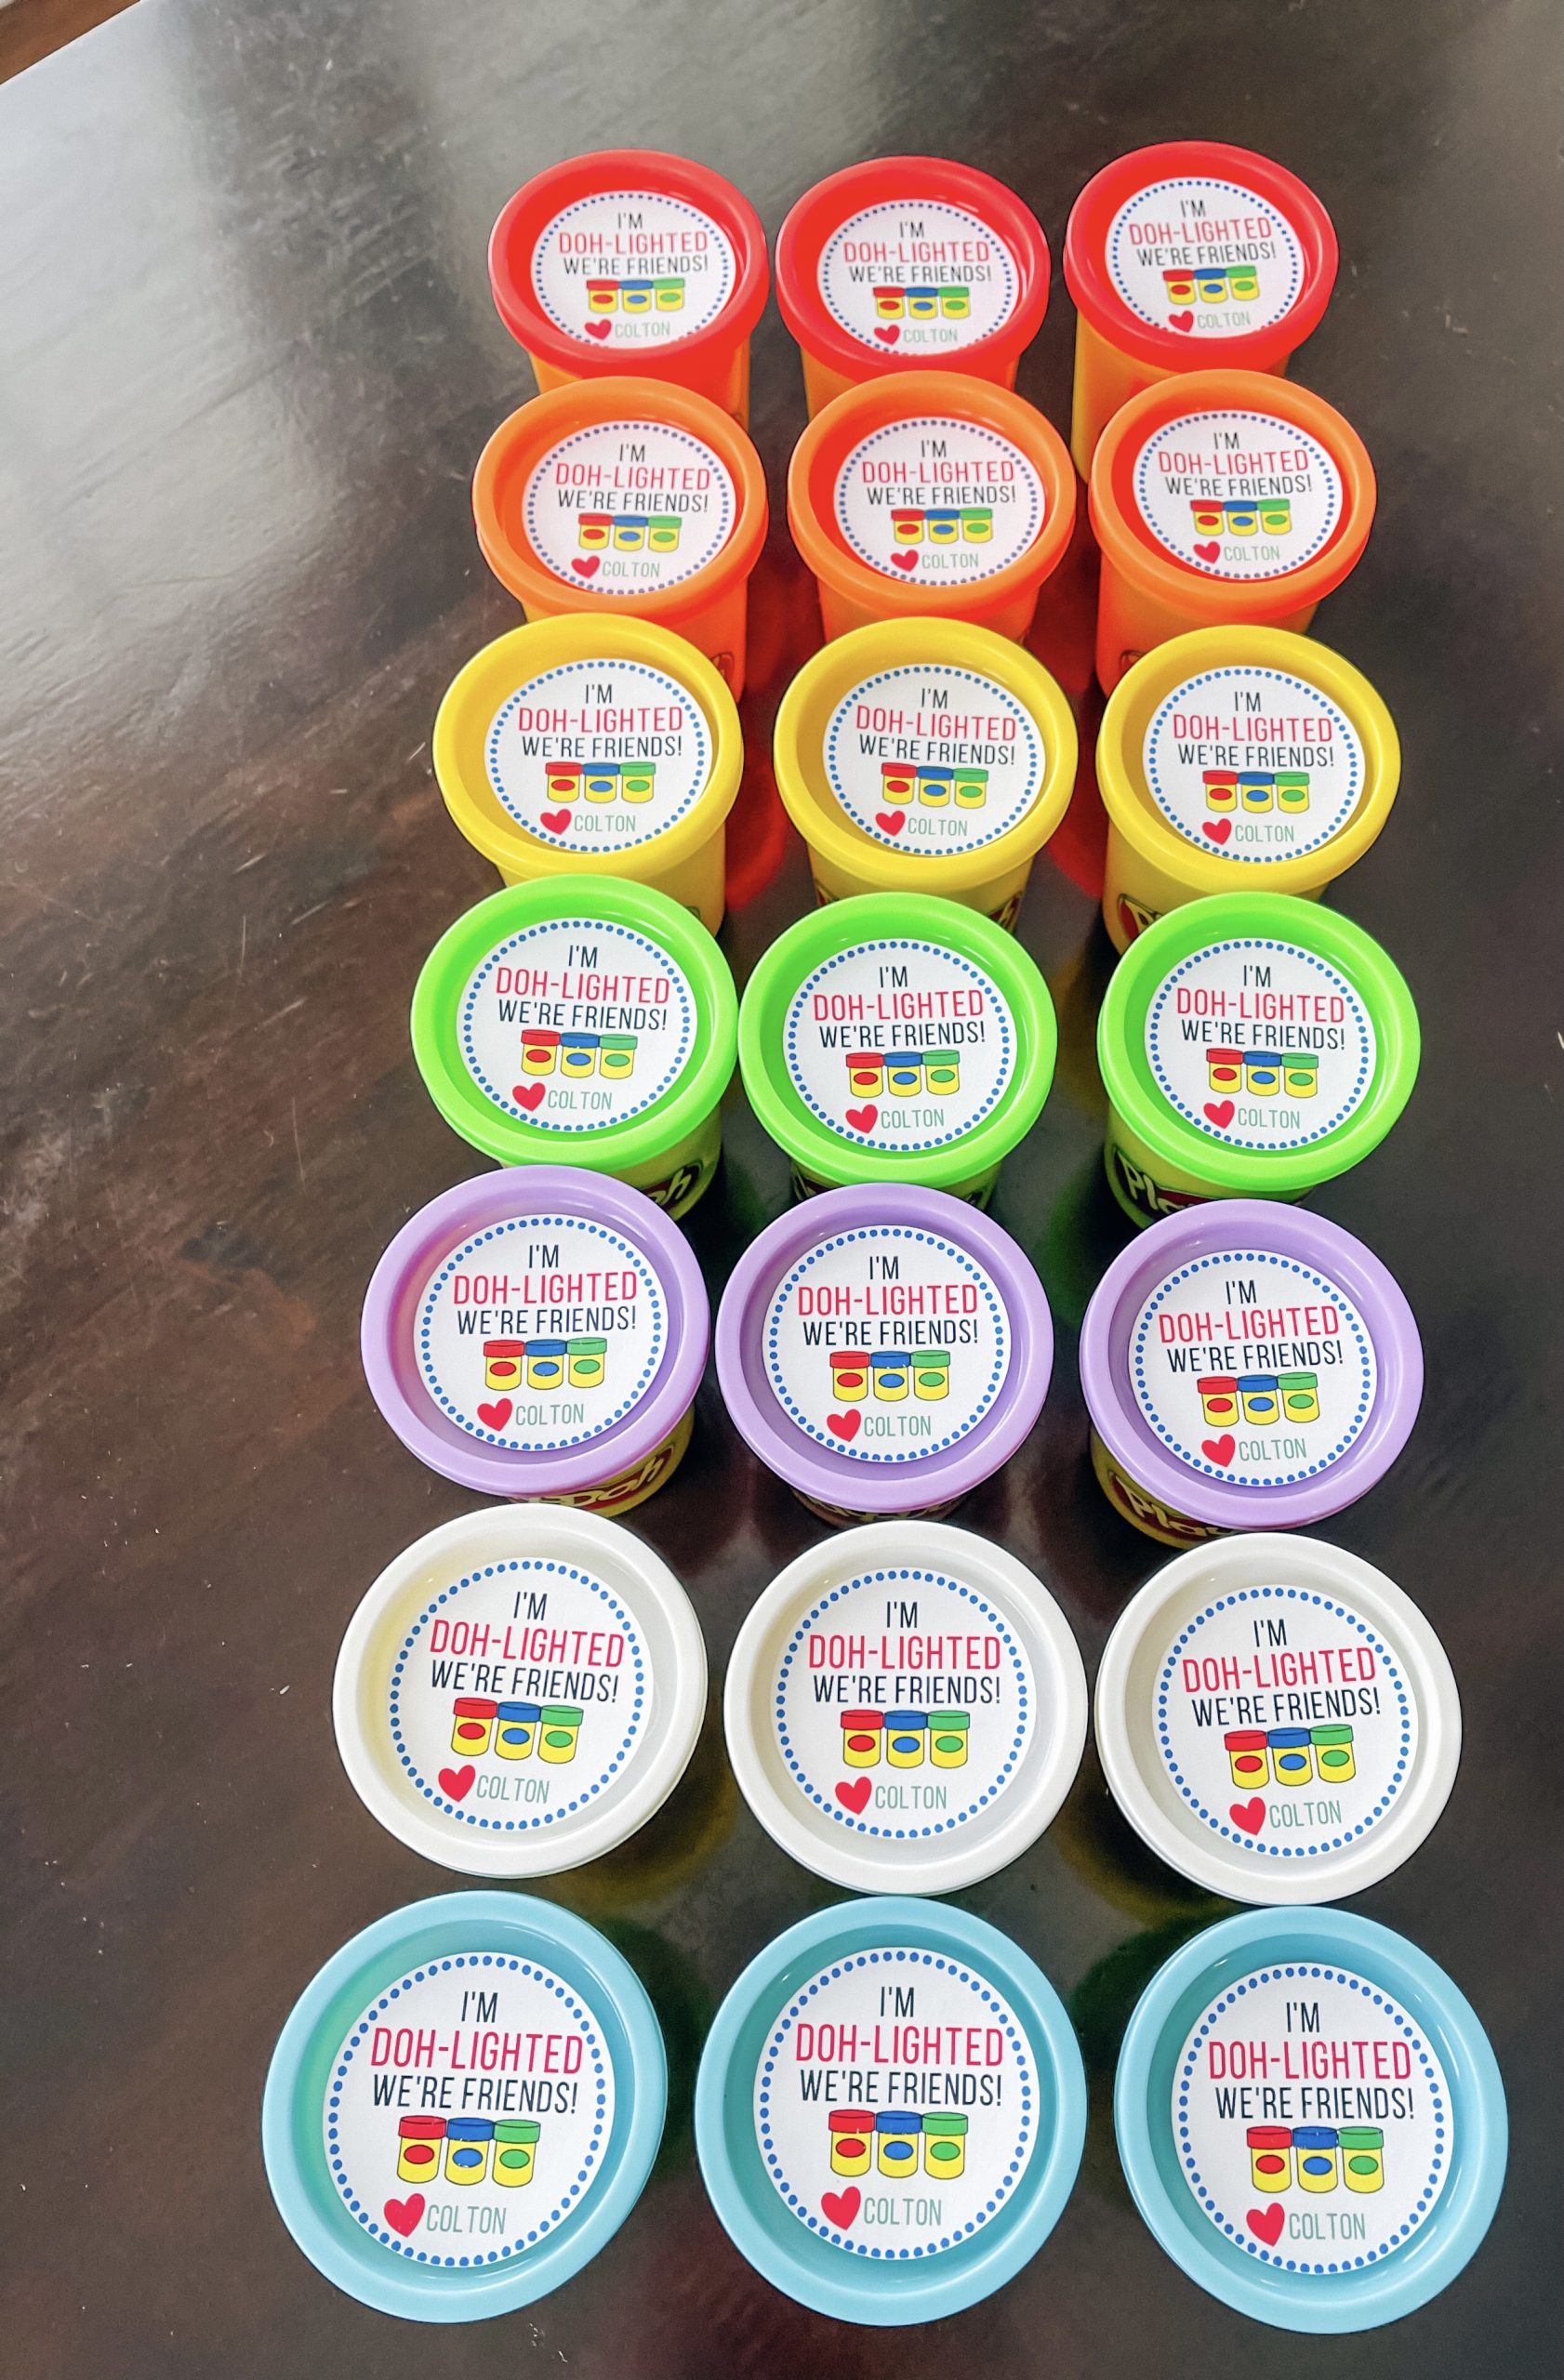
How to Make Play-Doh Party Favors Using Cricut
To make these Play-Doh party favors using your Cricut, start by opening this file in Design Space. Then, tap the Customize button.
From there, tap Text on the left side of the screen to enter your child’s name next to the heart. You’ll need to copy and paste the name on each of the 12 labels. (Copy and paste in Design Space is just your normal Ctrl+C/Ctrl+V.) Remember to add a Fill/Print of your desired color to the names and “Flatten” the whole project once you’re done adding the names (bottom right corner of Design Space). Another option is to use the template as is and have your child handwrite their name on the labels.
Btw, I know Colton is a pretty popular name so if by chance you’re making these for another Colton, here’s the exact Design Space file I used that’s already personalized. So fellow Colton parents can skip the step of adding your kid’s name.
You can also re-size the labels if you’d like. Right now, they’re sized to fit on standard Play-Doh cans like these. You’ll want to make them a bit smaller if you’re using the smaller Play-Doh cans.
Once your design is how you like it (and you’ve remembered to flatten!), tap Make It in the top right corner of Design Space. You’ll get the warning message that it’s a big project, so you might have to wait a minute or so for Design Space to arrange everything. If needed, select your material size on the left corner of the next screen. Mine defaults to 8.5×11″ so I left it alone. No need to “Mirror” these so make sure that option is turned off. Then, hit the green Continue button in the bottom right corner.
On the following screen, hit the green Send to Printer button and select your printer from the menu. For those of you who don’t have a home printer, you can print to PDF and use that file to print at a print shop or friend’s house or work, I don’t judge lol. If you print the file immediately at home, Design Space will automatically move on to the next step. If you printed elsewhere, just hit the green “I’ve Already Printed” on the right side of the screen to move on to the next step whenever you’re ready.
Once you’ve printed, the next step is to select your base material. Select “Browse All Materials” then, select your material (obviously). I used the Light Cardstock – 65 lb. setting because I was using (you guessed it) 65 lb. cardstock. Honestly, this project would probably be easier with actual sticker paper like this, because it would eliminate the step of taping on each label. But, I was working with what I already had at home, so cardstock it is.
Place your cardstock on a blue Cricut LightGrip mat, load it in your machine and press go. Then watch the magic happen! Your machine will know exactly where to cut for each tag. Then, you can just peel them off the mat and tape onto the Play-Doh cans. So easy!
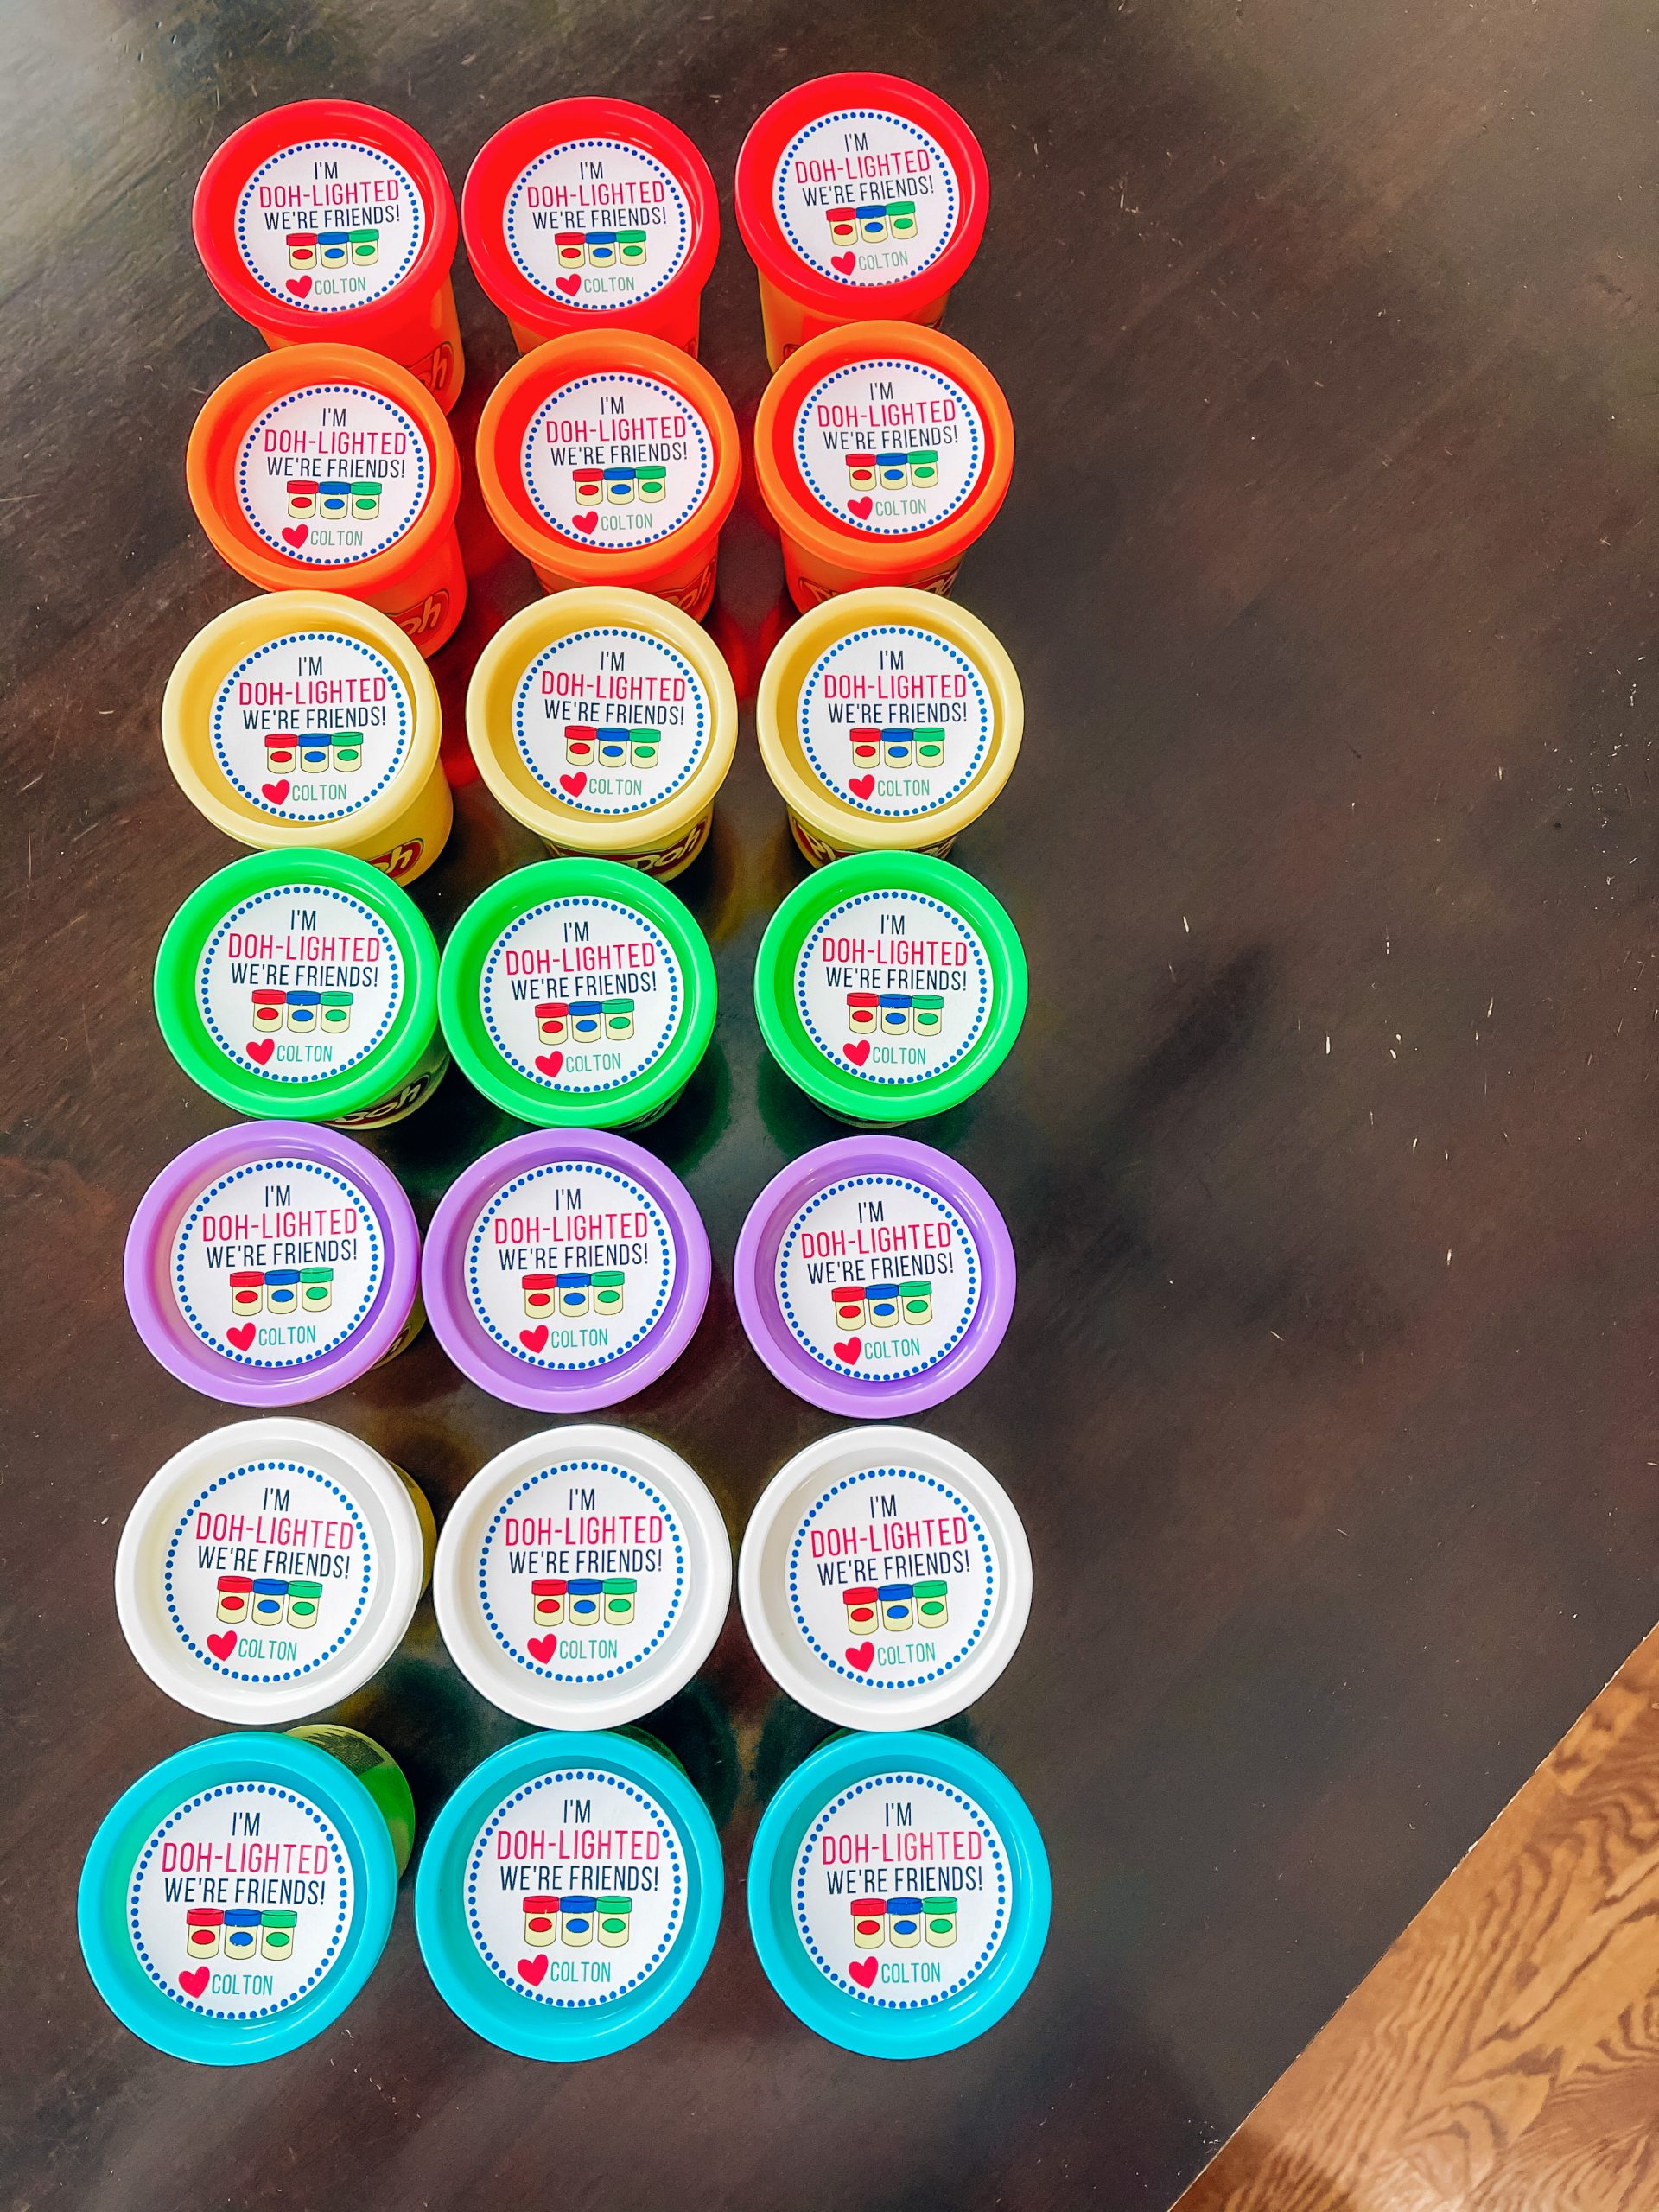
How to Make Play-Doh Party Favors Without a Cricut
You can still make these Play-Doh party favors without a Cricut; it will just take some extra work on your end. I’ve tried to make it as easy as possible for you, though!
You’ll need:
Start by downloading this free printable Play-Doh party favors PDF. (Again, I’ll include the version already personalized with Colton on the off chance your kid has the same name as mine.)
The PDF file is sized to fit the standard Play-Doh cans like these. If you are using the smaller cans like these, you’ll want to adjust your size before printing. The easiest way I know to do this in Adobe is to hit Print then select a “Custom Scale” percentage. I don’t have a small Play-Doh can handy but I would guess the scale would be about 80%. Print a test page on normal paper before wasting your cardstock.
Write your child’s name on the tags and use scissors to cut them out. Then just tape onto the cans!
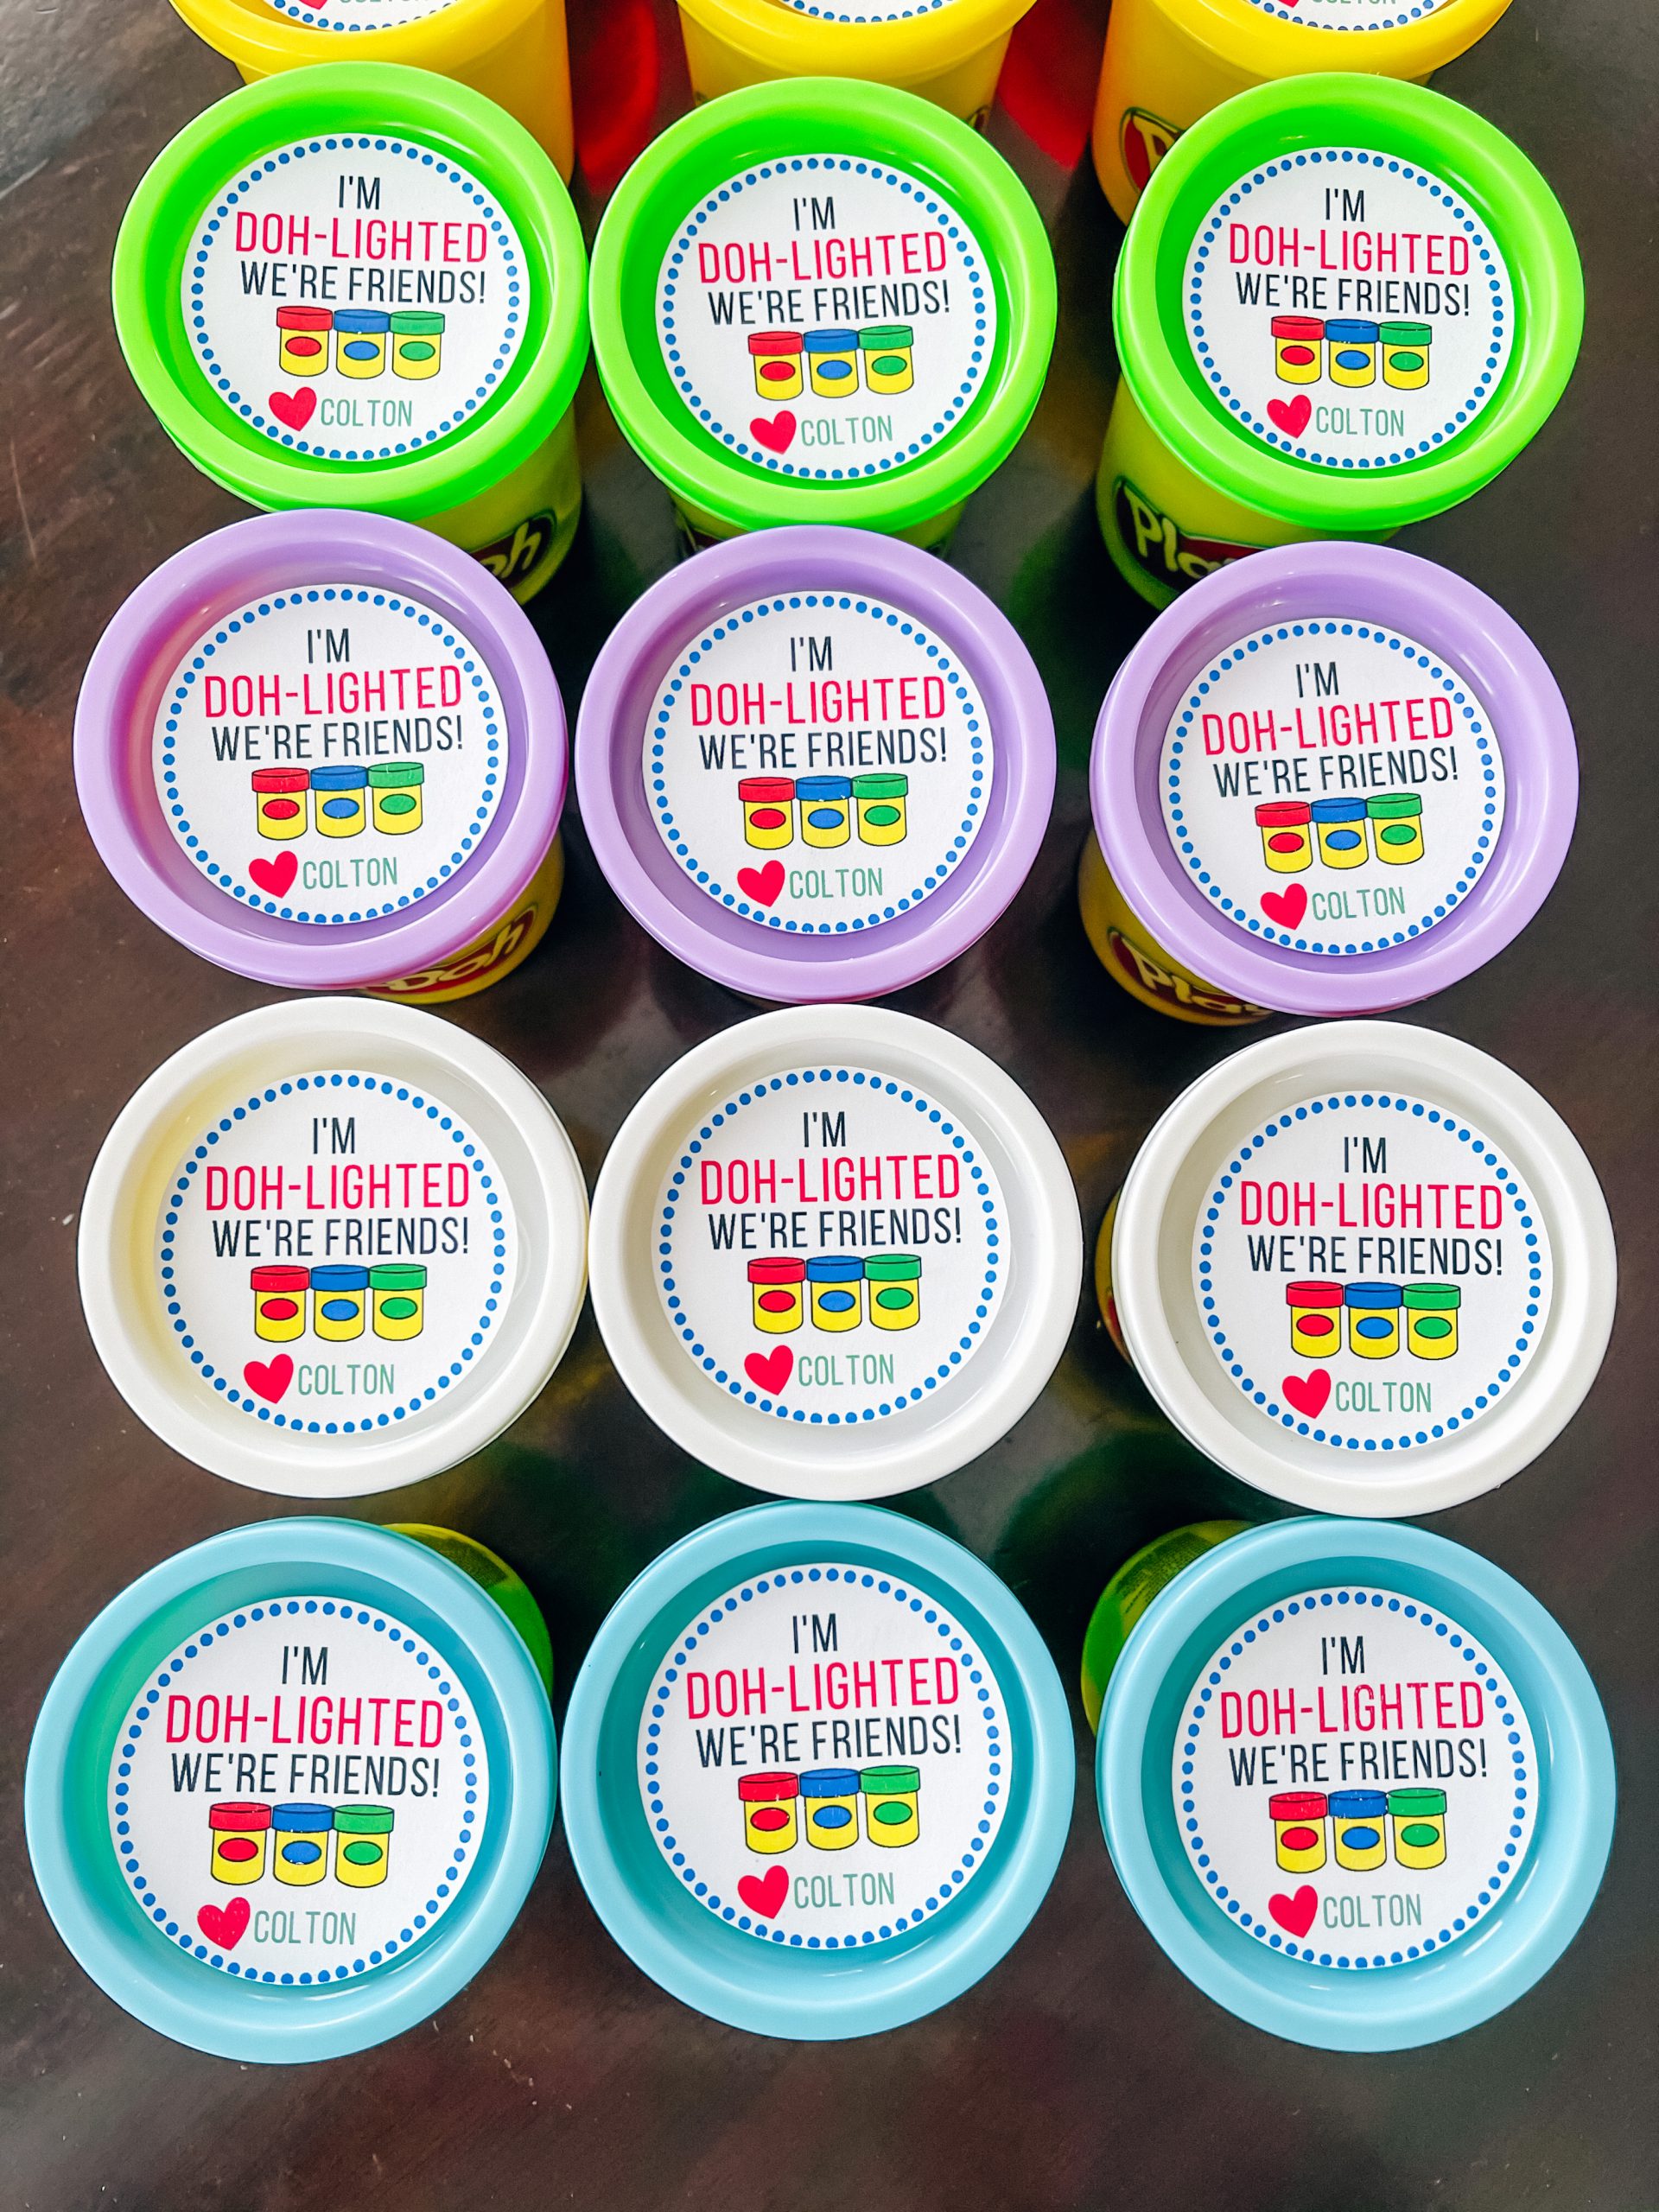
Enjoy these Party Favors!
I hope you enjoy these Play-Doh party favors and have fun making them for your own children. Whether you use them as classroom or birthday party favors, non-candy Valentines options, or even stocking stuffers, I’d love to see your pics. Feel free to tag me on Instagram @covetbytricia if you make these!
If you have any questions while following this post, feel free to leave a comment below and/or reach out to me! I check my Instagram DMs more often than blog comments, so that’s the quickest way to get an answer.
Important Note: The Design Space files and PDFs in this post are for your personal use only. No commercial use is permitted, meaning you cannot sell the files or anything you make using them. Thank you for understanding!
Pin these Play-Doh Party Favors to your Pinterest boards!
Read these next:


5 Comments
Wonderful post.
Thank you for supplying this information.
Thank you!
Thanks for all the great content.
Glad you enjoyed it!