If you have kids, chances are you’ve heard of Among Us. It’s a mobile game that’s really exploded in popularity. Colton and I like to play it together! For his birthday, I wanted to make him a special Among Us shirt to wear to school. So I thought I’d share the instructions on how to make Among Us merch if you want to make your own DIY Among Us shirt!
This post contains commissionable links. Please see the Legal page for more info.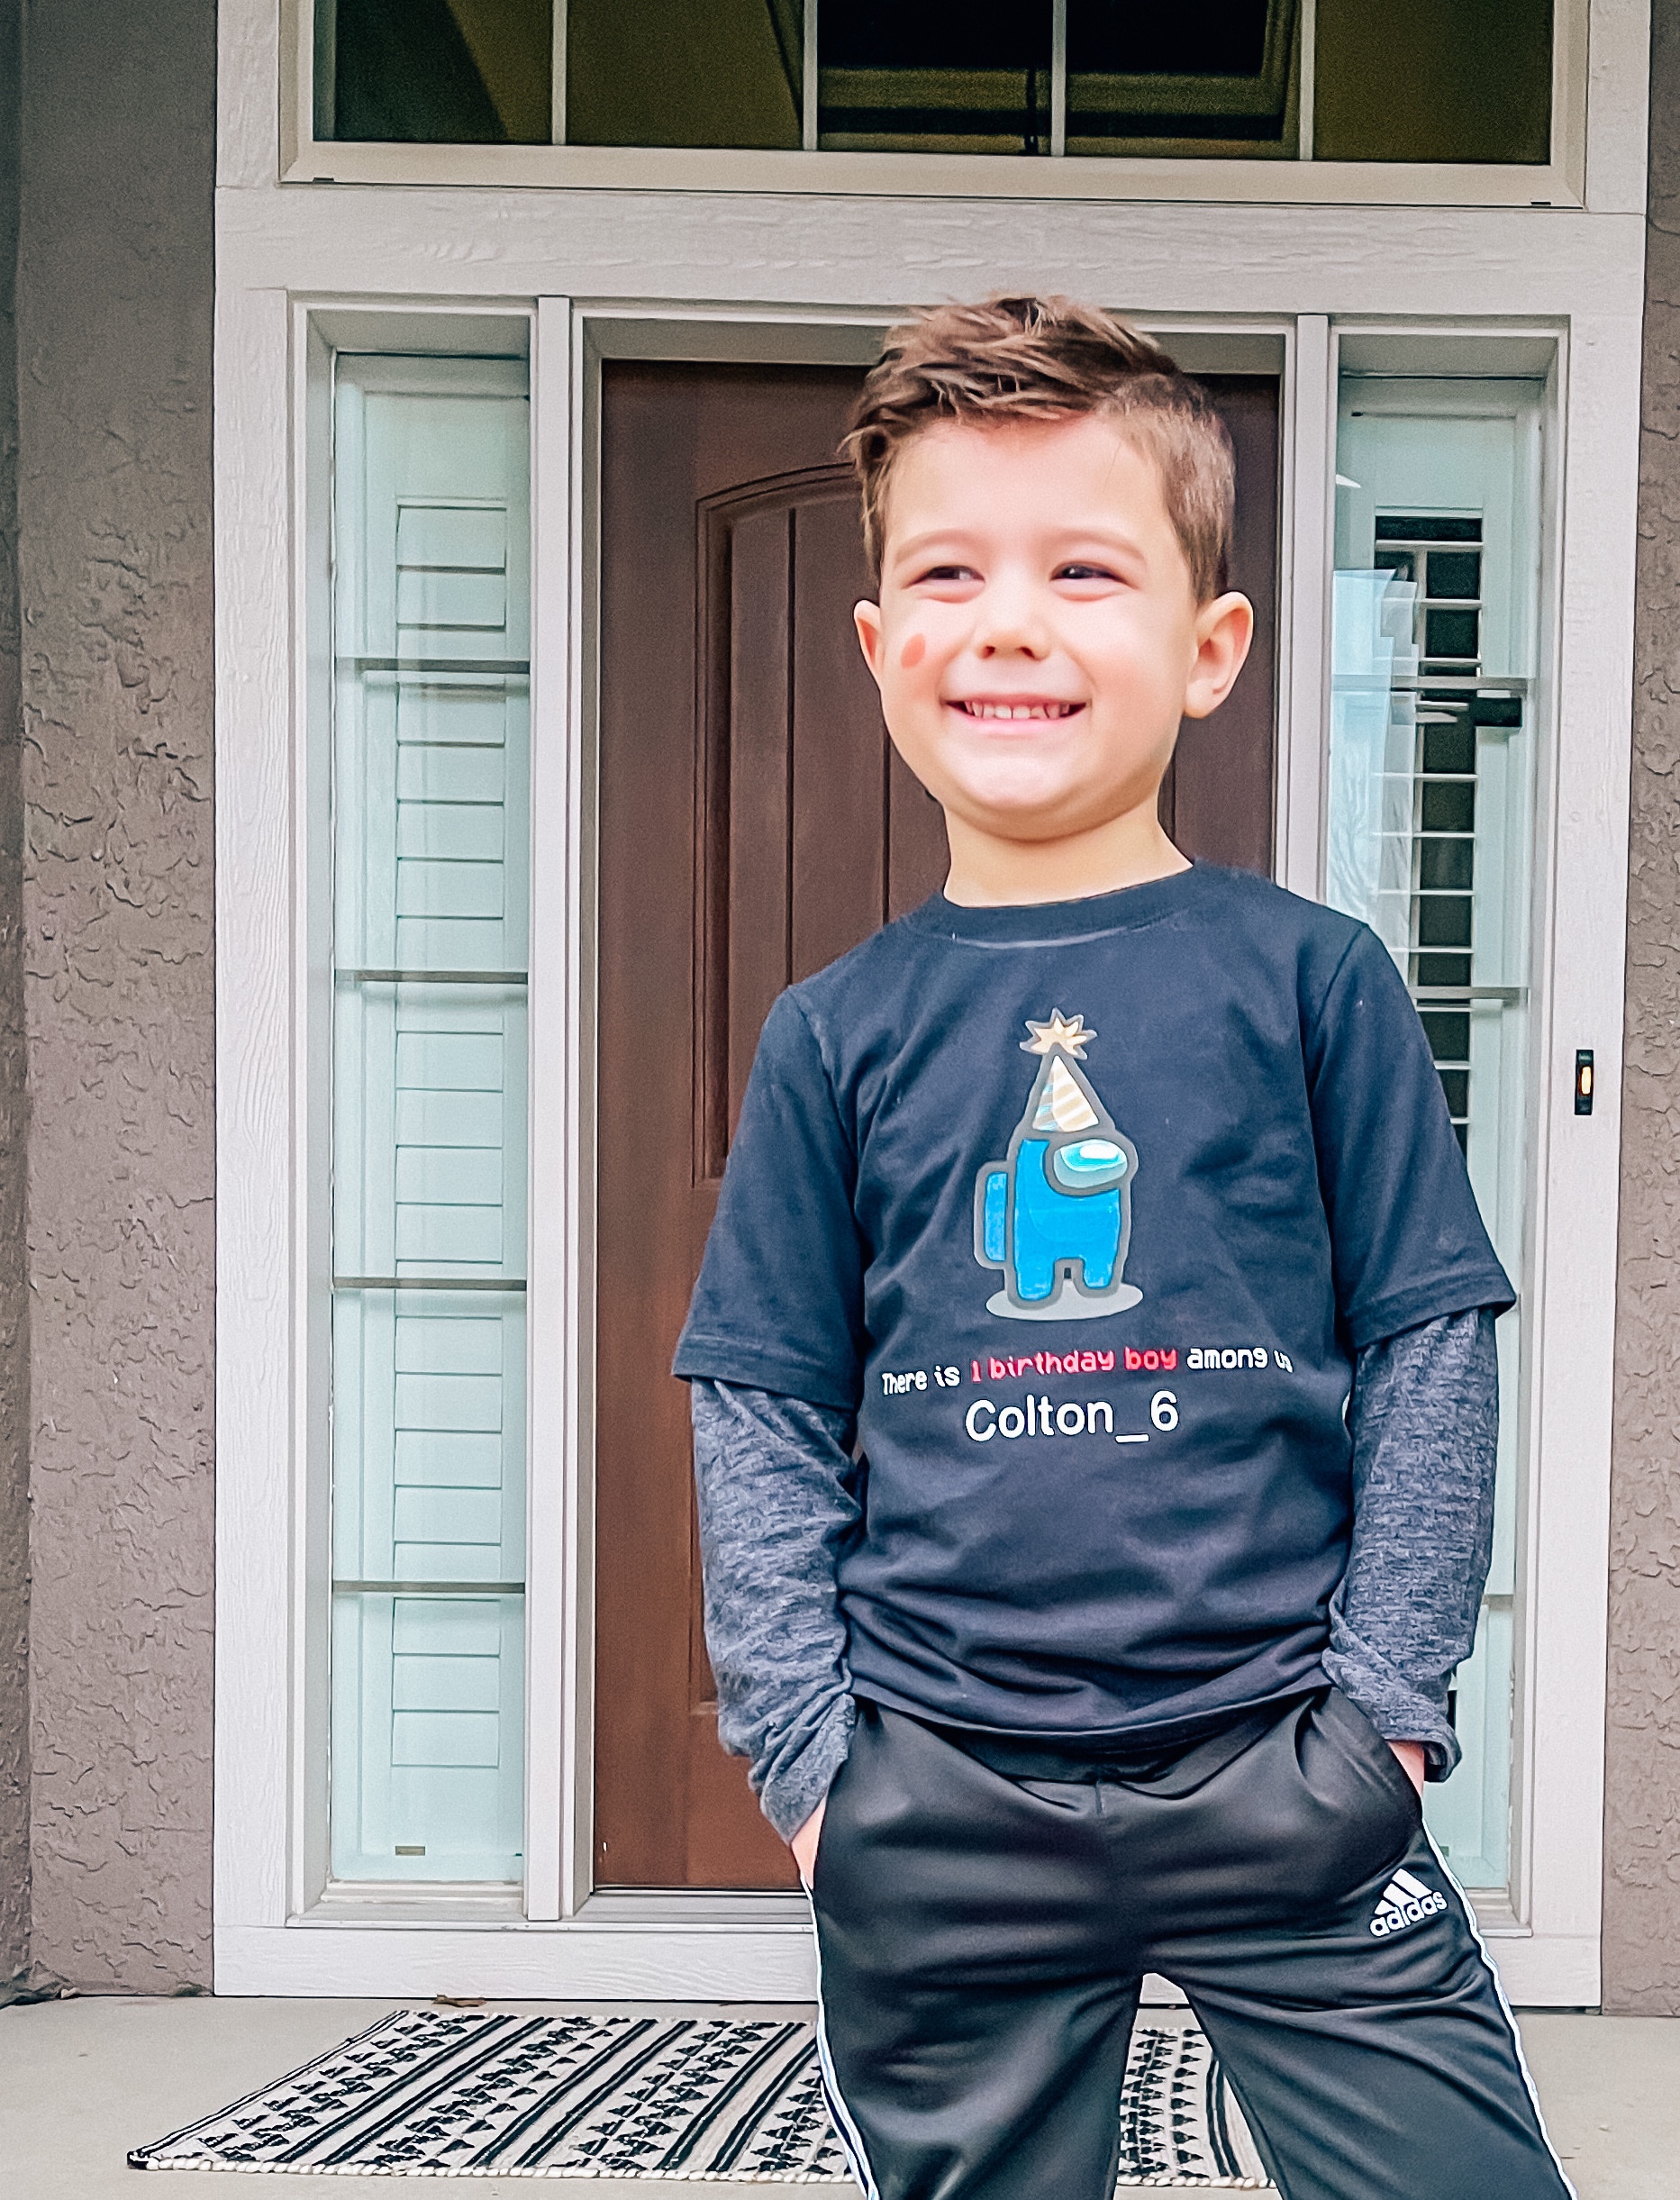
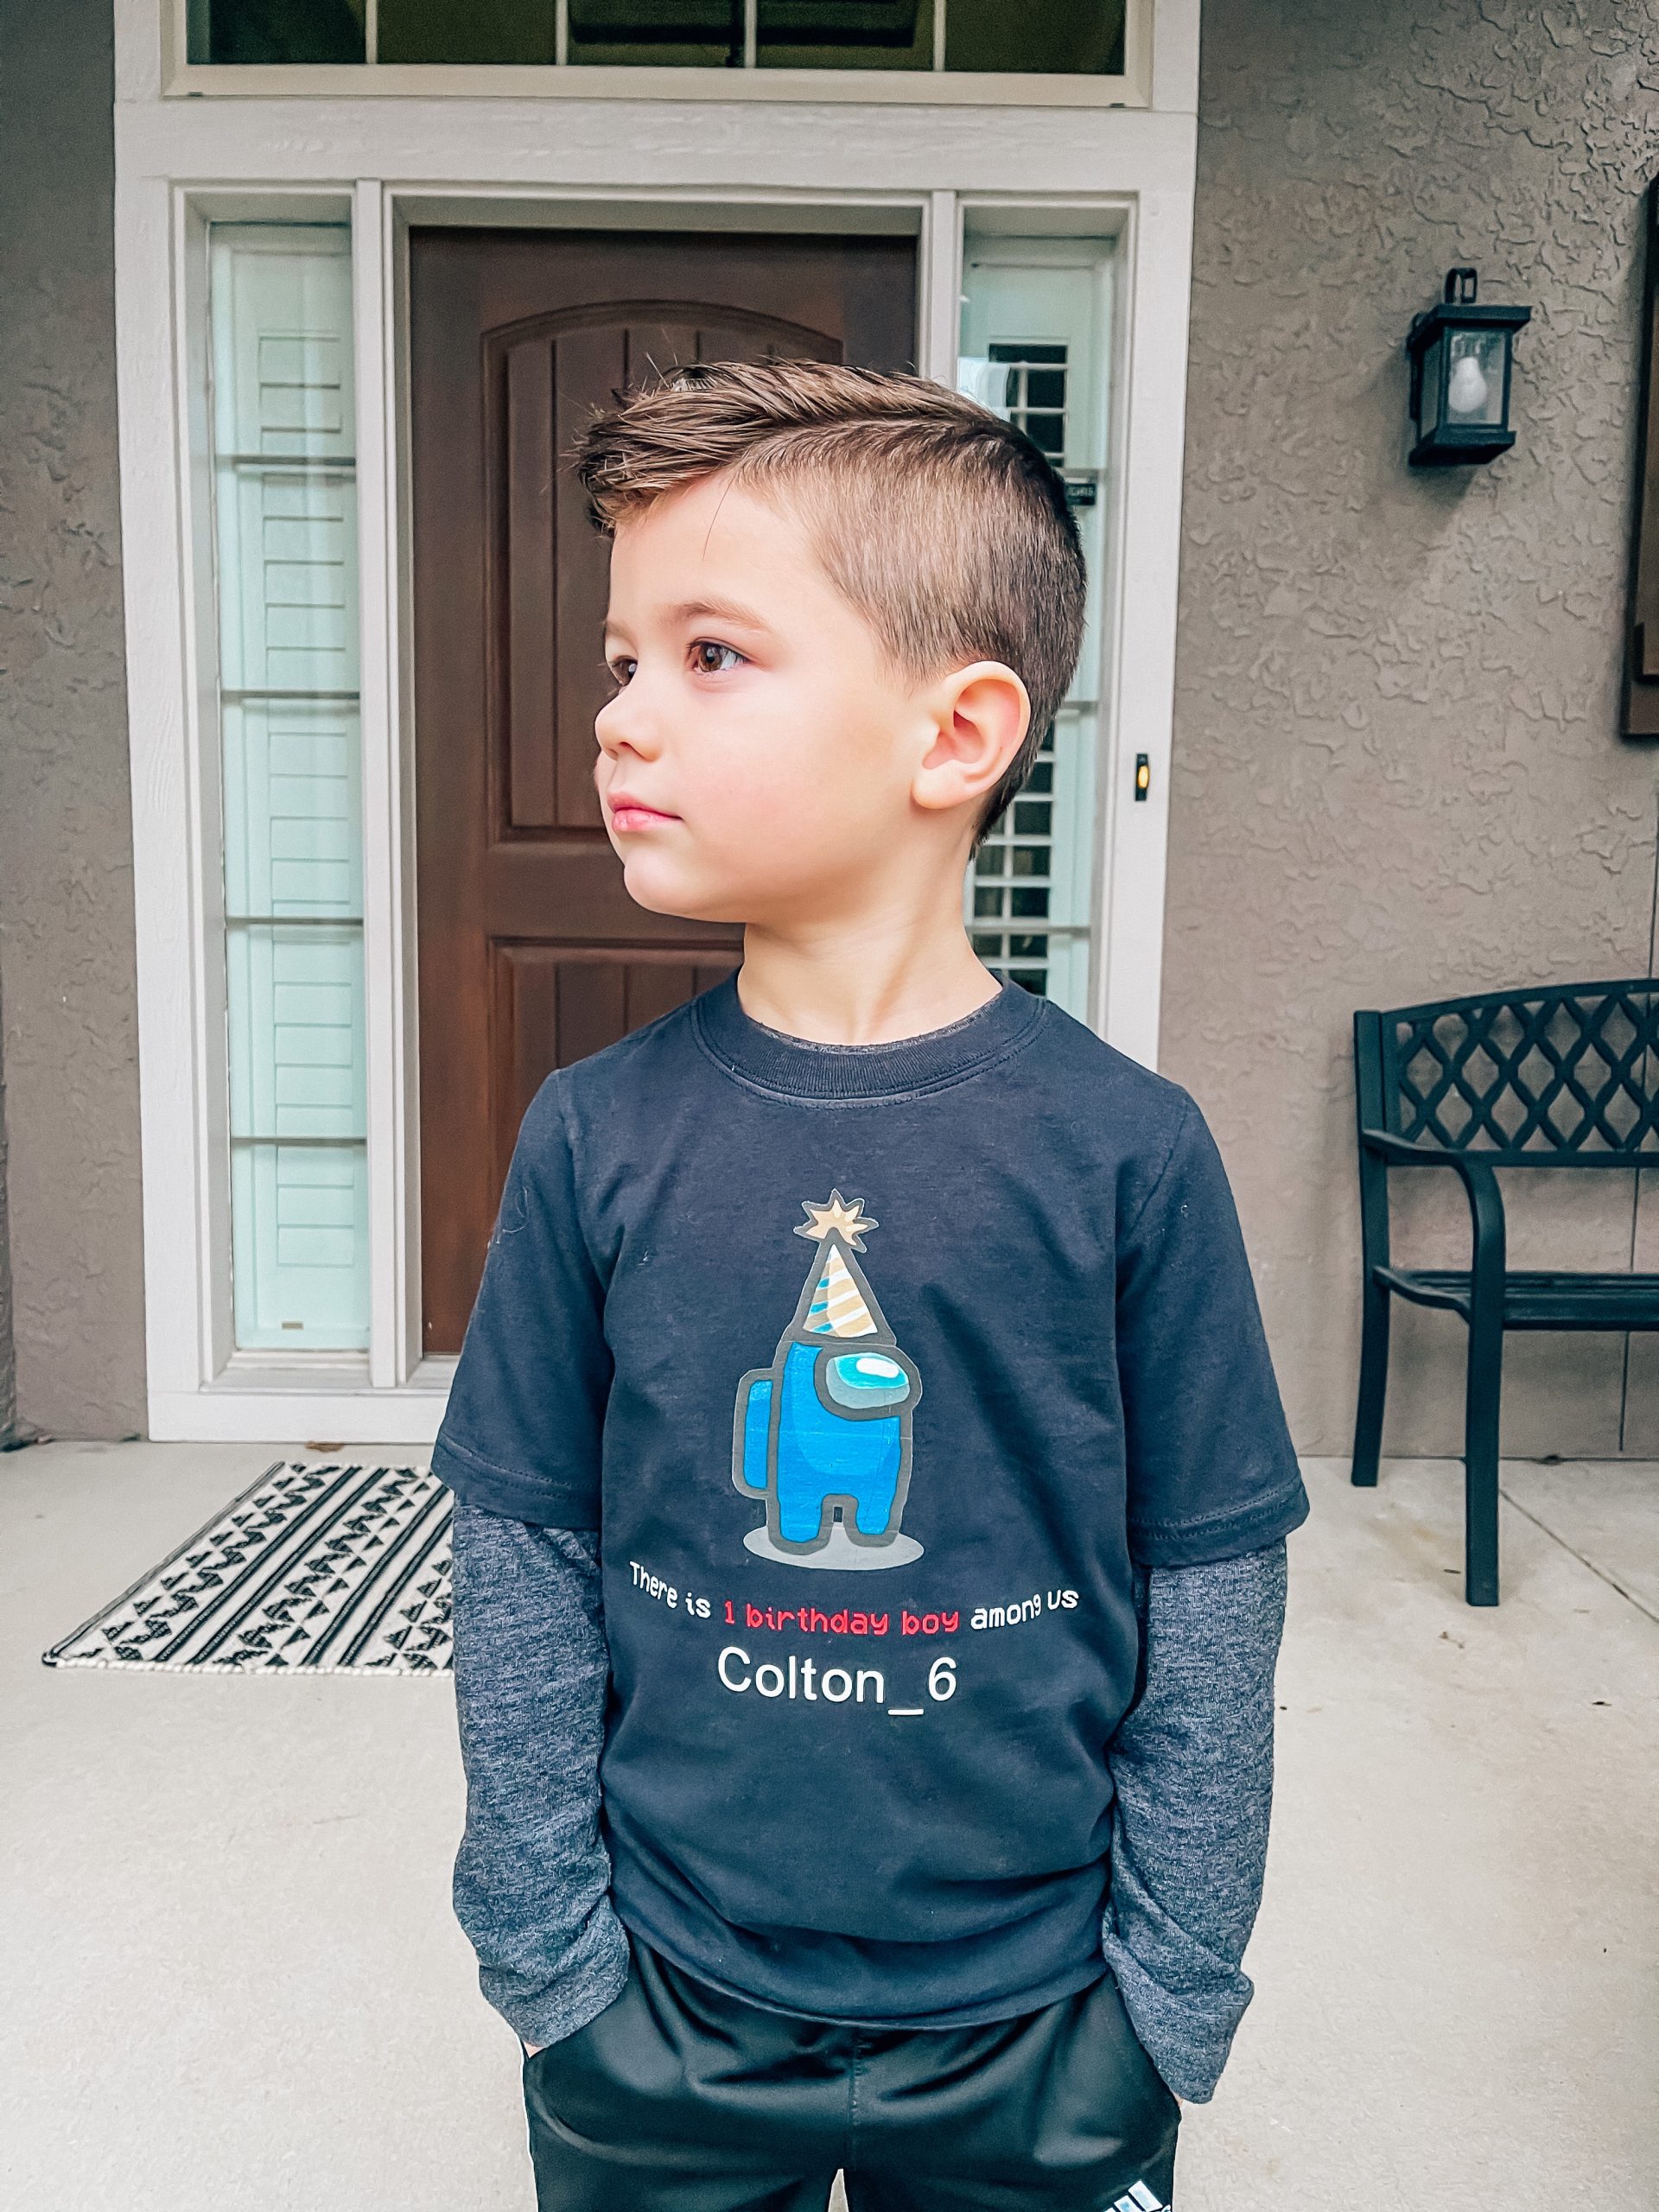
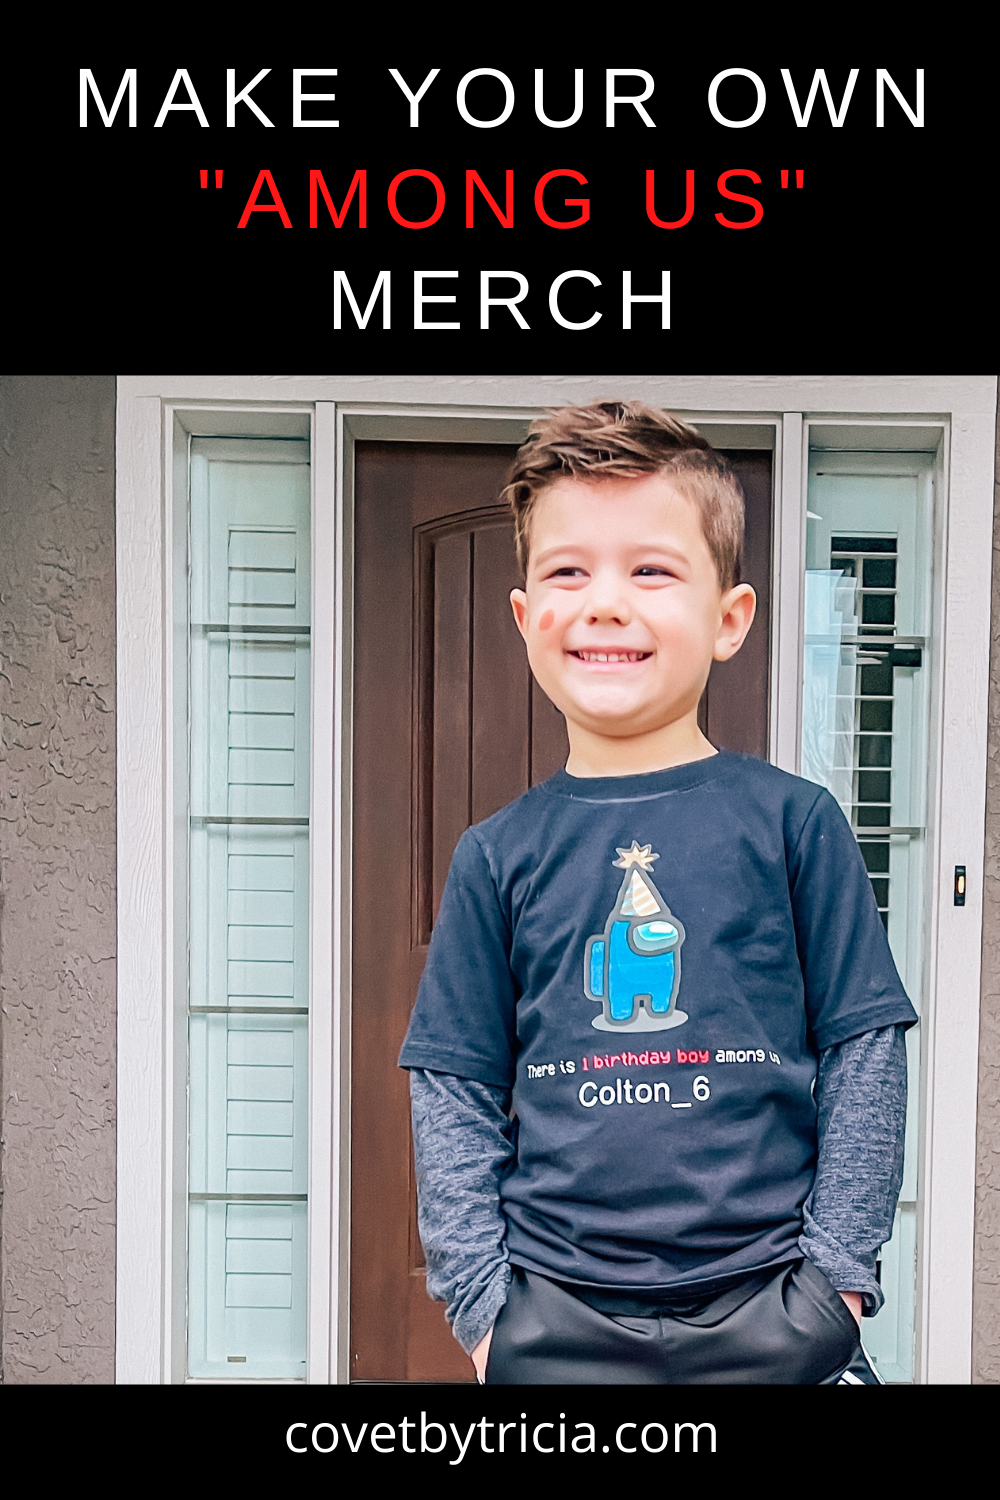
Here’s my big 6-year-old birthday boy modeling his shirt! I worked on this while he was at school the day before his birthday so it would be a total surprise for him. He was so excited when I showed him!
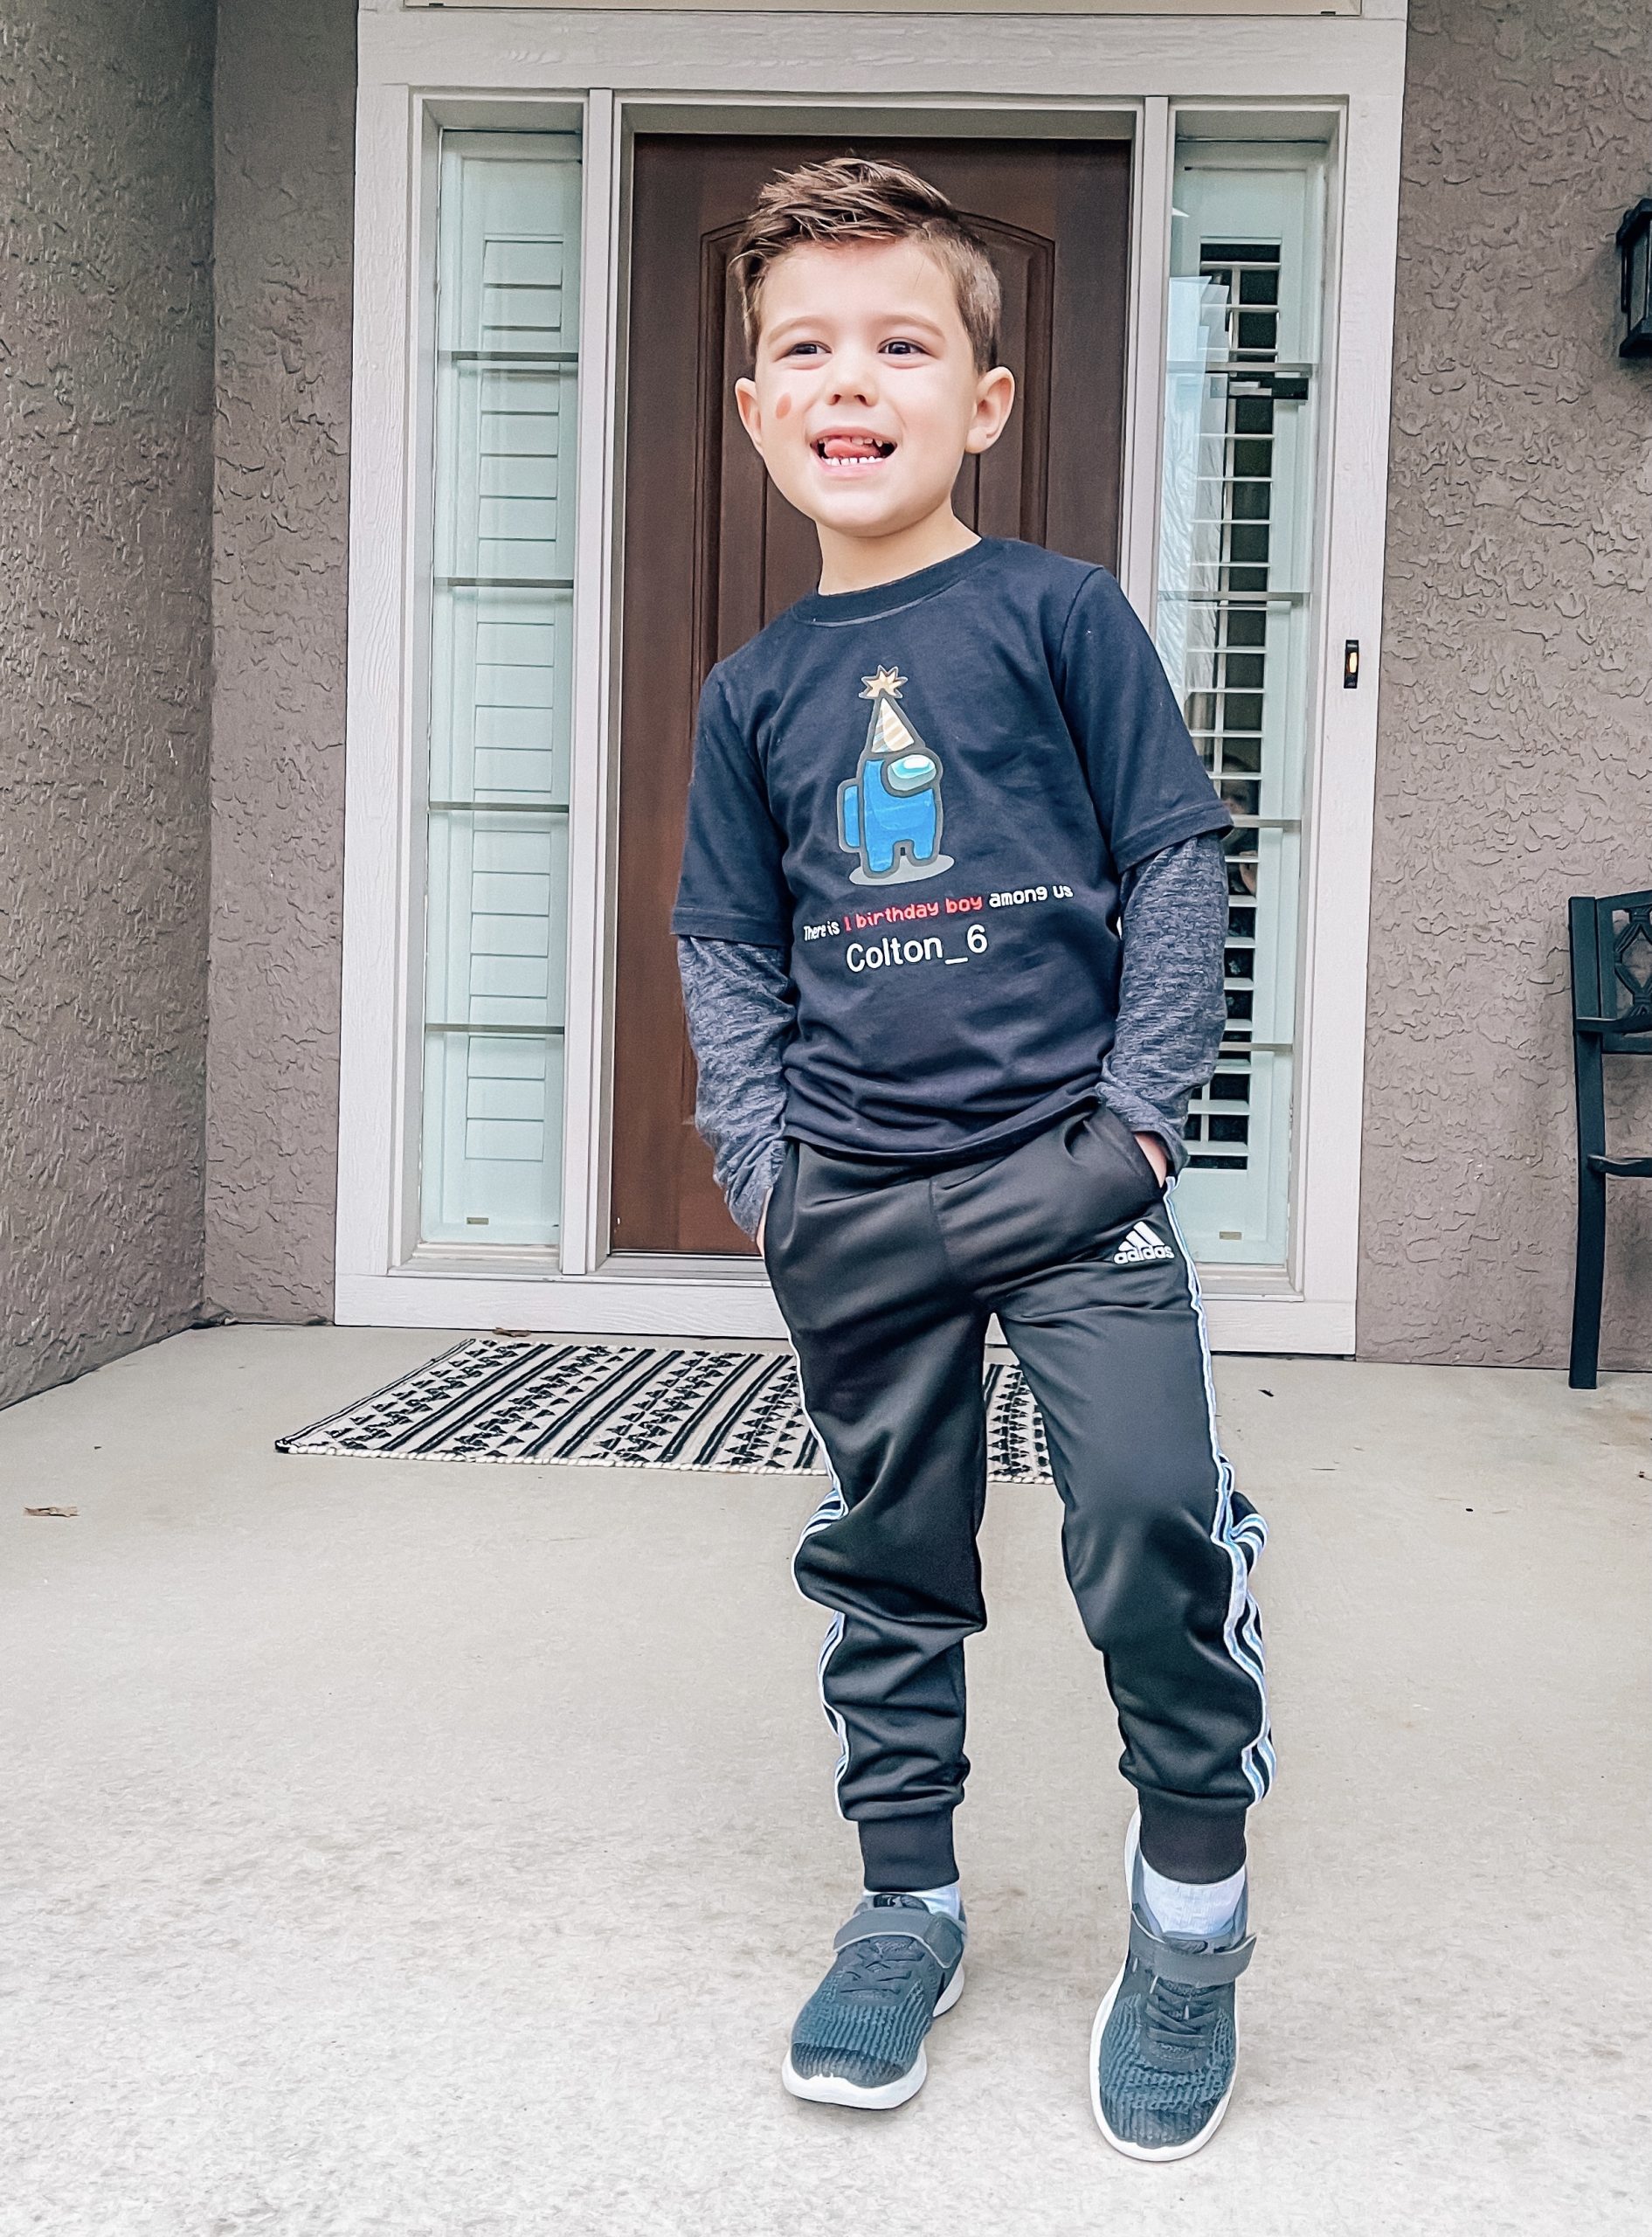
I used my Cricut Maker to cut out the Among Us character and text for this shirt. But, you can make one without a Cricut, too! It will just take a little extra work. I’ll include instructions for both in this post.
The only things you 100% need to make your DIY Among Us shirt are 1) a shirt, 2) an iron–this is one I used, and 3) printable t-shirt transfers. I used these transfers for dark fabrics; you’ll want these if you are using a light-colored shirt. If you have a Cricut machine, you can easily cut out the text for this shirt using heat transfer vinyl. This is my favorite HTV brand! Otherwise, for those of you without a Cricut, you can use the printable transfers for your text.
By the way, you’ll want to order the printable transfers online. They are about half the price online as they are in my store! I ordered online for same day in-store pickup to get the cheaper price.
Here’s another tip–you can often find blank t-shirts at Dollar Tree for (you guessed it) just $1! That’s where this one is from. I also like to buy the blank Garanimals shirts from Walmart; they’re only a few bucks and hold up very well.
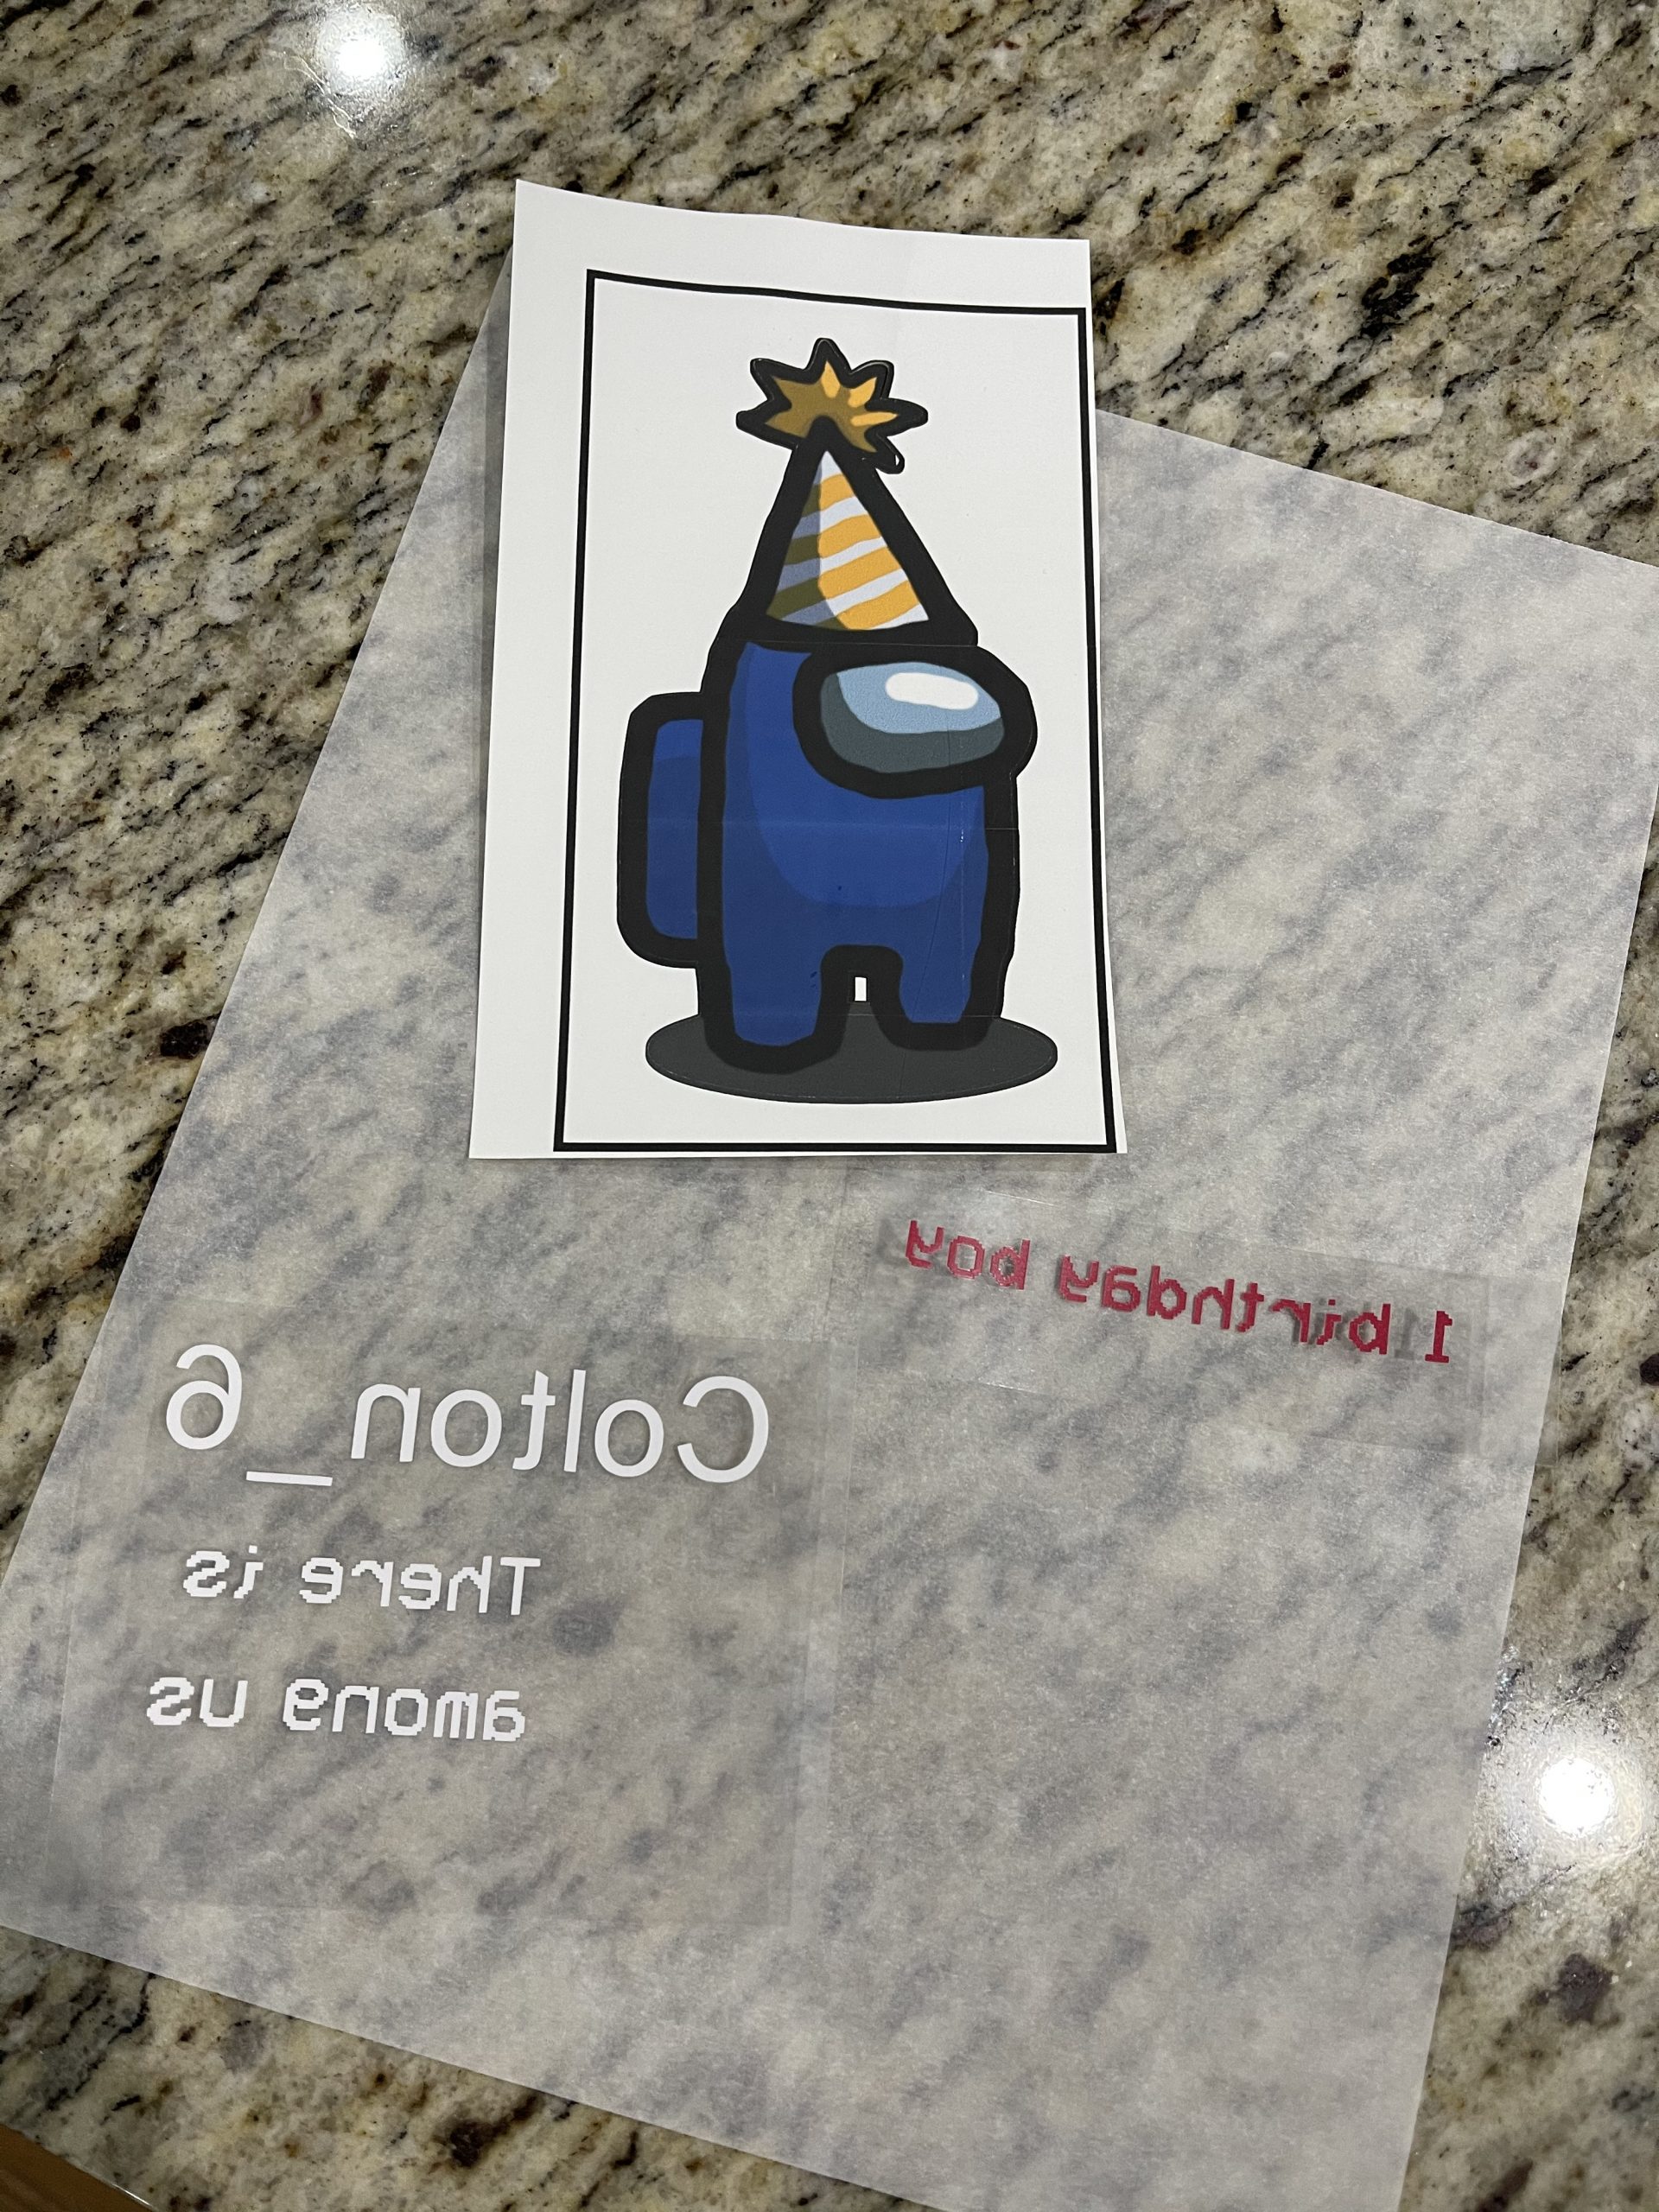
First, you’ll need to find an Among Us character that you want to print on your shirt! It will be easiest if you find one with a transparent background. Otherwise, you’ll need to remove the background in Design Space (if you’re using a Cricut) or use a background remover app (if you aren’t using Cricut).
To find images with transparent backgrounds, start with Google Image searches for Among Us SVG, Among Us PNG, Among Us transparent, etc. If you don’t see anything you like for free, head to Etsy to shop for Among Us SVGs!
I selected a blue Among Us character with a party hat for my birthday boy.
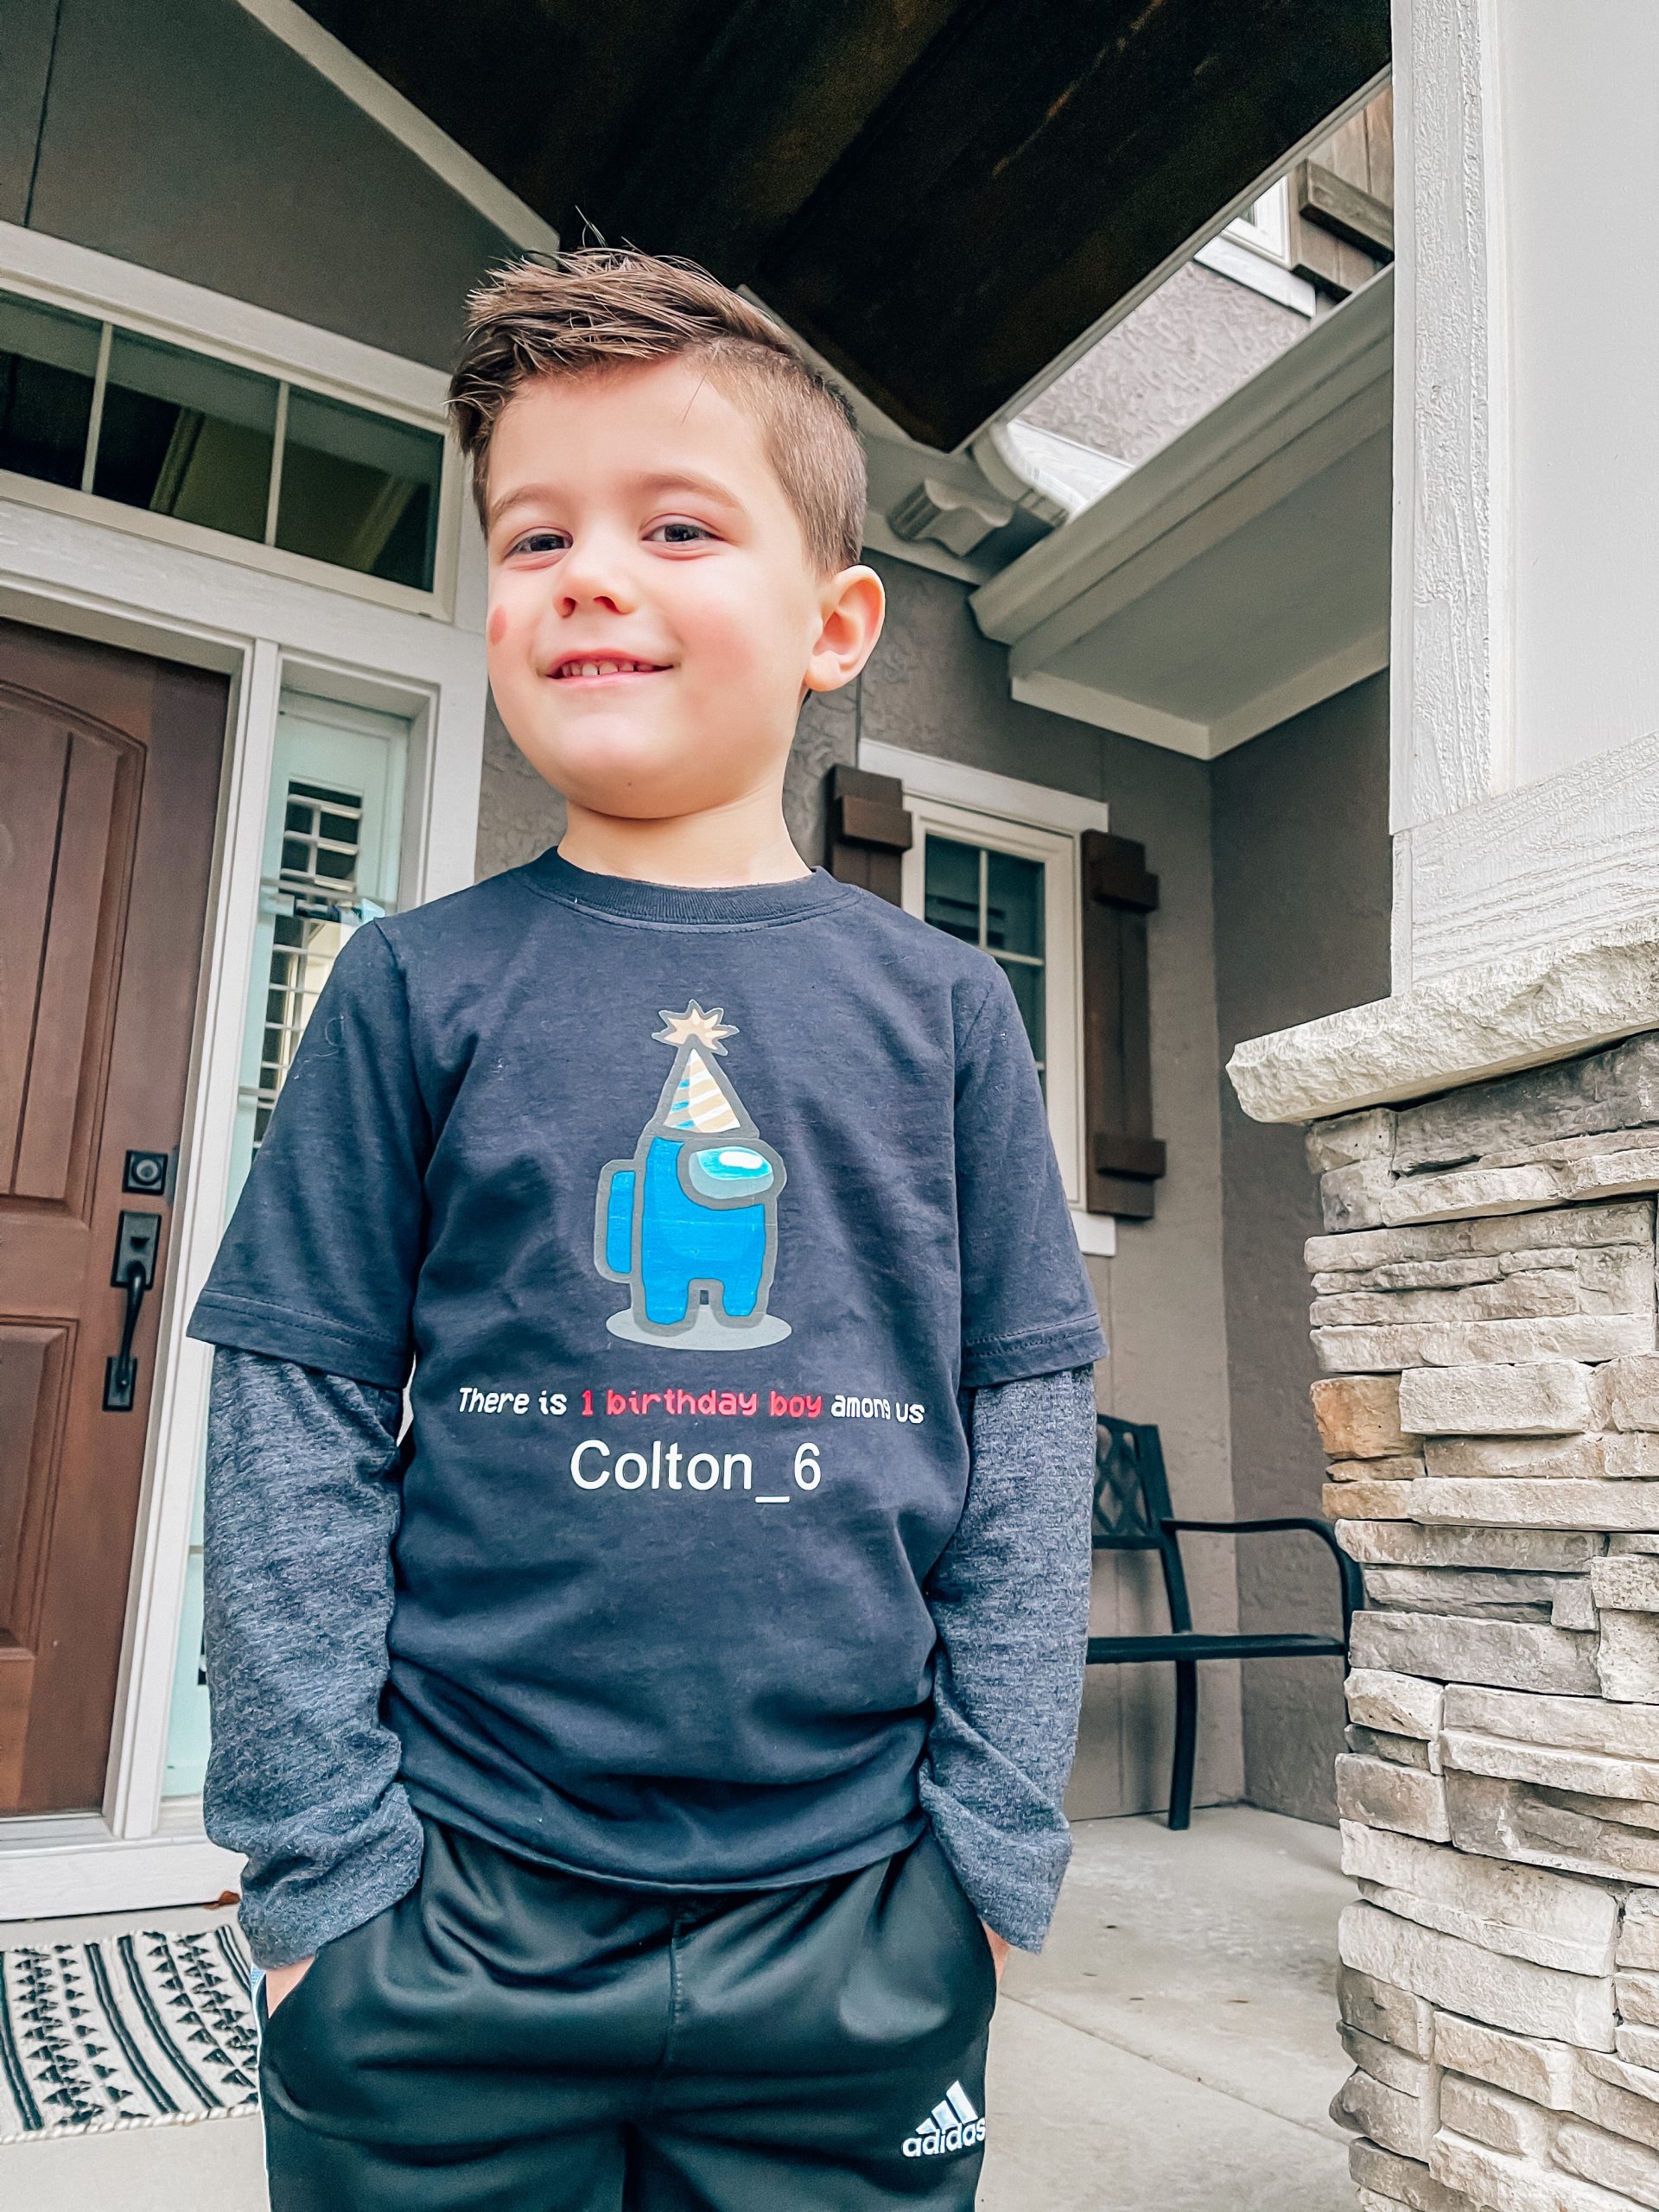
Once you’ve selected your Among Us character, the next step in making your DIY Among Us shirt is to get him on the transfer paper.
Important Note: You will need an inkjet printer for the transfers. Laser printers don’t work on these. Most home printers are inkjet so you’re probably fine, but just like to give the heads up!
*Instructions for Cricut users below–keep scrolling if you aren’t using a Cricut for this project!*
If you have a Cricut, upload your Among Us character to Design Space as a new Print & Cut image:
- Upload (on left side of Design Space)
- White “Upload Image” button
- White “Browse” button
- Navigate to image, click Open
- Select appropriate complexity
- Erase background if needed
- “Save as a Print Then Cut image”
- Green “Save” button
You can then add your image to your new project and adjust sizing as necessary. (My super technical way to determine sizing of shirt designs is to lay the shirt out and measure how large I want the design to be on it. It works for me lol)
Next, add your text! The font I used for “There is 1 birthday boy among us” is VCR OSD Mono, which you can download for free here. The “Colton_6” is in Arial font.
Once everything looks how you want it to look, double-check your sizing and hit the green Make It button! The Design Space software will guide you from there. Remember to make sure your HTV is shiny side down on your mat and your design is mirrored before printing. My base material settings were “Printable Iron-On, Dark” for the printable transfer and “Everyday Iron-On” for the HTV.
Now I’m going to get those of you working on this without a Cricut caught up!
Once you’ve selected your Among Us character, measure your shirt to determine how large you want the design to be printed on there. Then, resize the image as necessary and print onto your printable transfer. You can easily resize images after adding them to a document in Microsoft Word, and you can quickly see how large the design will look as compared to a standard piece of paper. (Of course, if you have fancier image editing software, go for it–I’m just trying to keep this at a level that doesn’t require extra software.)
Without a Cricut, it will be basically impossible to cut the text out of heat transfer vinyl. So, I would suggest simply typing your text in Word and printing it onto the printable transfers as well. Since you won’t be cutting individual letters, you will have some background behind the text, but it will still look cute. The fonts you’ll need are VCR OSD Mono (download it free here) and Arial (should be pre-installed on your computer).
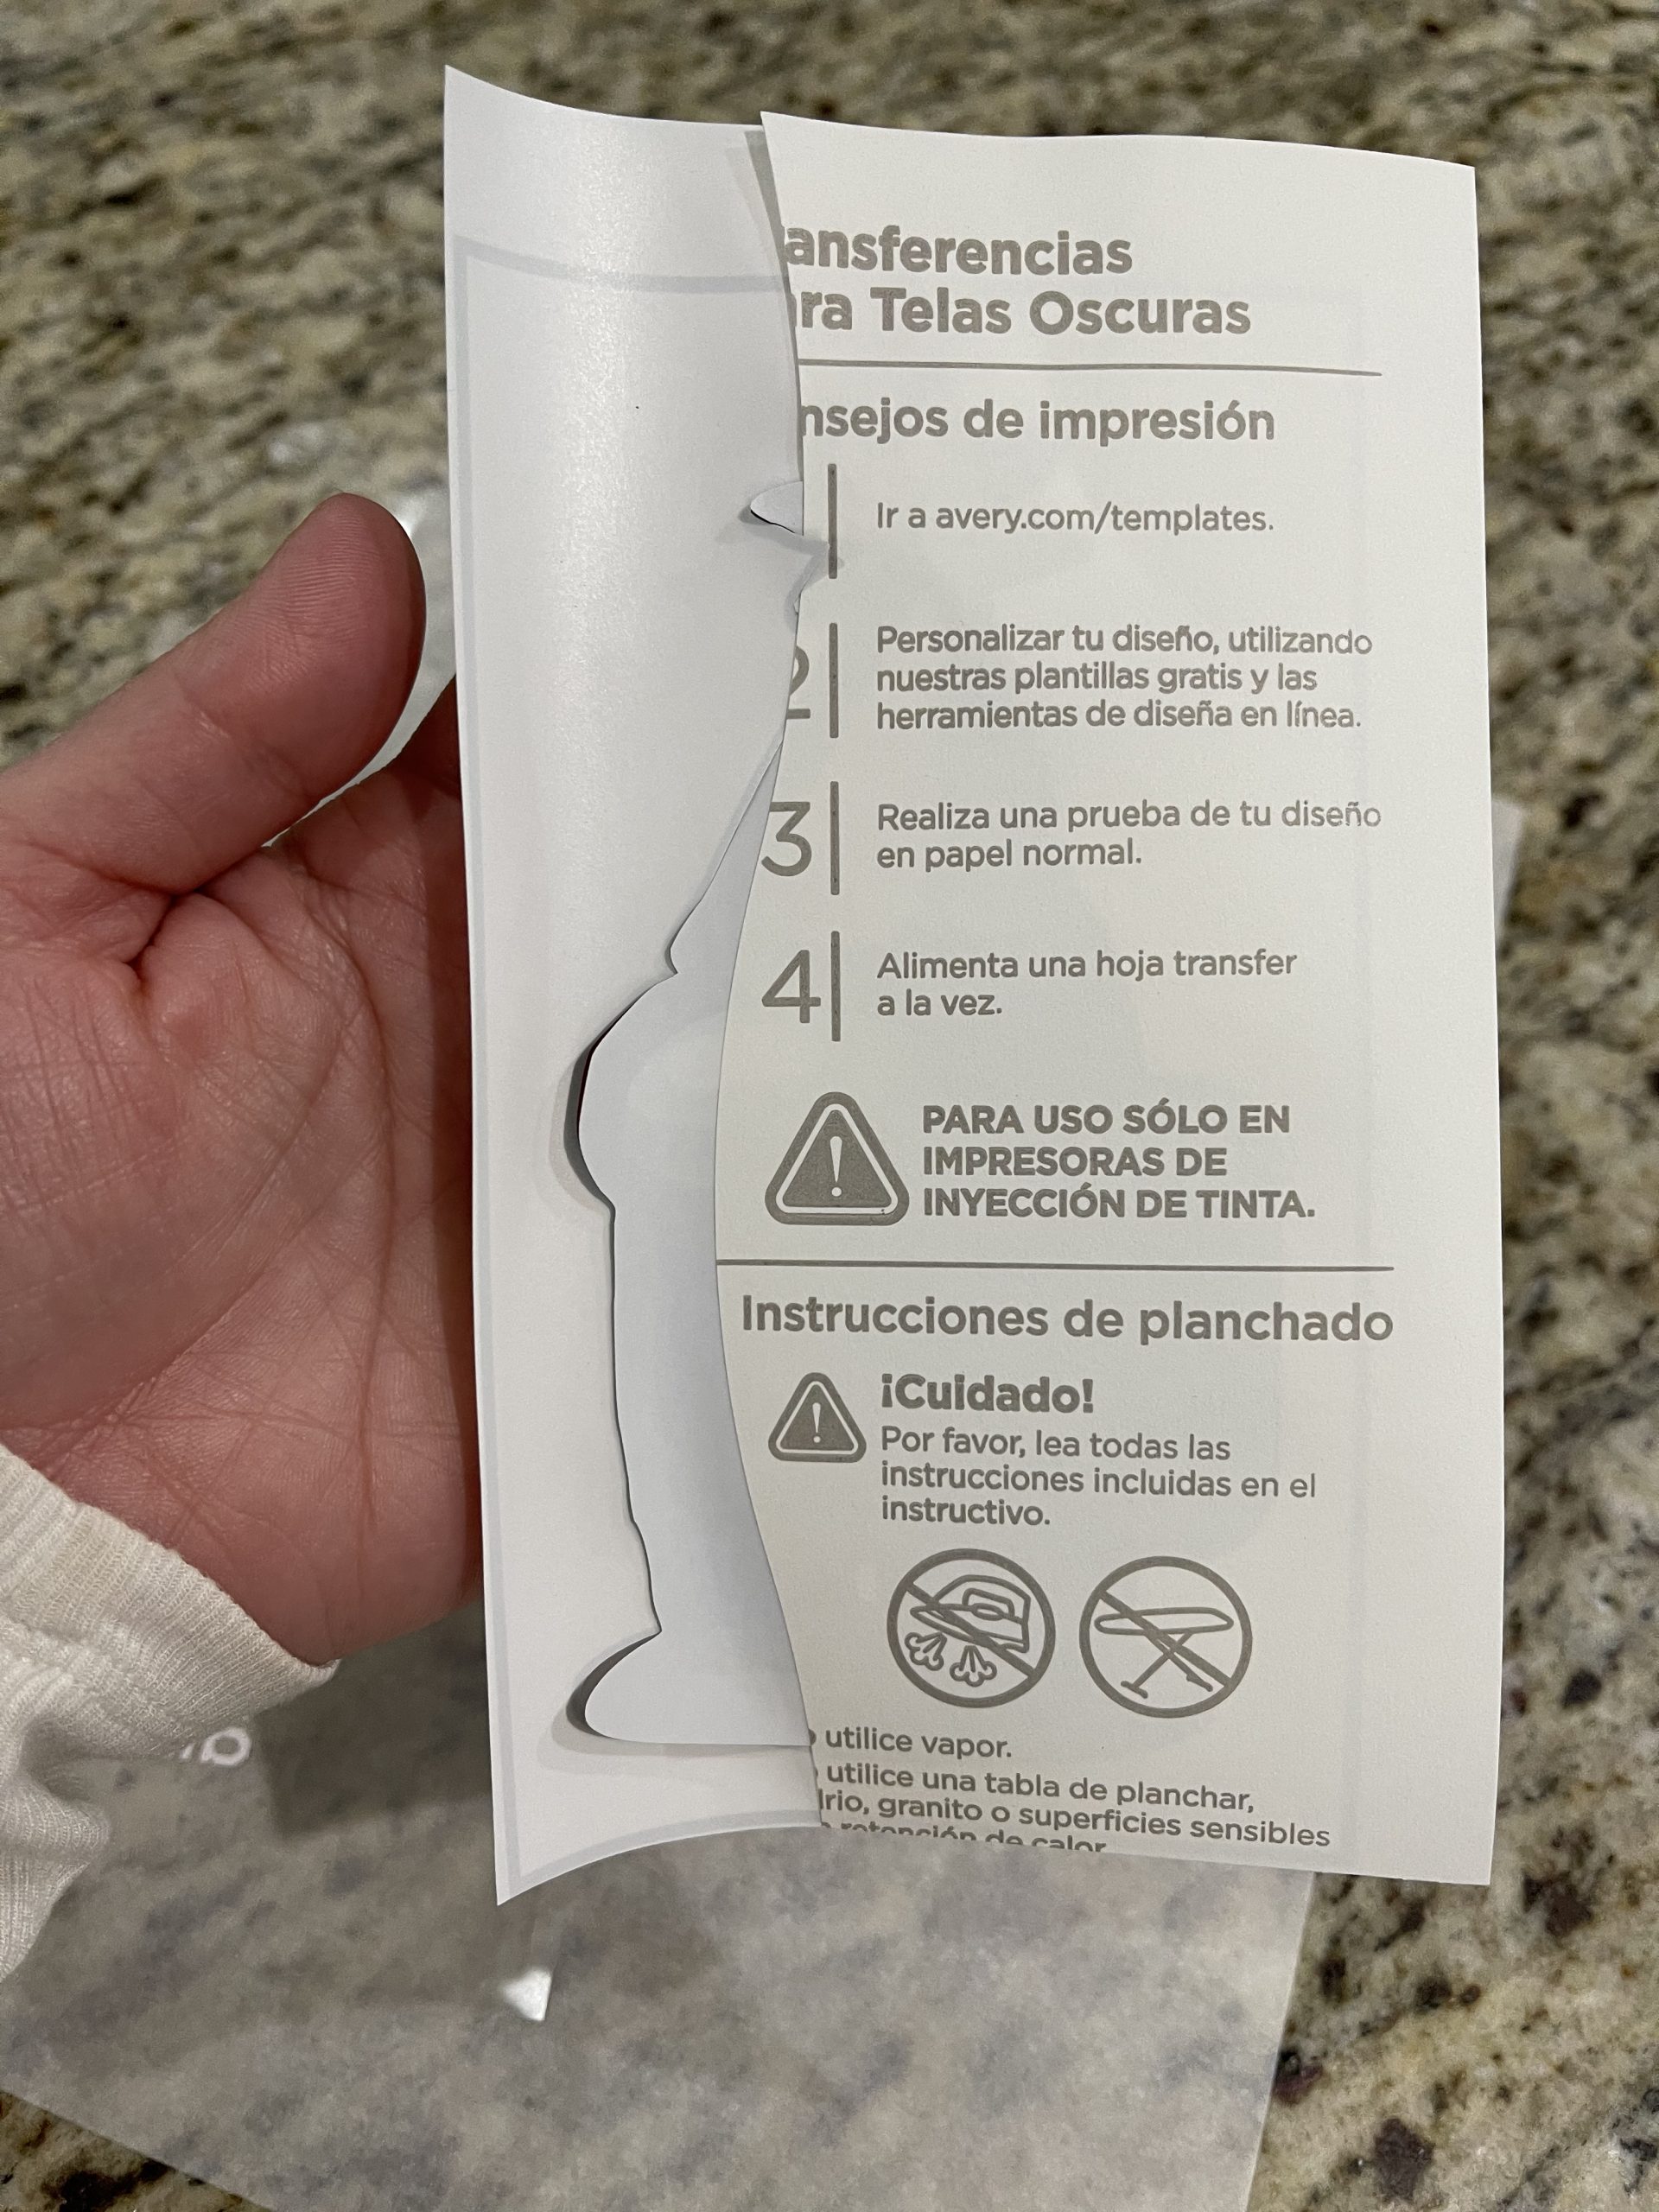
Now we should all be at the same place! It’s time to cut out your Among Us character and iron him on your shirt. If you have a Cricut, the Print then Cut function did this for you. If not, you’ll need to cut the character and text out by hand.
Pro tip: The printable transfers have more of a tendency to start peeling in areas with sharp corners. Avoid cutting them in squares or 90 degree angles; rather, cut rounded corners whenever possible. (Mine peeled up around the corners of the party hat after being worn a couple times, but I was able to iron it back down without issue. So it’s not a huge deal if you end up with some sharp corners, just makes it easier long-term if you are able to avoid them in the first place.)
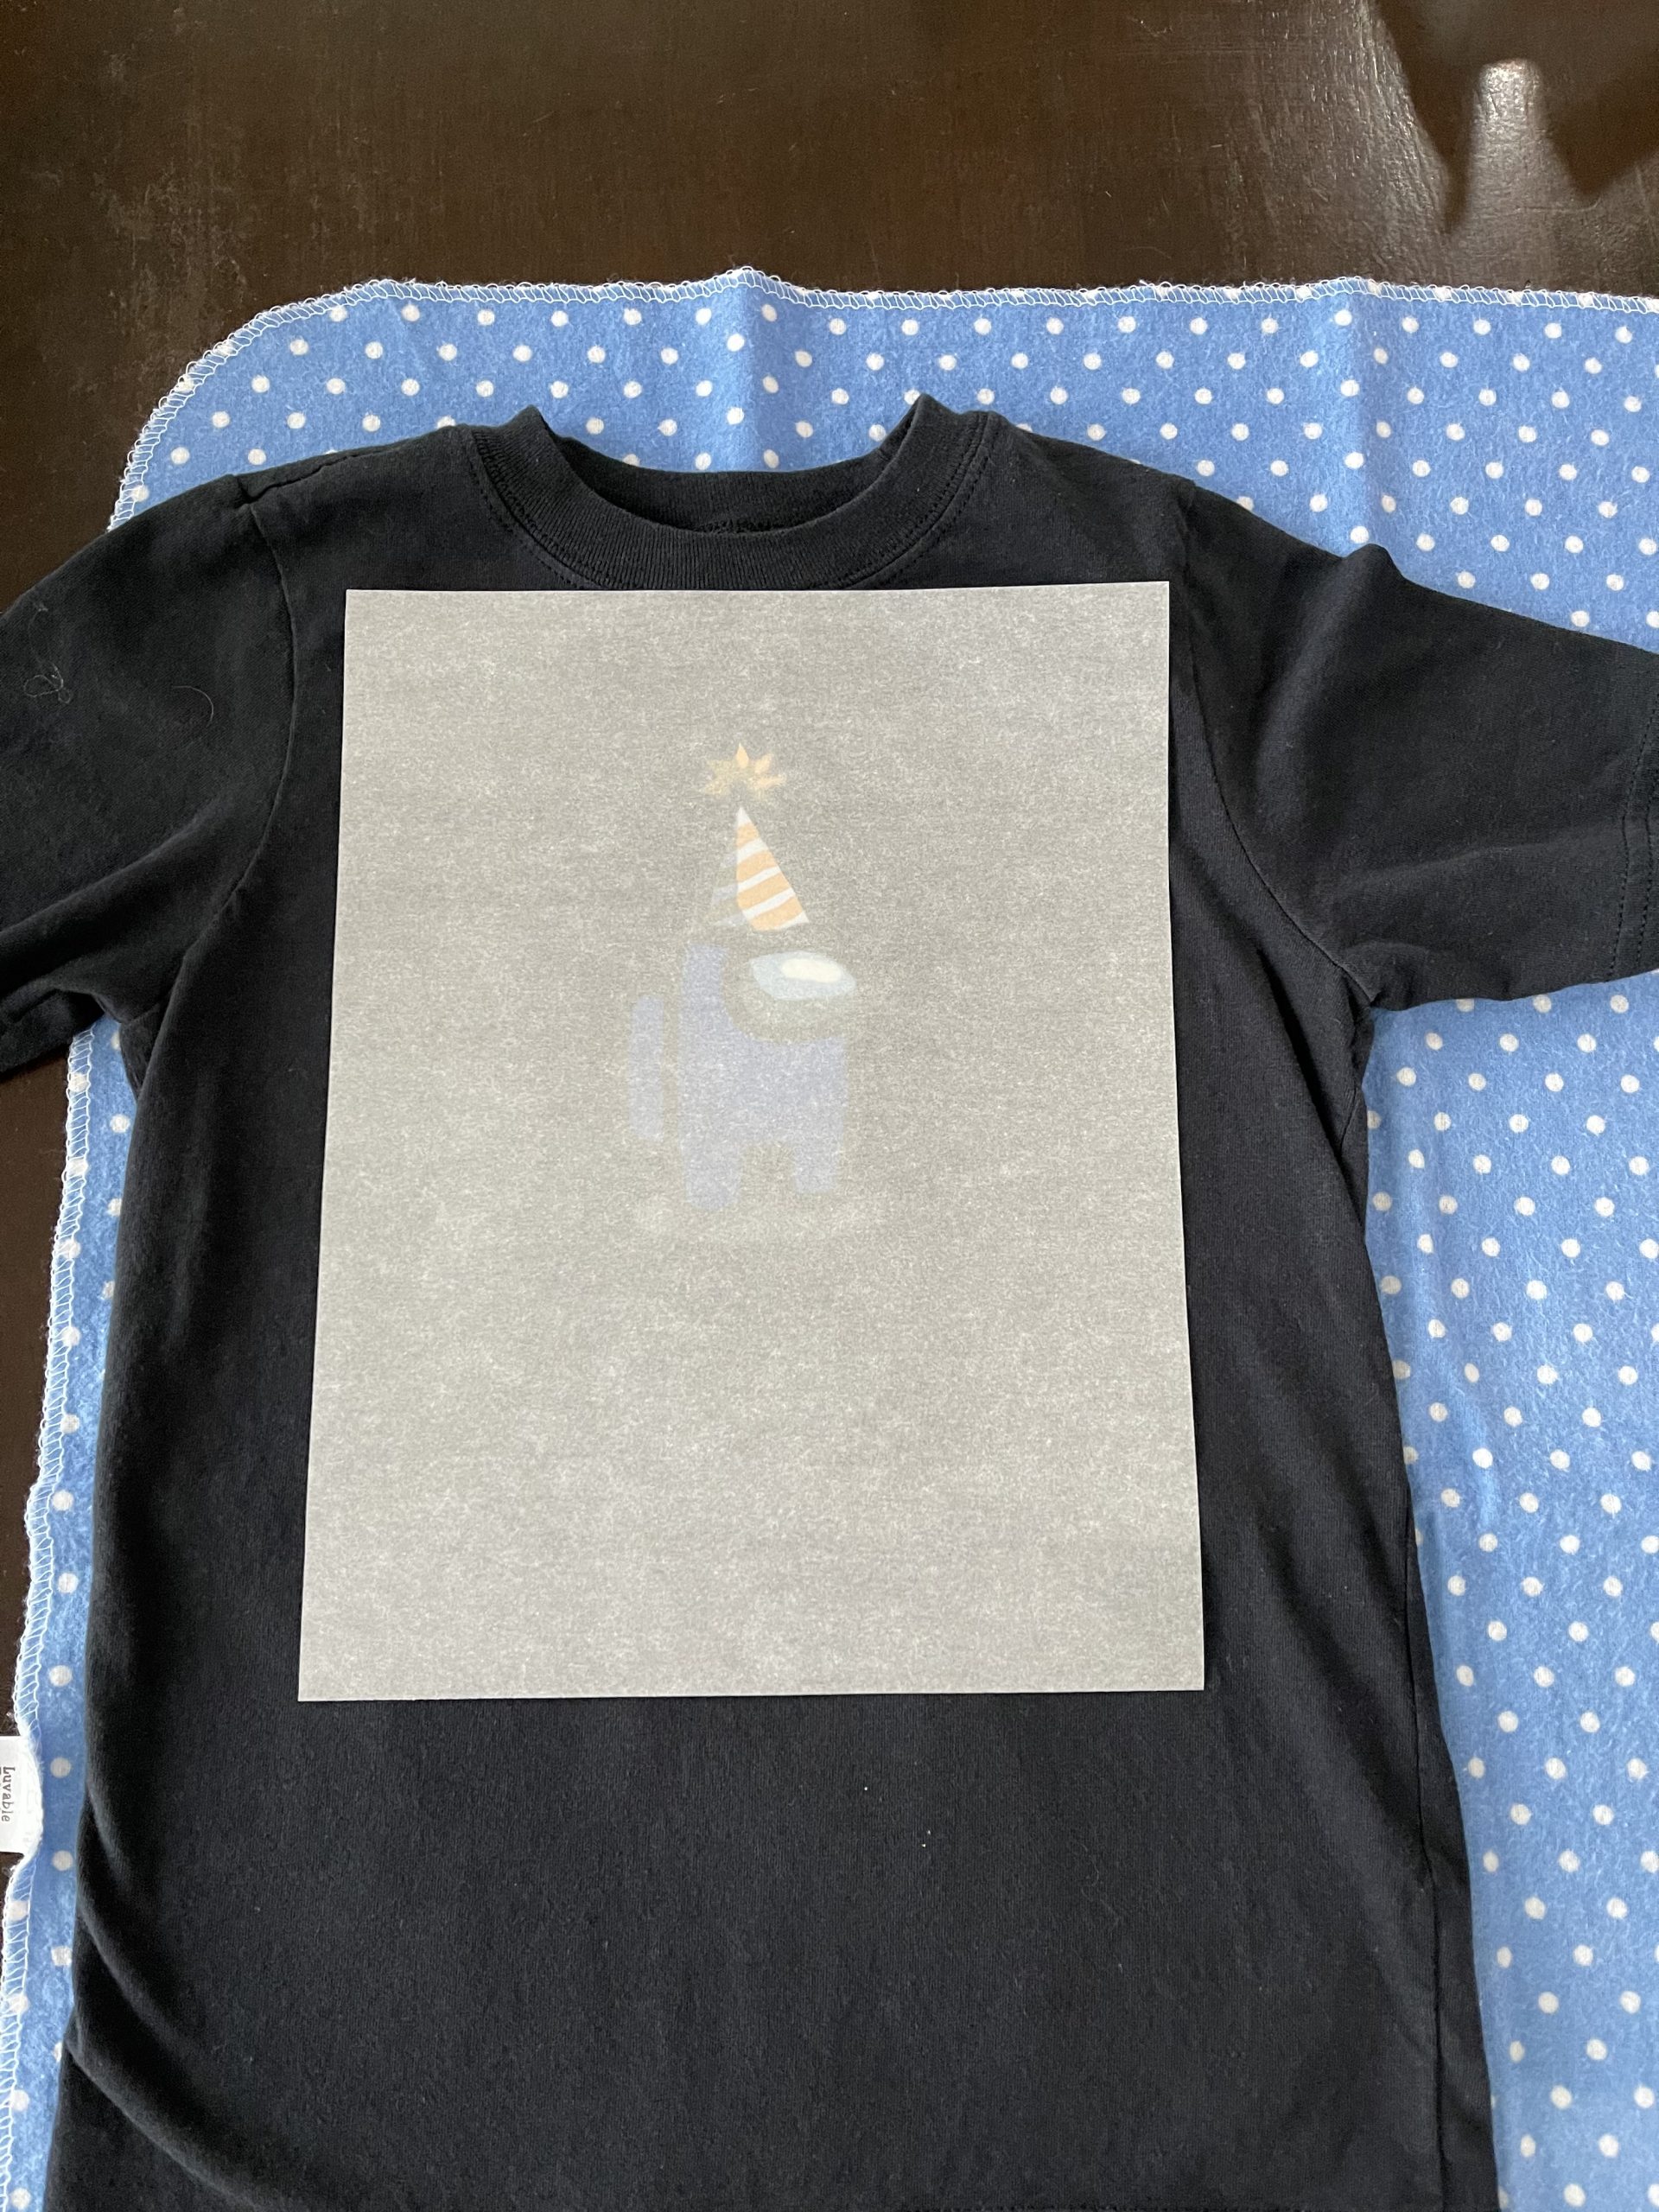
Peel the backing off your transfer and place your cut out Among Us character where you want him on the shirt. I’m usually too lazy to measure the center of my shirts; I just center off the tag. Place the included tissue paper over the transfer and iron on per instructions.
Keep in mind when ironing on transfers and/or HTV, you don’t use a normal ironing motion. This can make your objects move around on the shirt and adhere someplace you don’t want them. Instead, use a press motion–place your iron on the transfer, press down and hold it in place, then move to the next section of transfer. You’re mimicking the idea of a heat press. (If you have a heat press or Easy Press, even better! I aspire to be there one day.)
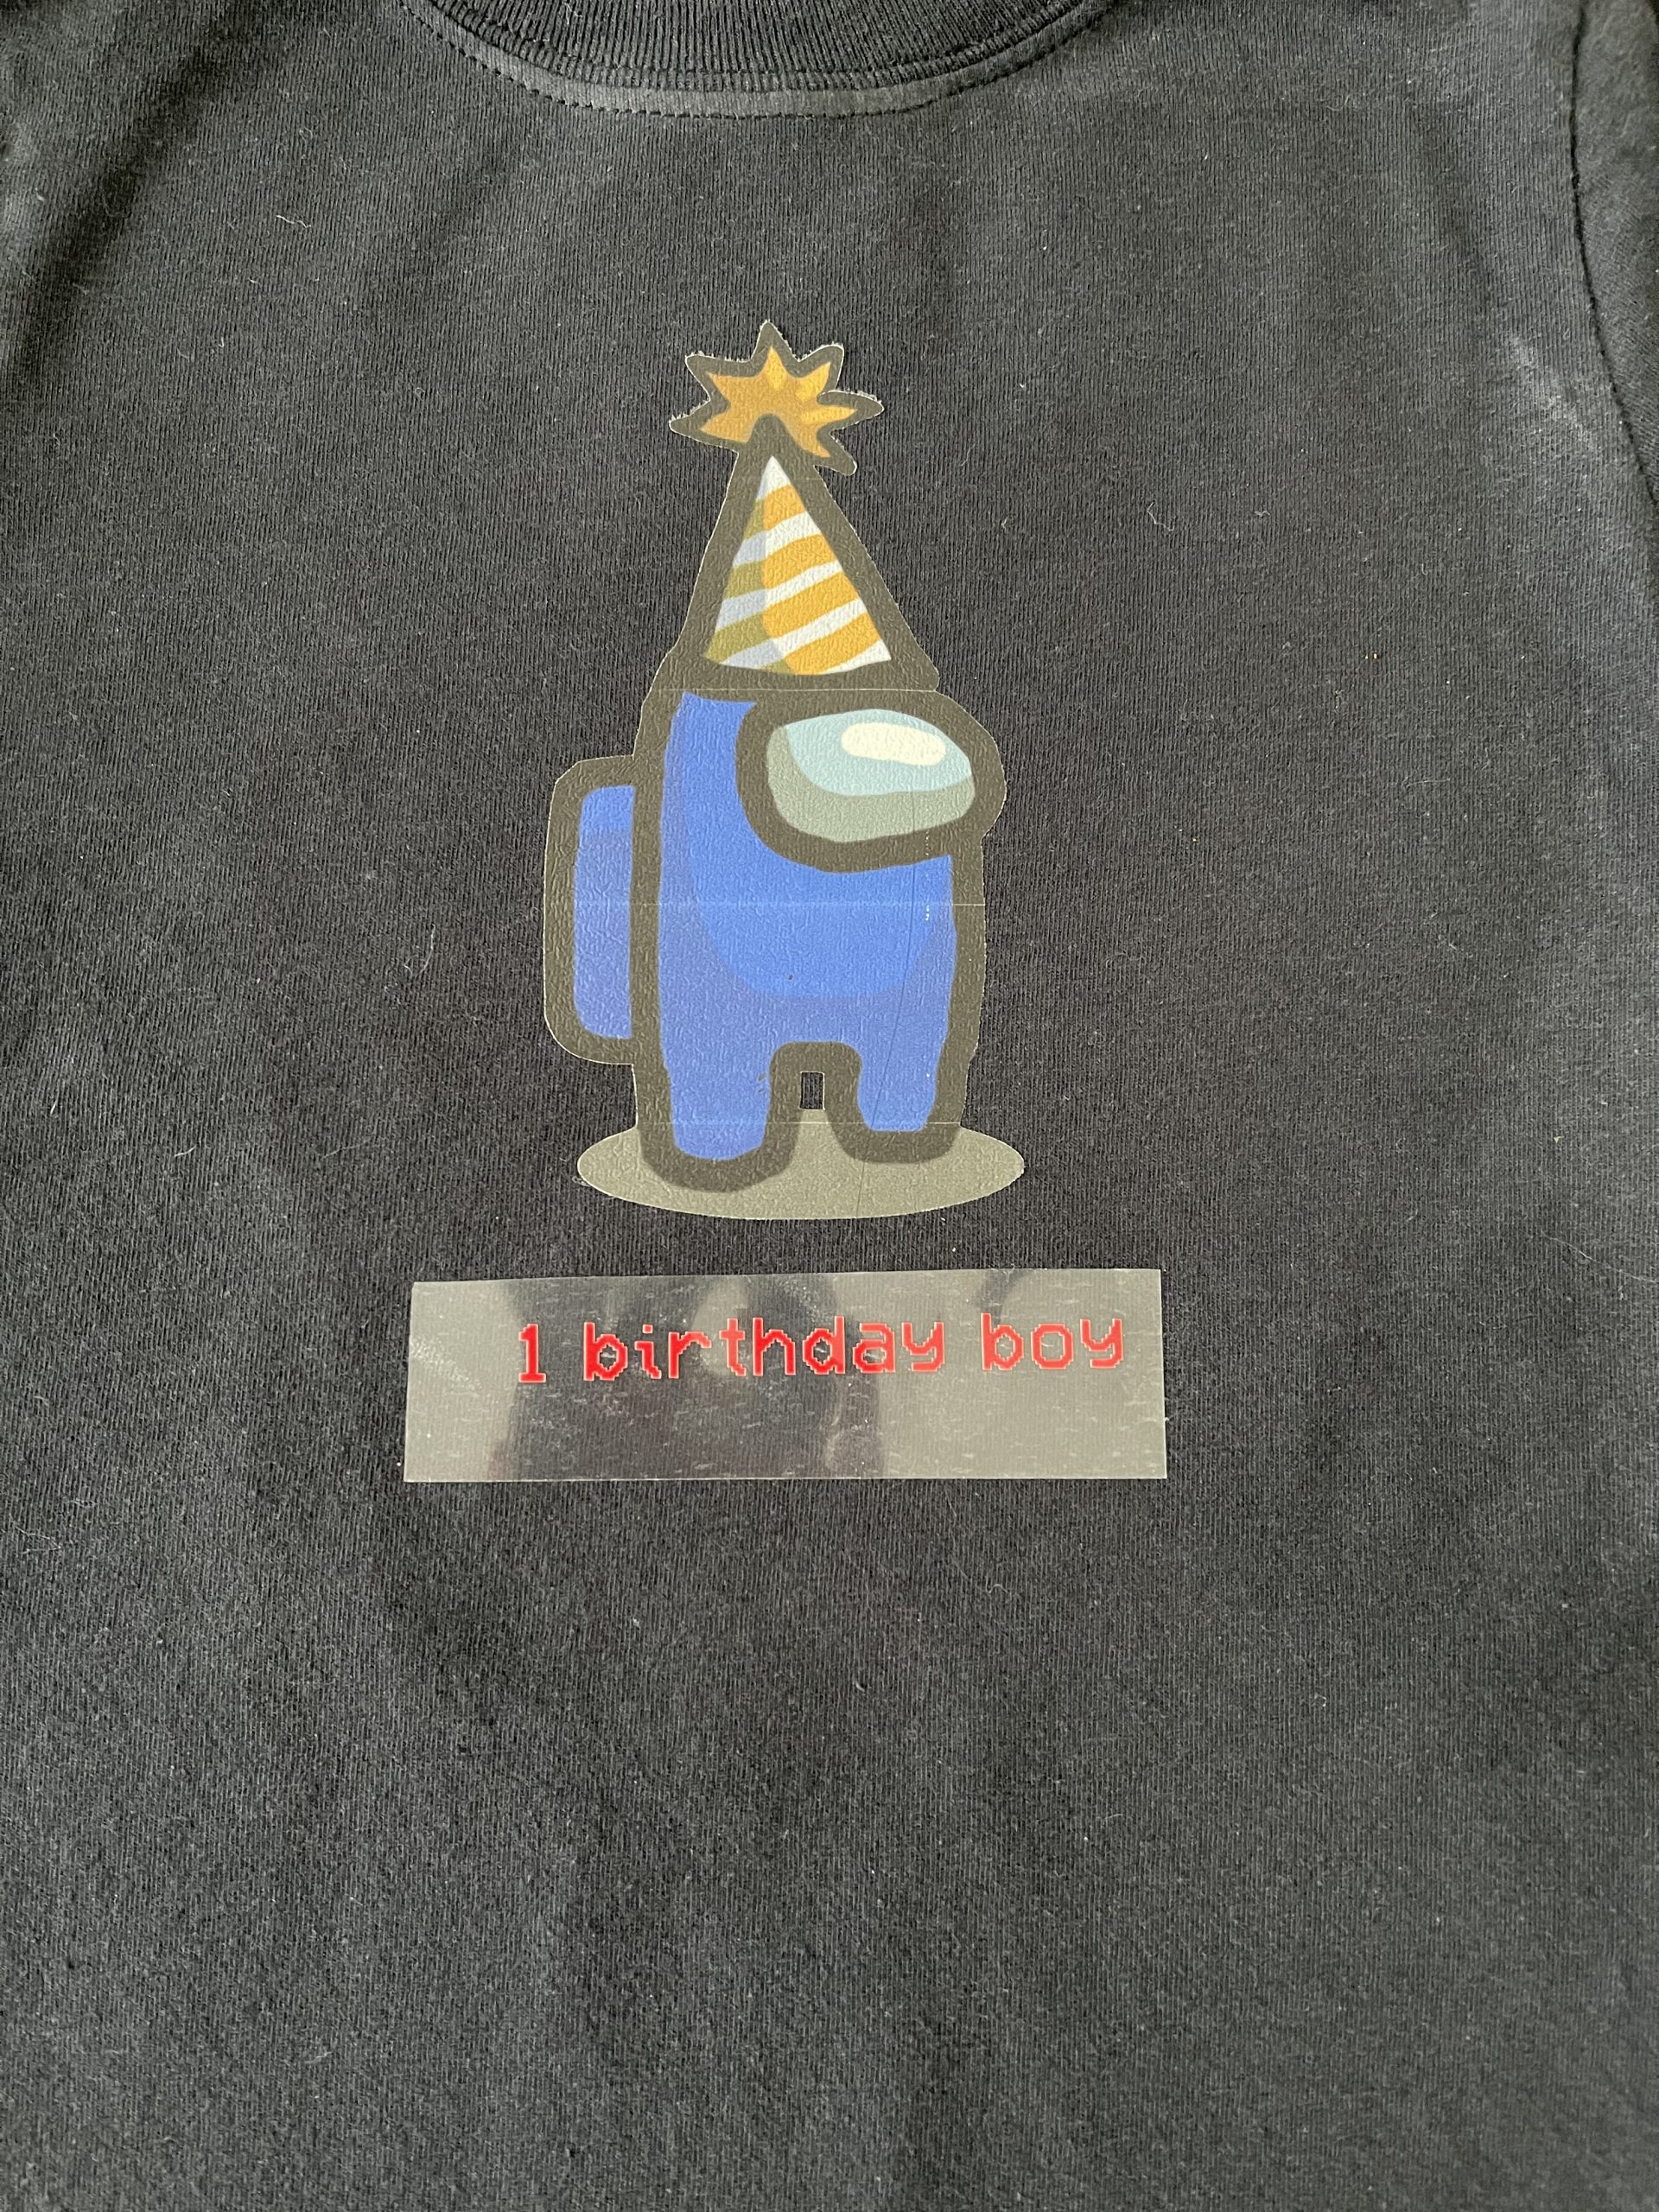
Next, you can start placing your text wherever you want it in relation to your Among Us character.
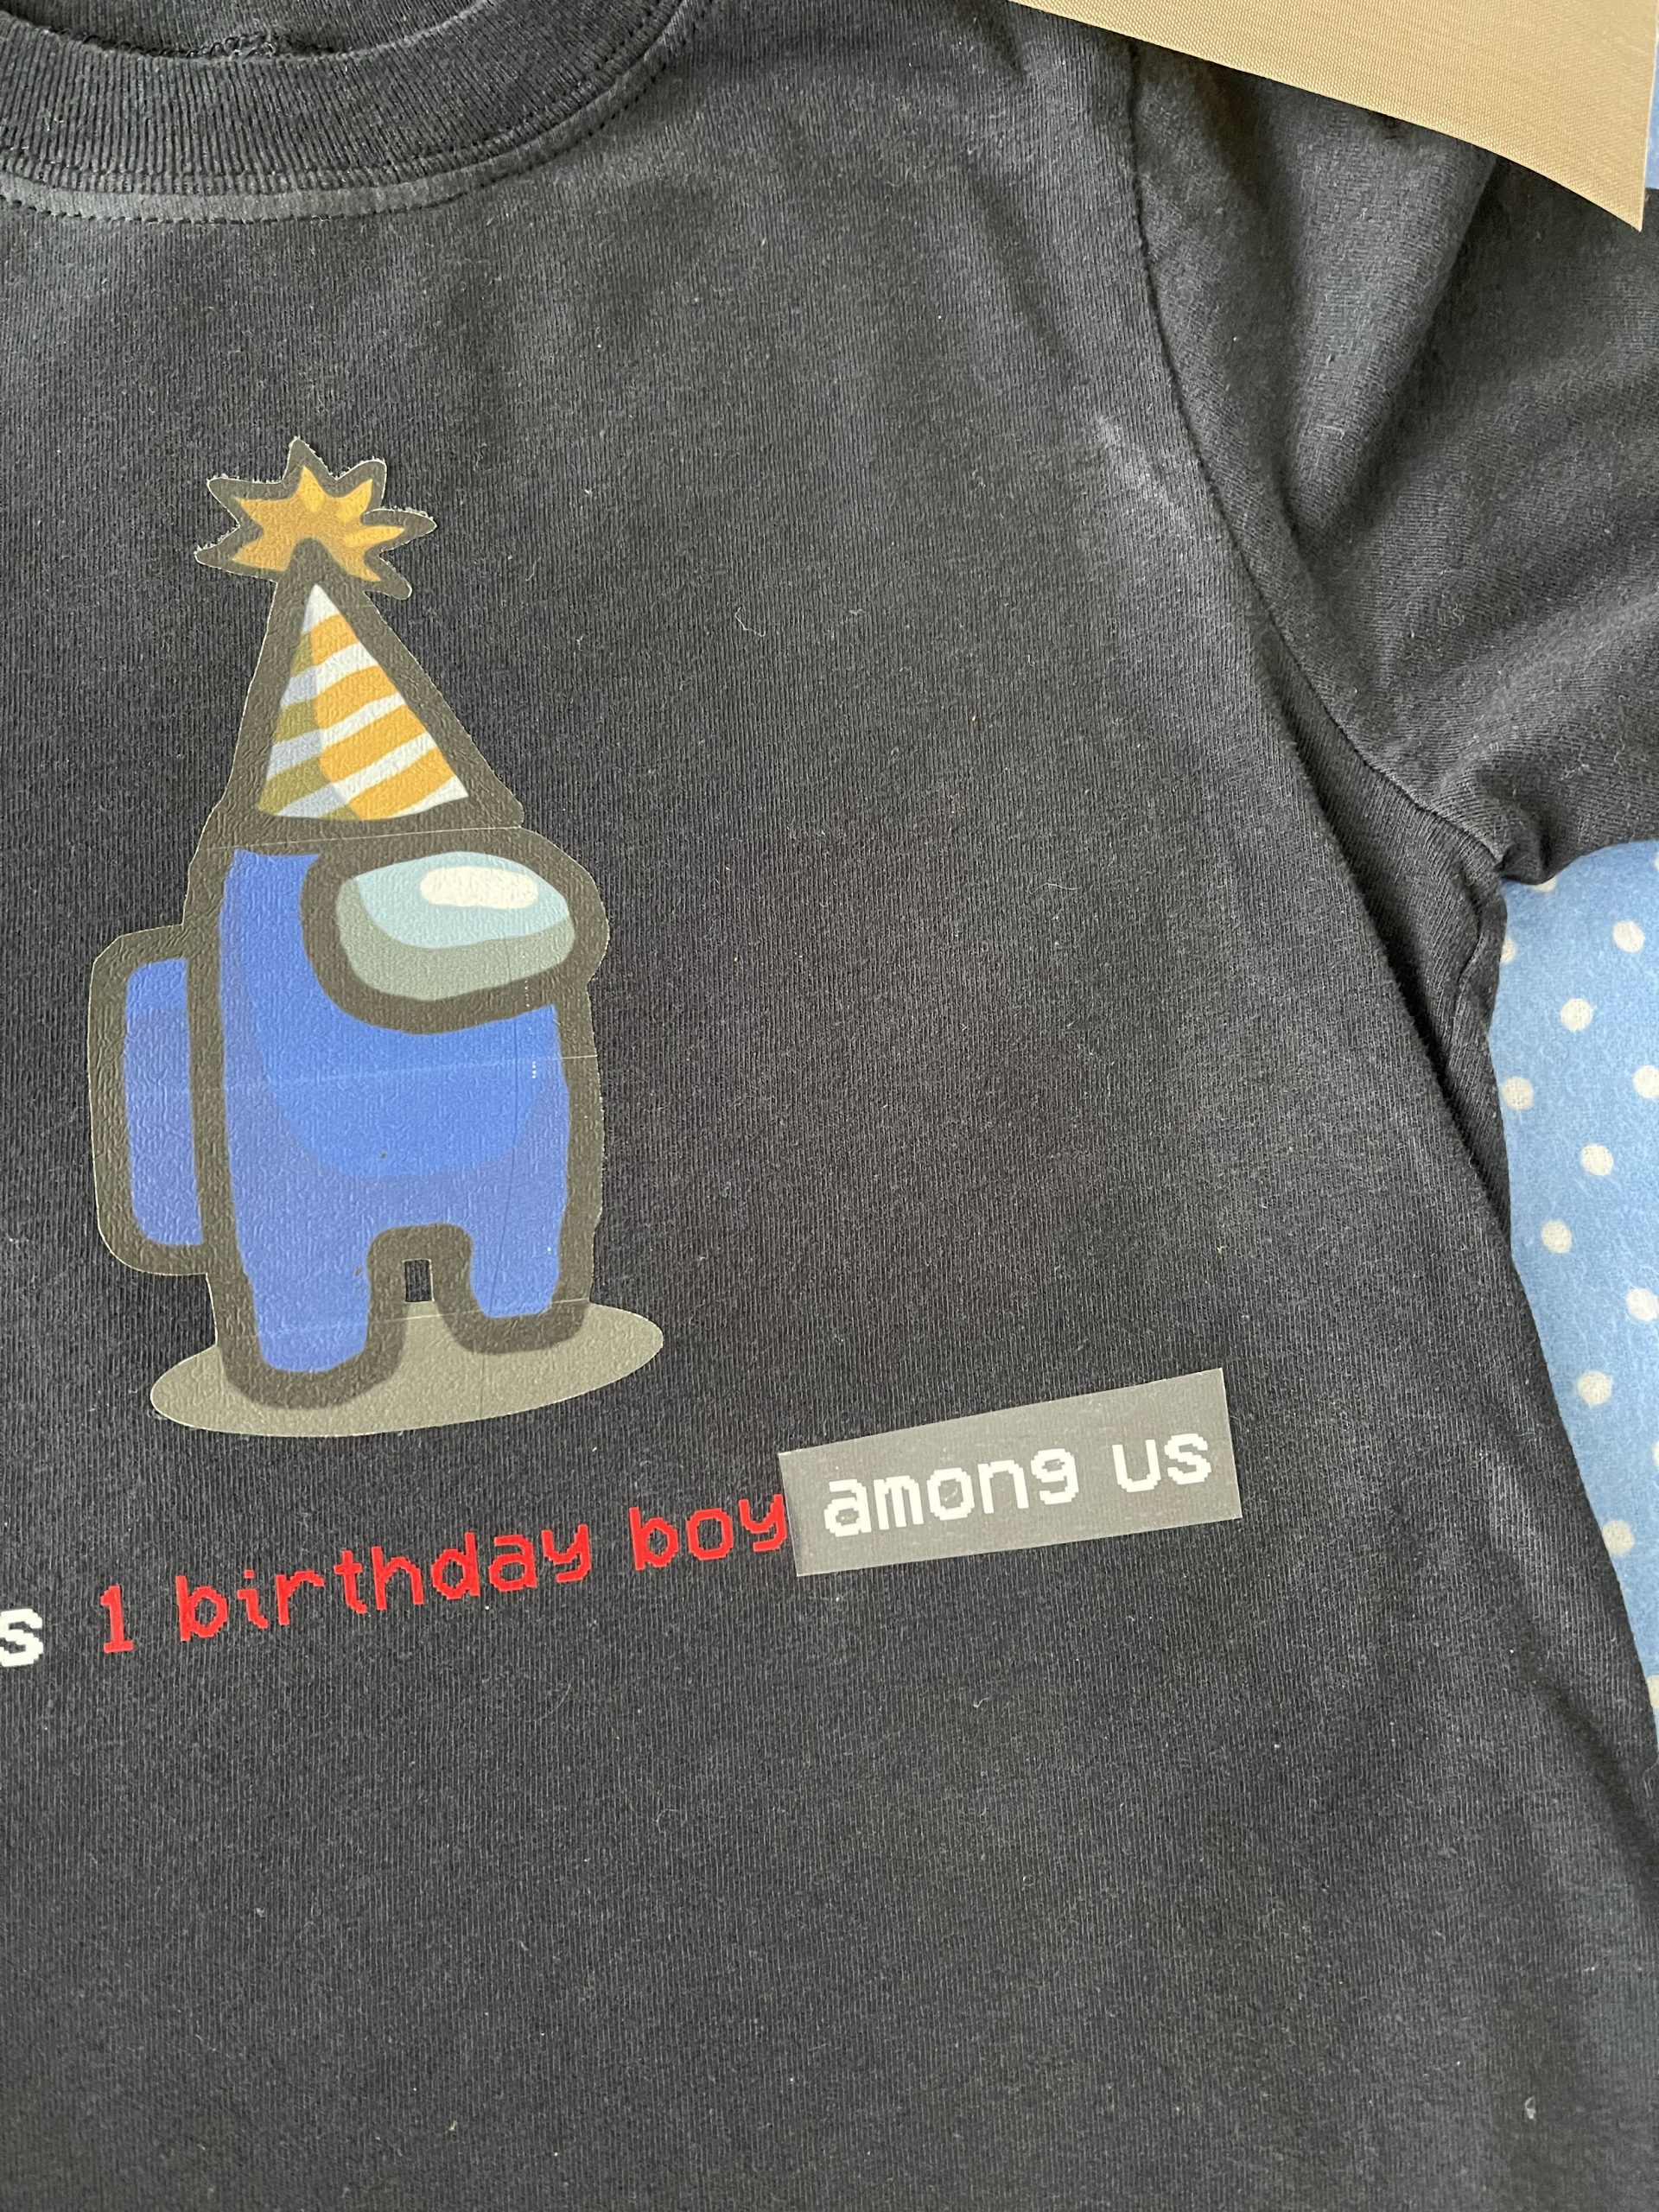
I always use these teflon sheets when ironing on HTV! You don’t want to iron directly on the clear transfer sheet, so make sure you have something as a buffer. I used to use parchment paper before I got the teflon sheets.
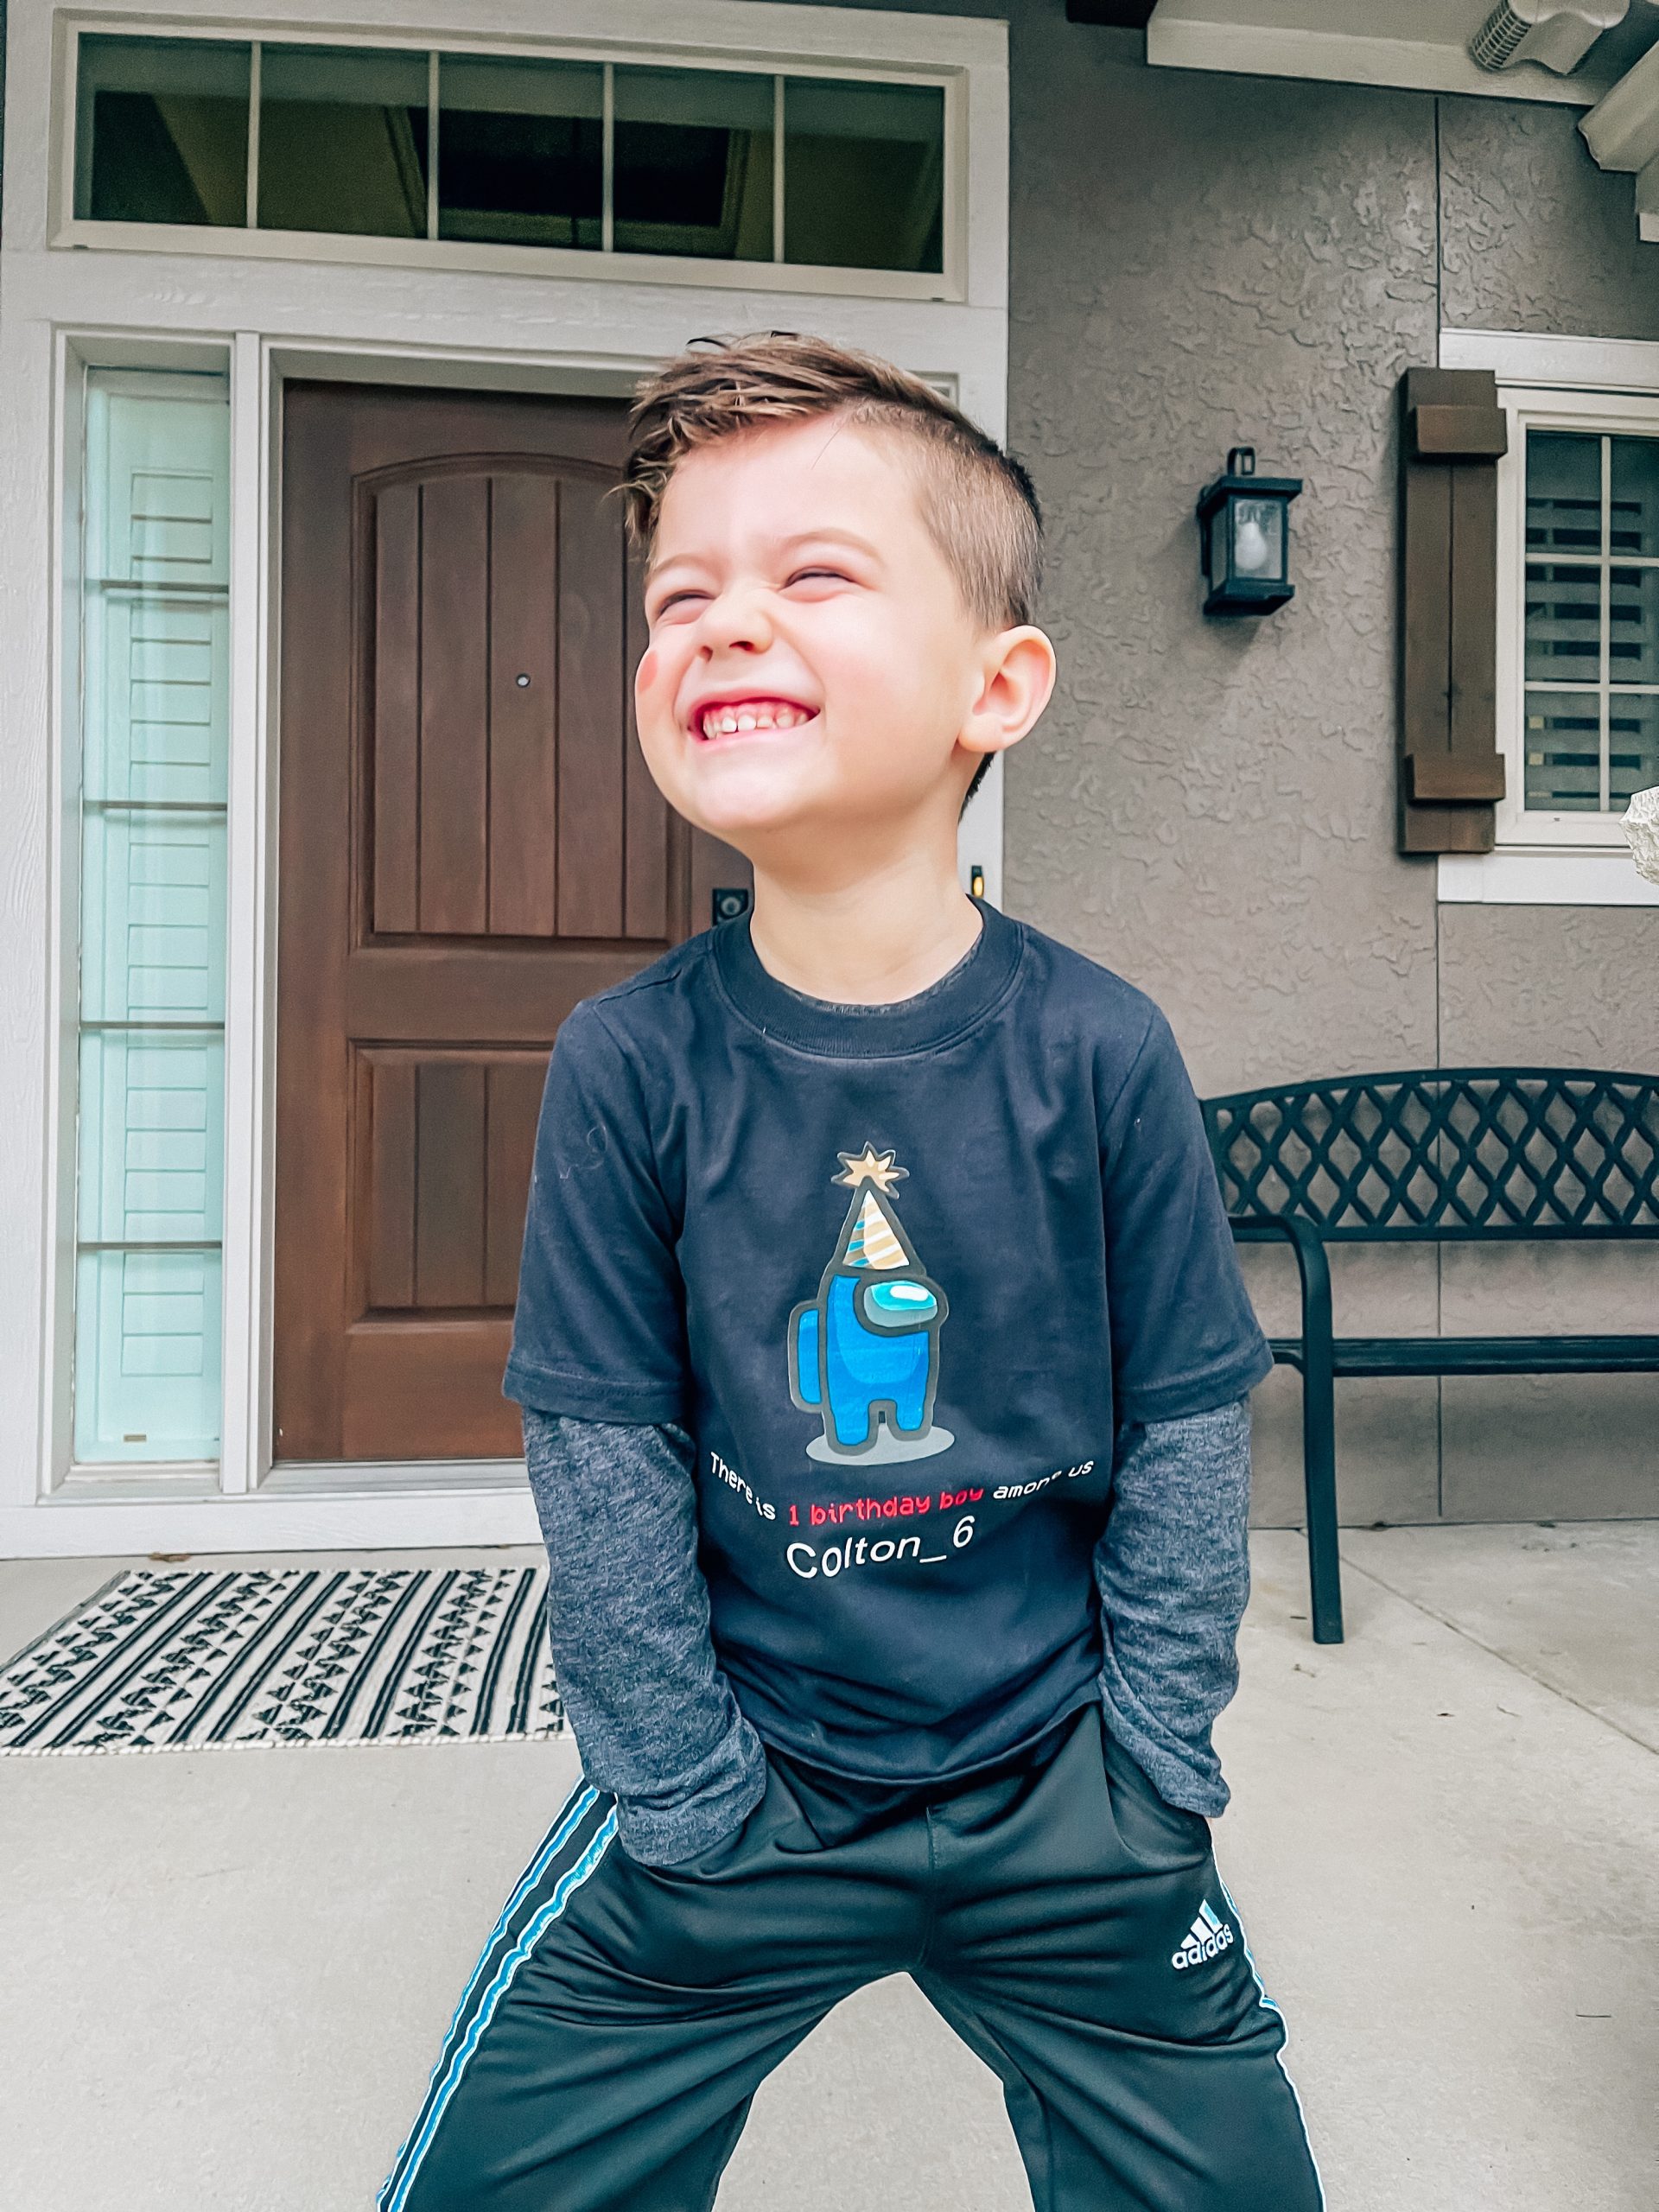
And there you go! Your DIY Among Us shirt is complete. As with anything with printable transfer and/or HTV, wash inside out and on delicate if possible. (It’s seriously not a big deal if you don’t do delicate, though–my kids’ clothes are always messy so delicate isn’t an option for their stuff and the shirts I make for them still hold up.)
Shop DIY Among Us Shirt Supplies



![Monochrome Kendra Scott Jewelry Look [Knotted Top + White Pants] 20 Monochrome Kendra Scott Jewelry Look: Kansas City fashion blogger COVET by tricia showcases a black and white spring transitional spring style featuring Kendra Scott jewelry. Here's how to style a knotted blouse with white pants, peep-toe heels, and gorgeous jewelry from Kendra Scott. The jewelry used in this post is available from Threshing Bee in Overland Park, KS.](https://www.covetbytricia.com/wp-content/uploads/2018/04/Monochrome-Kendra-Scott-Jewelry-Look-6-665x435.jpeg)