Do you remember tie dyeing shirts as a kid? It took forever, and a lot of the color was gone as soon as the shirt went into the washer. Thankfully, tie dye has come a long way! We tried the 2 Minute Tie Dye Kit, which uses a microwave dyeing technique, and LOVED the results! After posting this video on Instagram, a lot of you were asking about my 2 minute tie dye kit reviews. So, here’s a full post with all the details!
If you make a purchase from this post, I may receive a commission. Please see our Legal page for more info.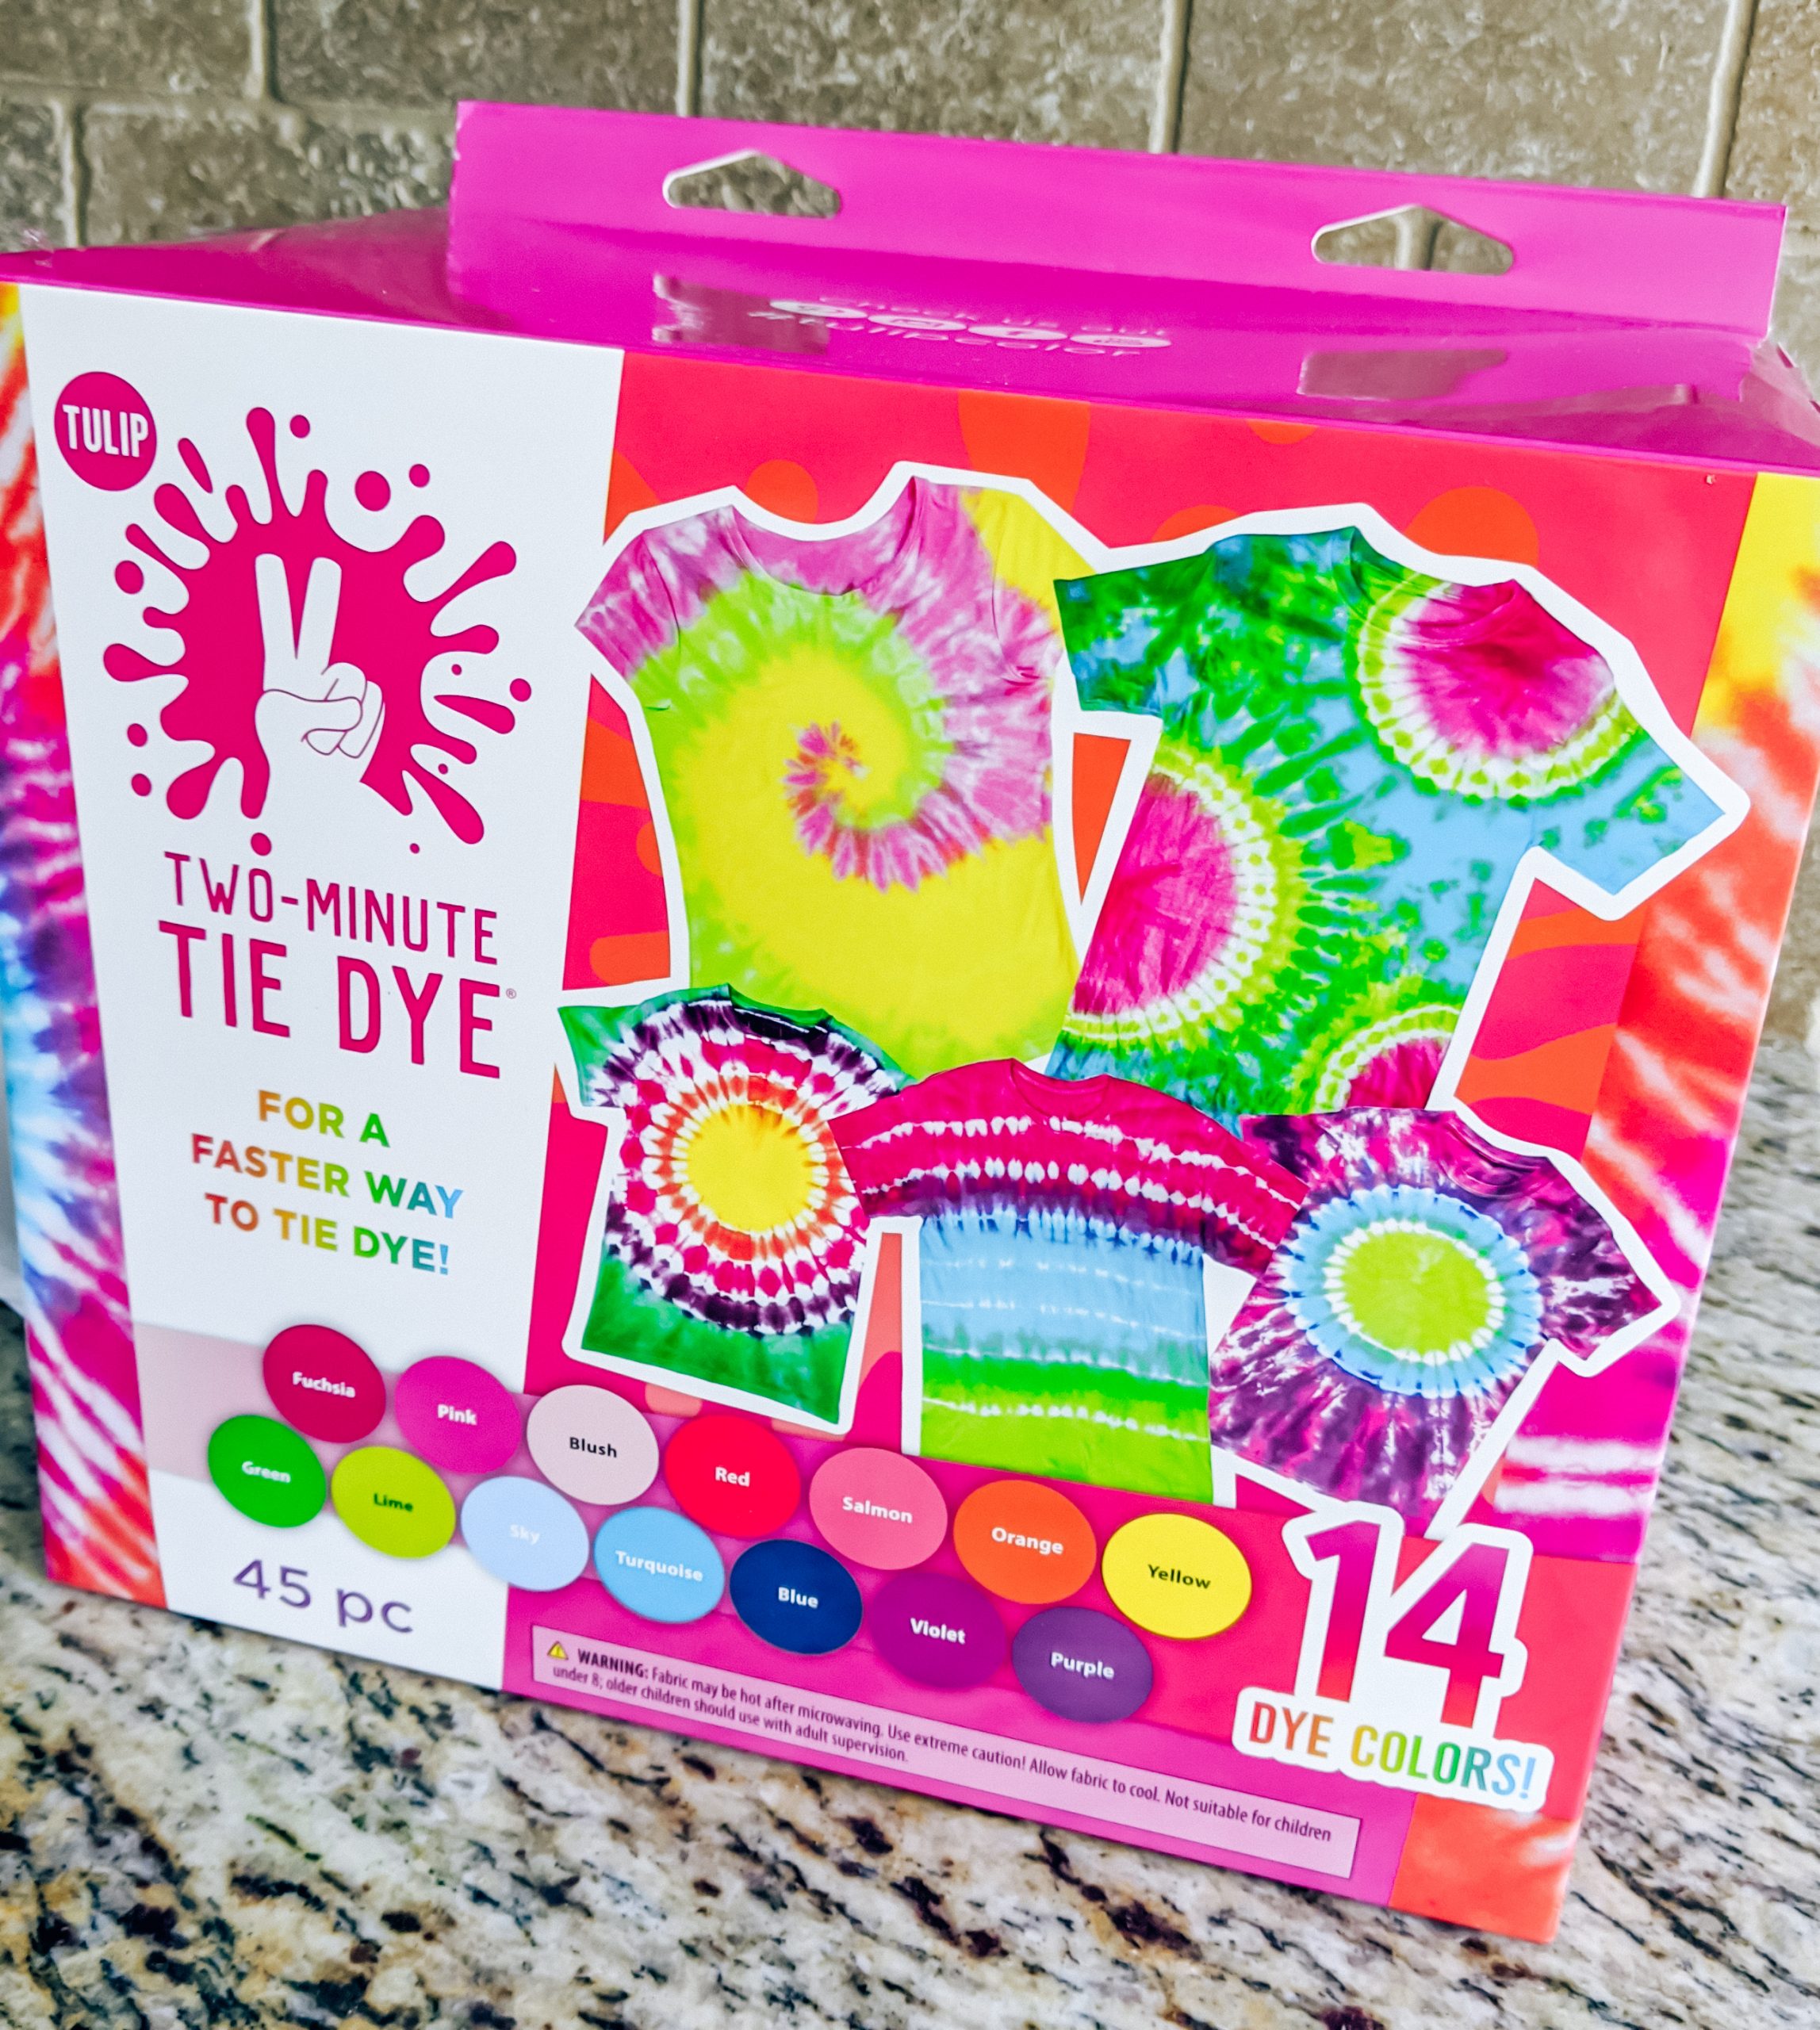
Here’s the exact 2 minute tie dye kit we used: Tulip Two Minute Tie Dye, 45 pc. It came with 14 dye colors, 2 microwave containers, a few pairs of gloves, and lots of rubber bands to make fun designs. (If that link is out of stock, try checking here!)
You’ll need to purchase your shirts, leotards, or whatever garments you want to tie dye separately. Make sure you get as close to 100% cotton as possible. We used these shirts and this leotard (both are true to size).
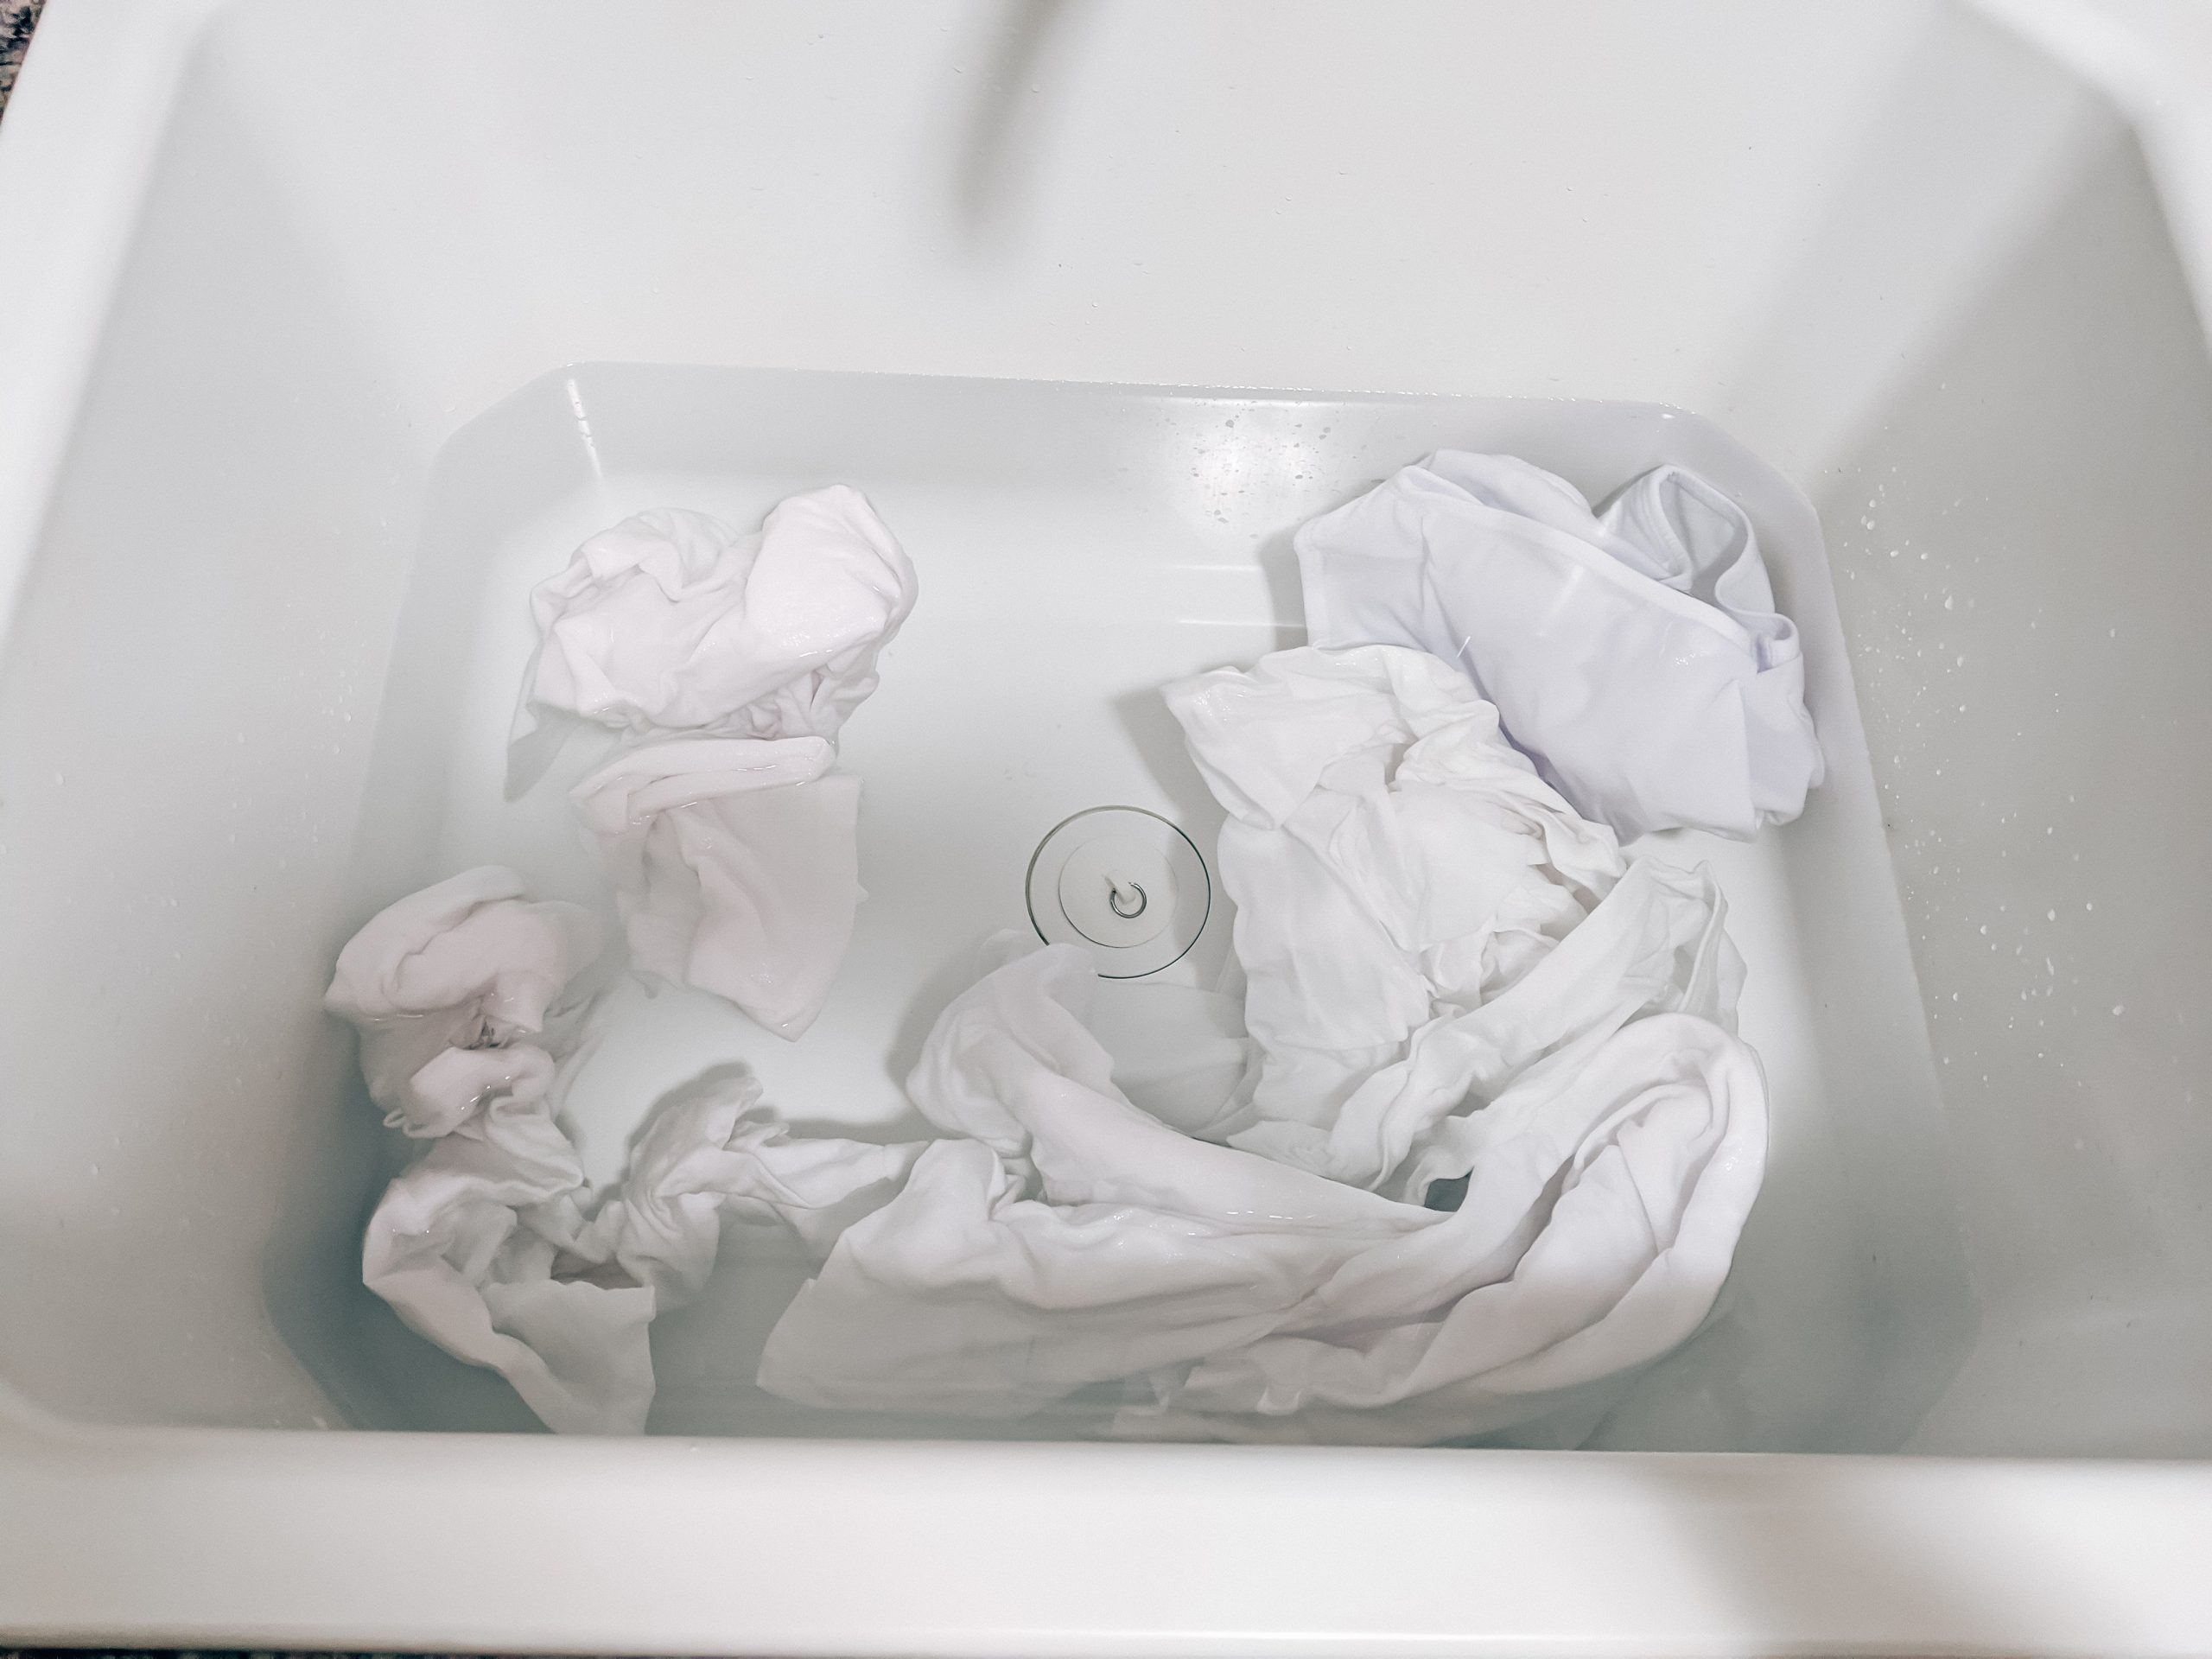
Your fabric will need to be wet when you tie dye it. You can soak your items in the laundry sink for a few minutes (like we did), or run them through the washer.
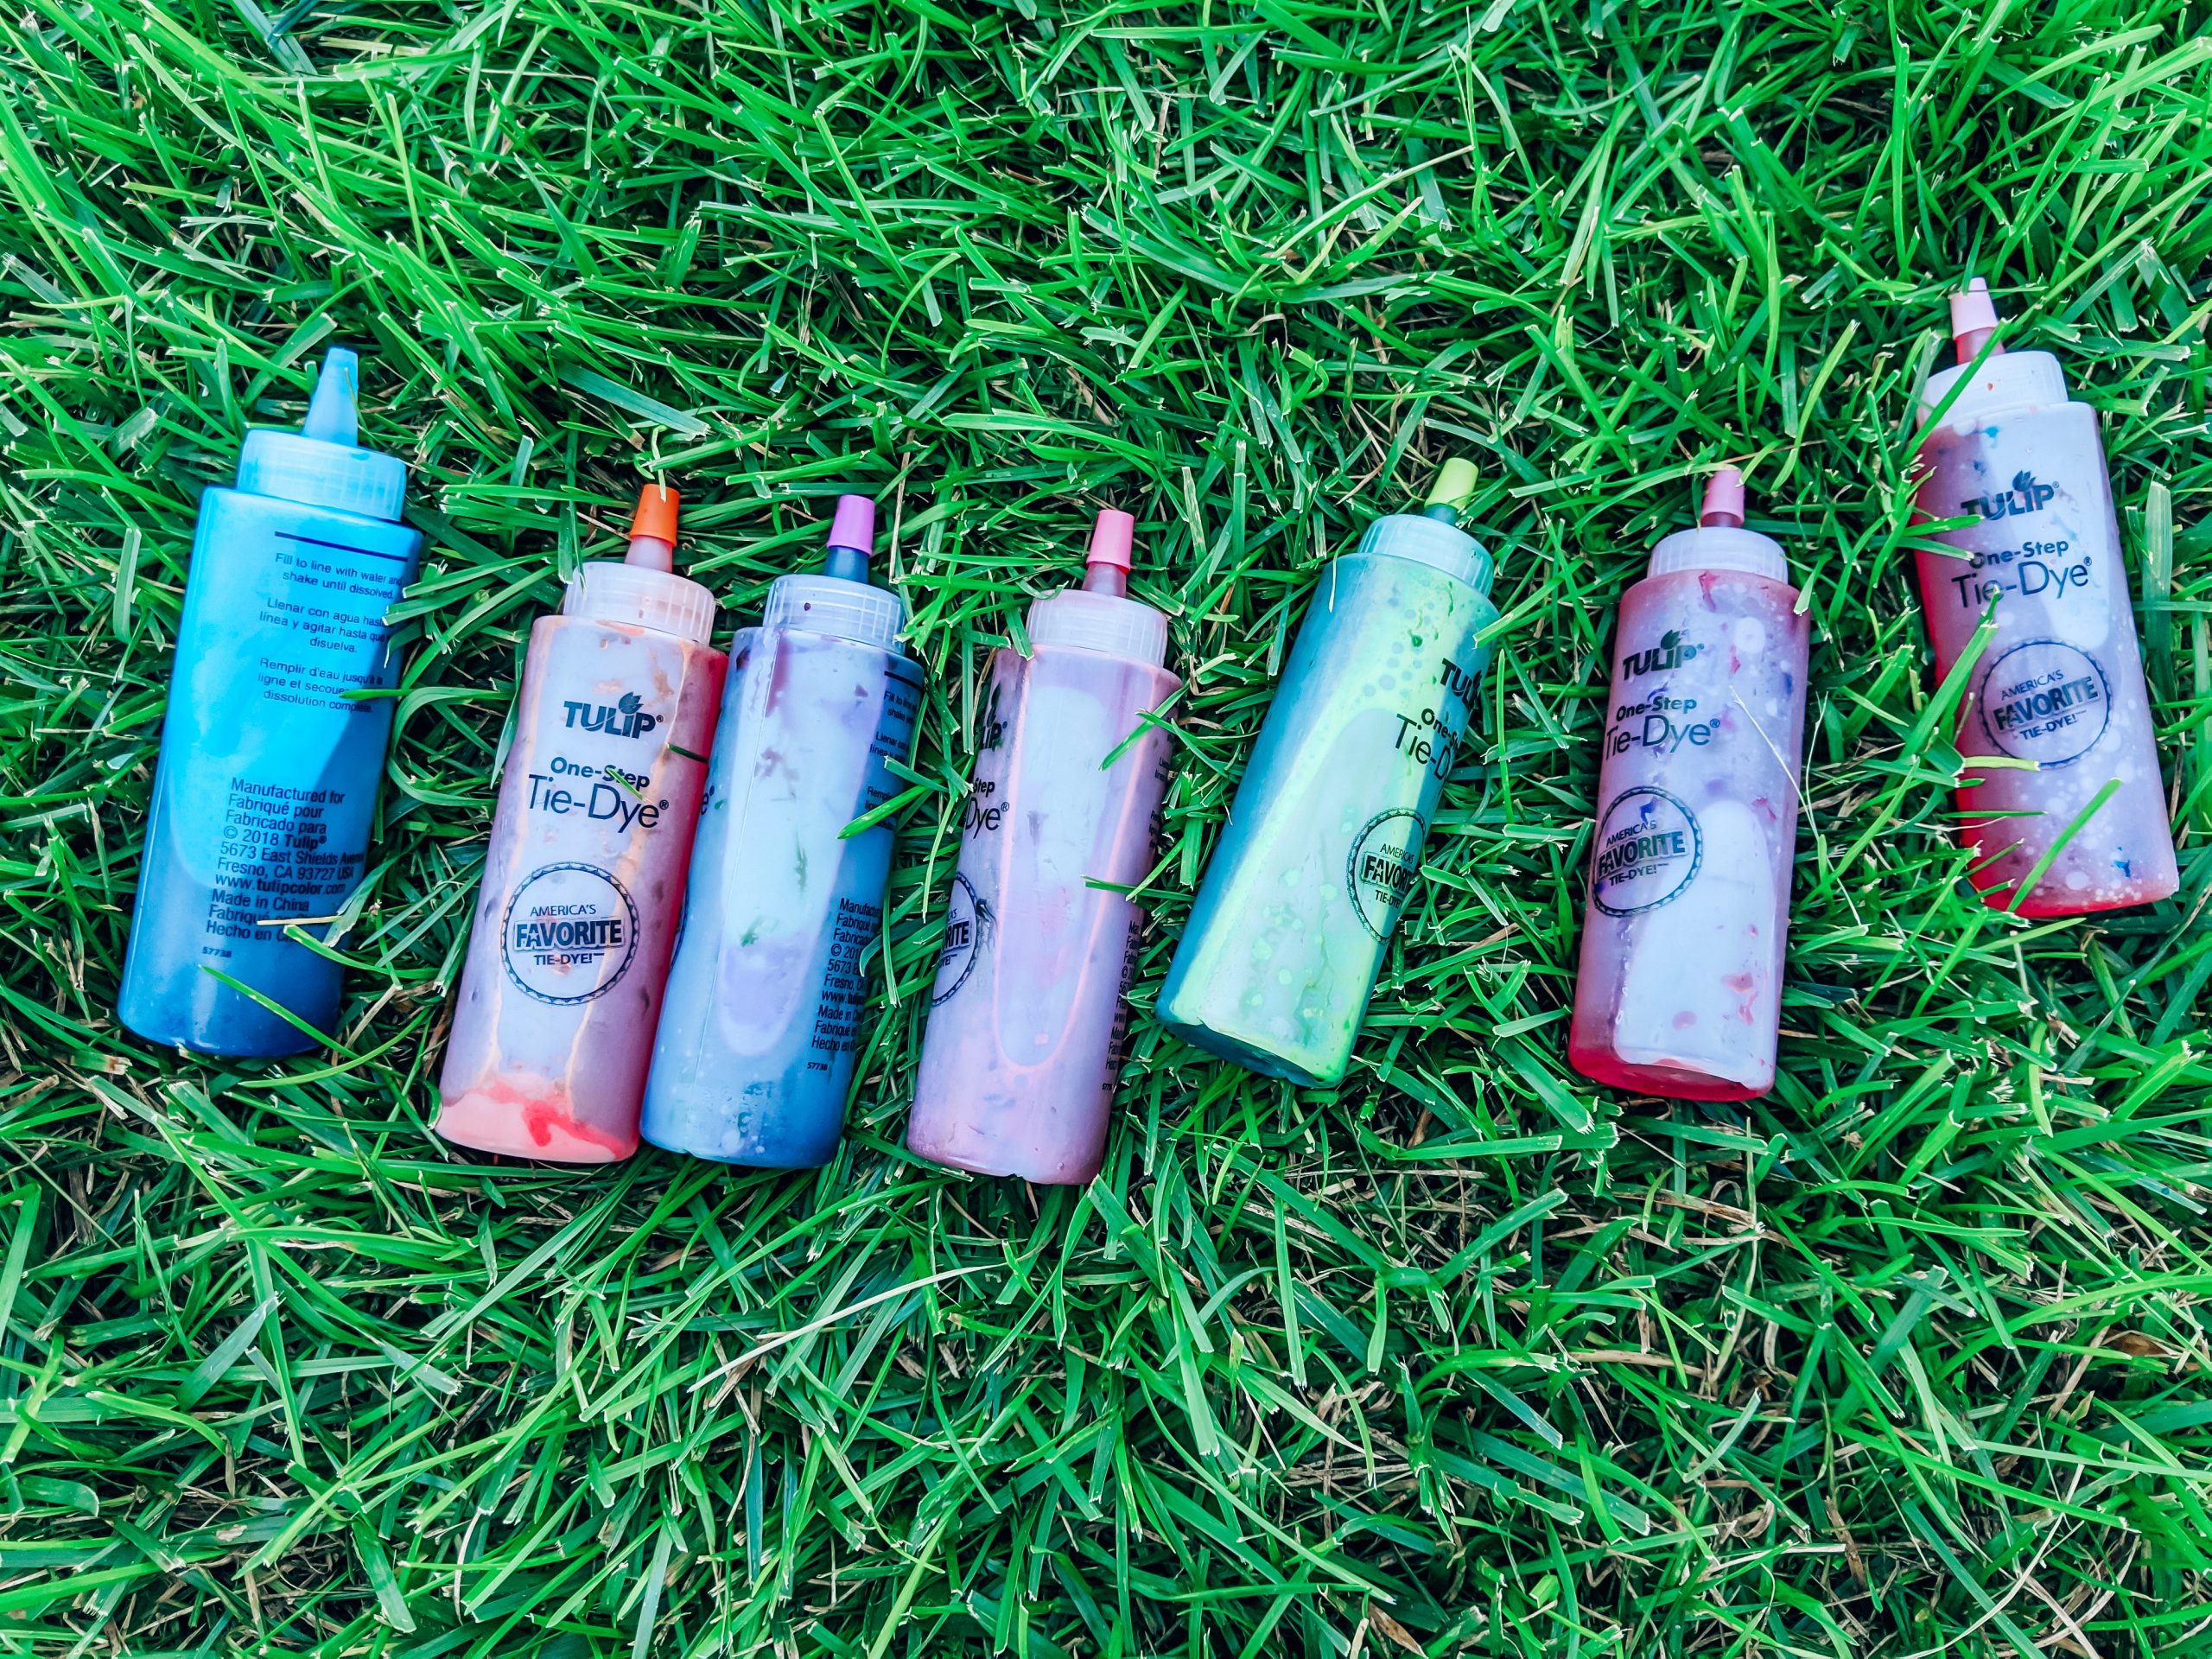
In the meantime, we mixed up our dye. The bottles came with the dye powder in the bottom. Just add water to the fill line on the bottle and shake for 1 minute.
Be sure to wear gloves any time you’re handling the dye! Even with the caps on, a bit of dye still slipped out. For the same reason, I highly recommend doing this outdoors. And make sure you wear clothes you don’t mind getting messy! (Blair actually got so much dye on her shirt and shorts that I ended up dyeing them for her after we were done. So she got an extra tie dye outfit out of the deal.)
That said, it’s not a huge deal if you get a little dye on yourself. I ended up with some on my hands and it was gone by the next day. (with a lot of handwashing). One of my kids also got a little bit on our granite countertops, but it came off with a bit of scrubbing from a wipe. It’s just easier if you don’t have to mess with the extra clean up, obviously.

Next, use the provided rubber bands to create your preferred tie dye pattern. Then, simply apply the dye to your wet clothes! If you’re doing this outside, lay out a cardboard box (this is actually the box the 2 minute tie dye kit came in) to keep grass from getting onto the clothes. You can also use paper shopping bags, posterboard, etc.
It’s very important to have wet clothes for this step! I didn’t remove mine from the laundry sink until I was ready to apply the dye. If you’re doing this with a group, consider having some buckets or coolers of water around for people to soak their clothes in for a few minutes. If your clothes have any dry spots once they go into the microwave, they can scorch and ruin your beautiful design.
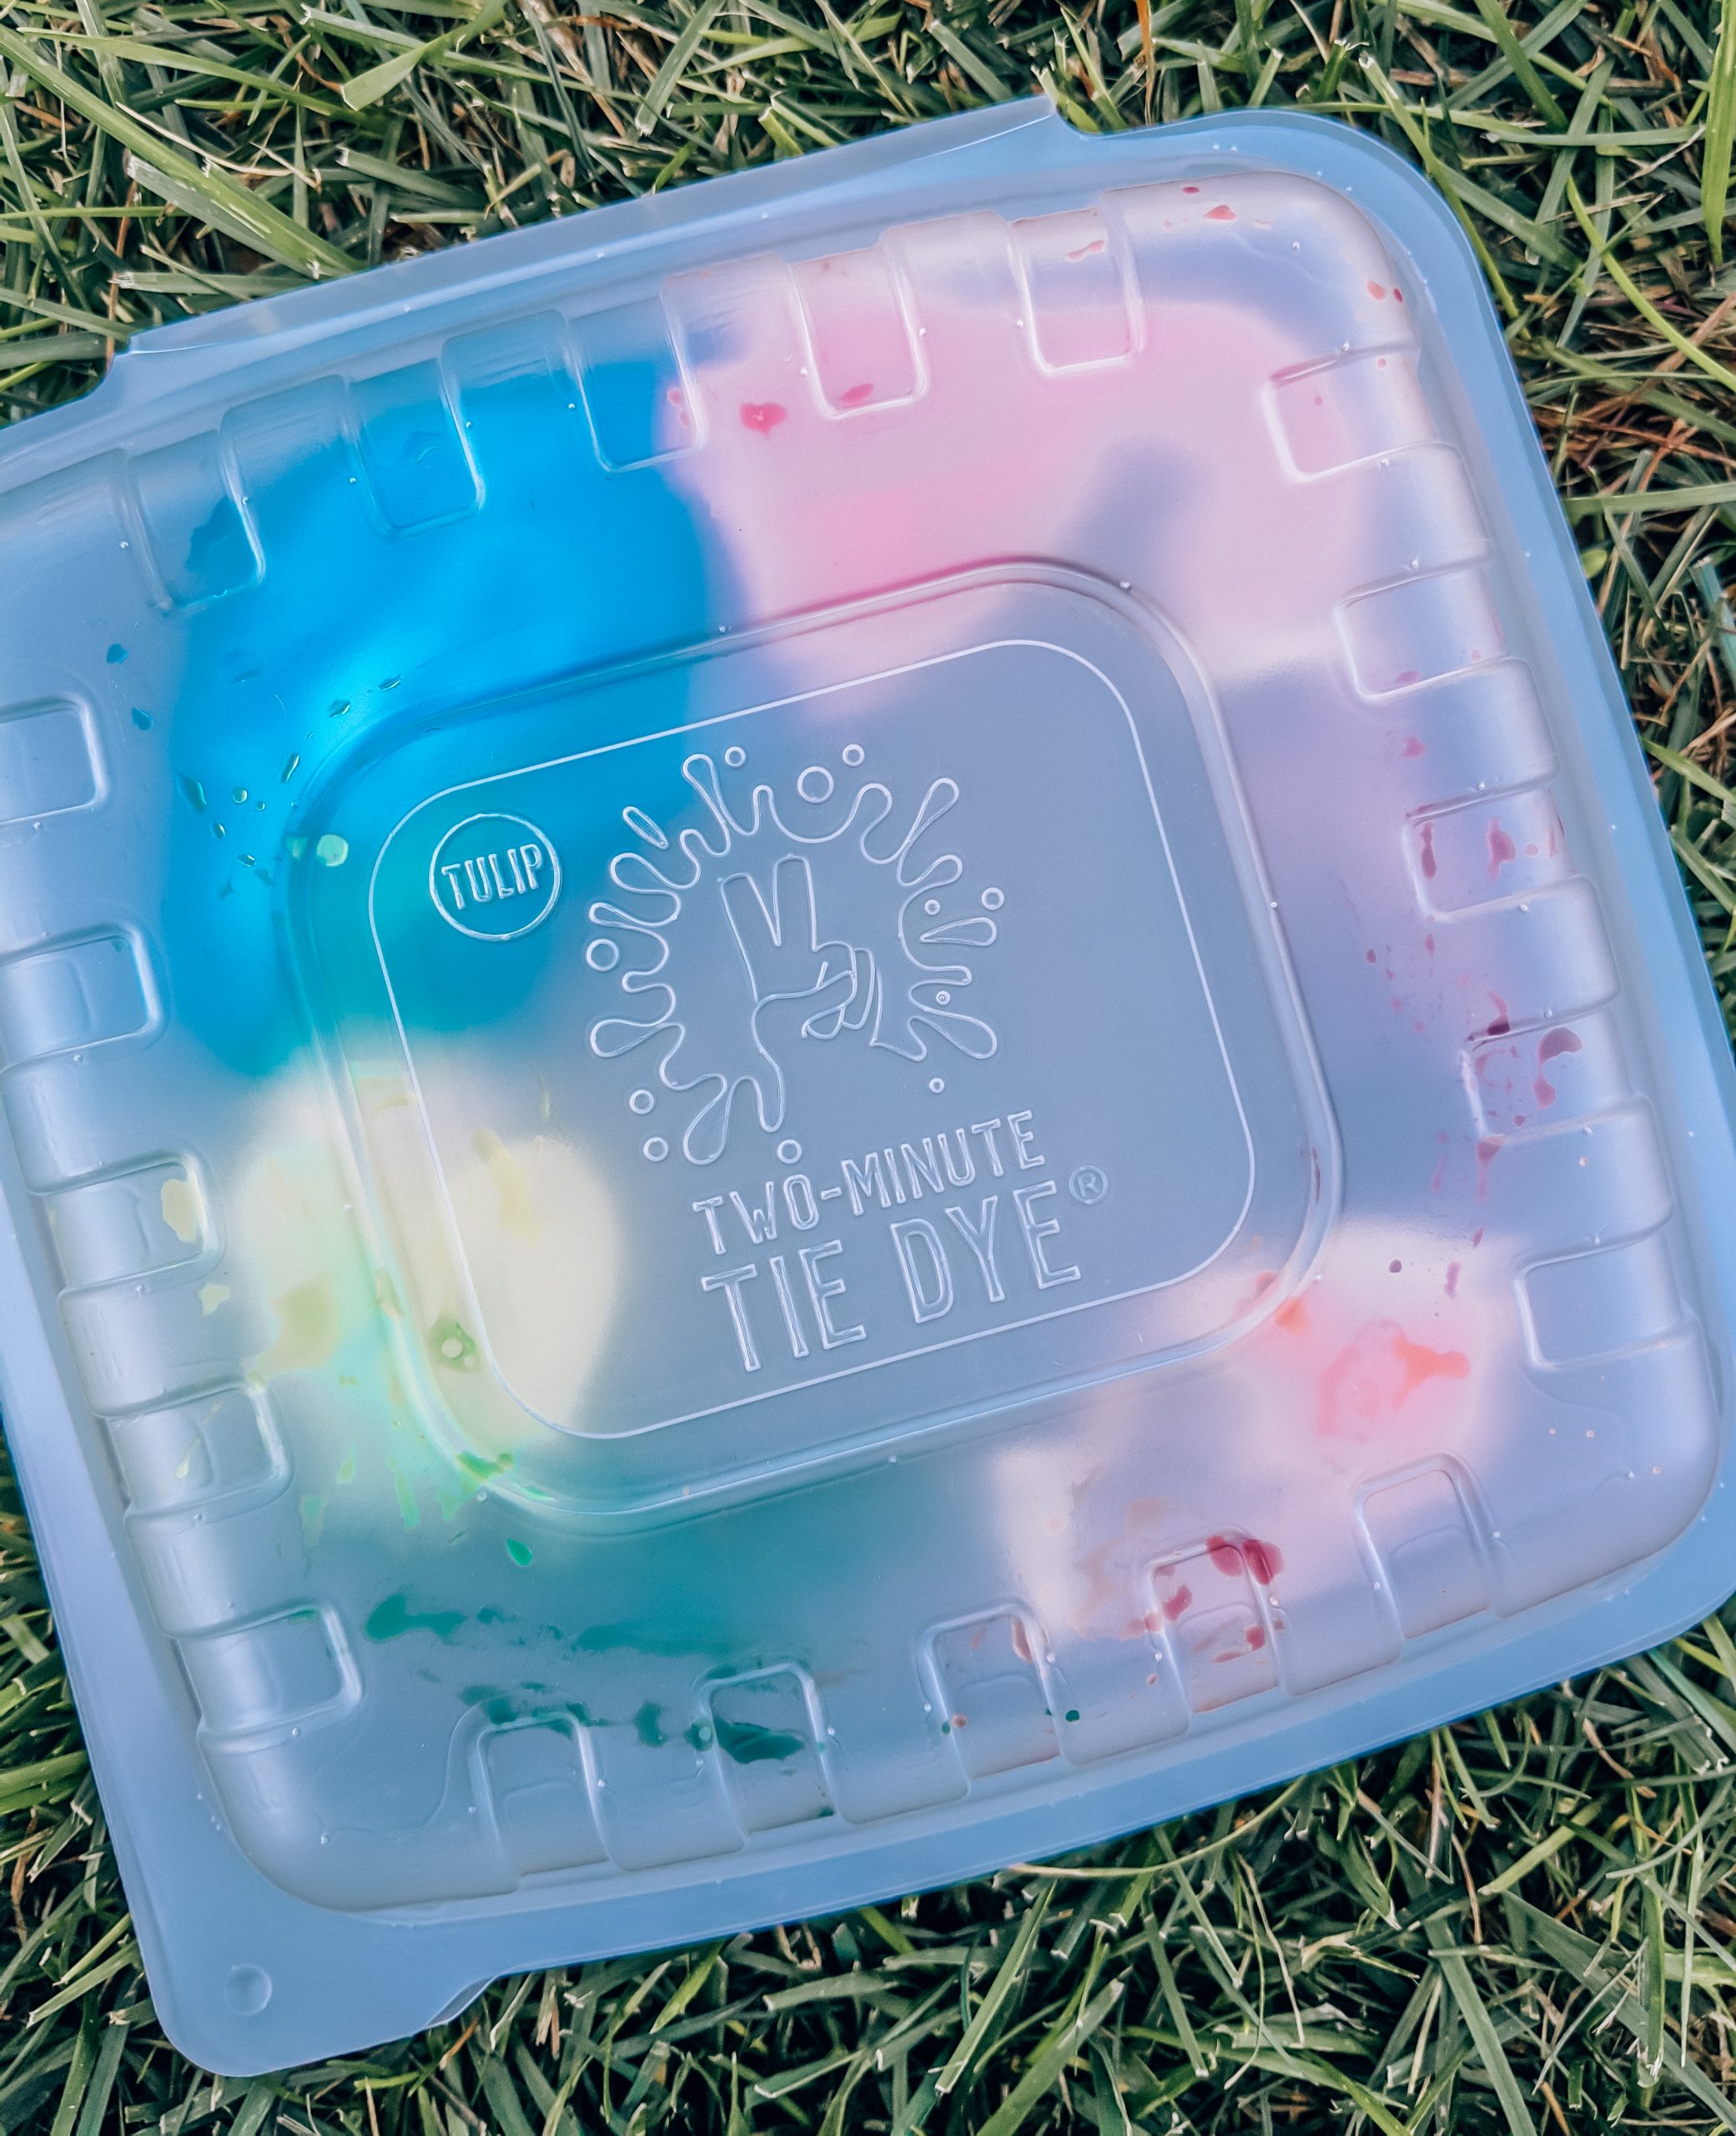
For the next step, place your wet dyed clothes in the 2 minute tie kit containers. You’ll then put them in the microwave for (you guessed it) 2 minutes.
After the 2 minutes, remove the container from the microwave. Leave the container closed for 15 minutes to allow the color to soak in. Then, open it for 5 minutes to cool.
One thing I didn’t see mentioned in a lot of 2 minute tie dye kit reviews is that the kit only comes with 2 of these containers. So, if you want to dye more than 2 pieces at a time, you’ll want to buy some extra containers. (They do sell the containers separately, so you don’t have to buy a whole other kit.)
The reason for this is that the 22 minutes (2 minutes microwave + 15 closed + 5 cooling) that it takes to free up your container allows the other garments to start drying. And, as I mentioned above, if your garment has any dry spots when it goes in the dryer, it can leave a burn mark on your design!
Also, if you’re doing this as a group, it can drag on a bit waiting 22 minutes for a container to become available. So, I recommend just grabbing a few extra containers, then you can move through your garments with only 2 minutes in between!
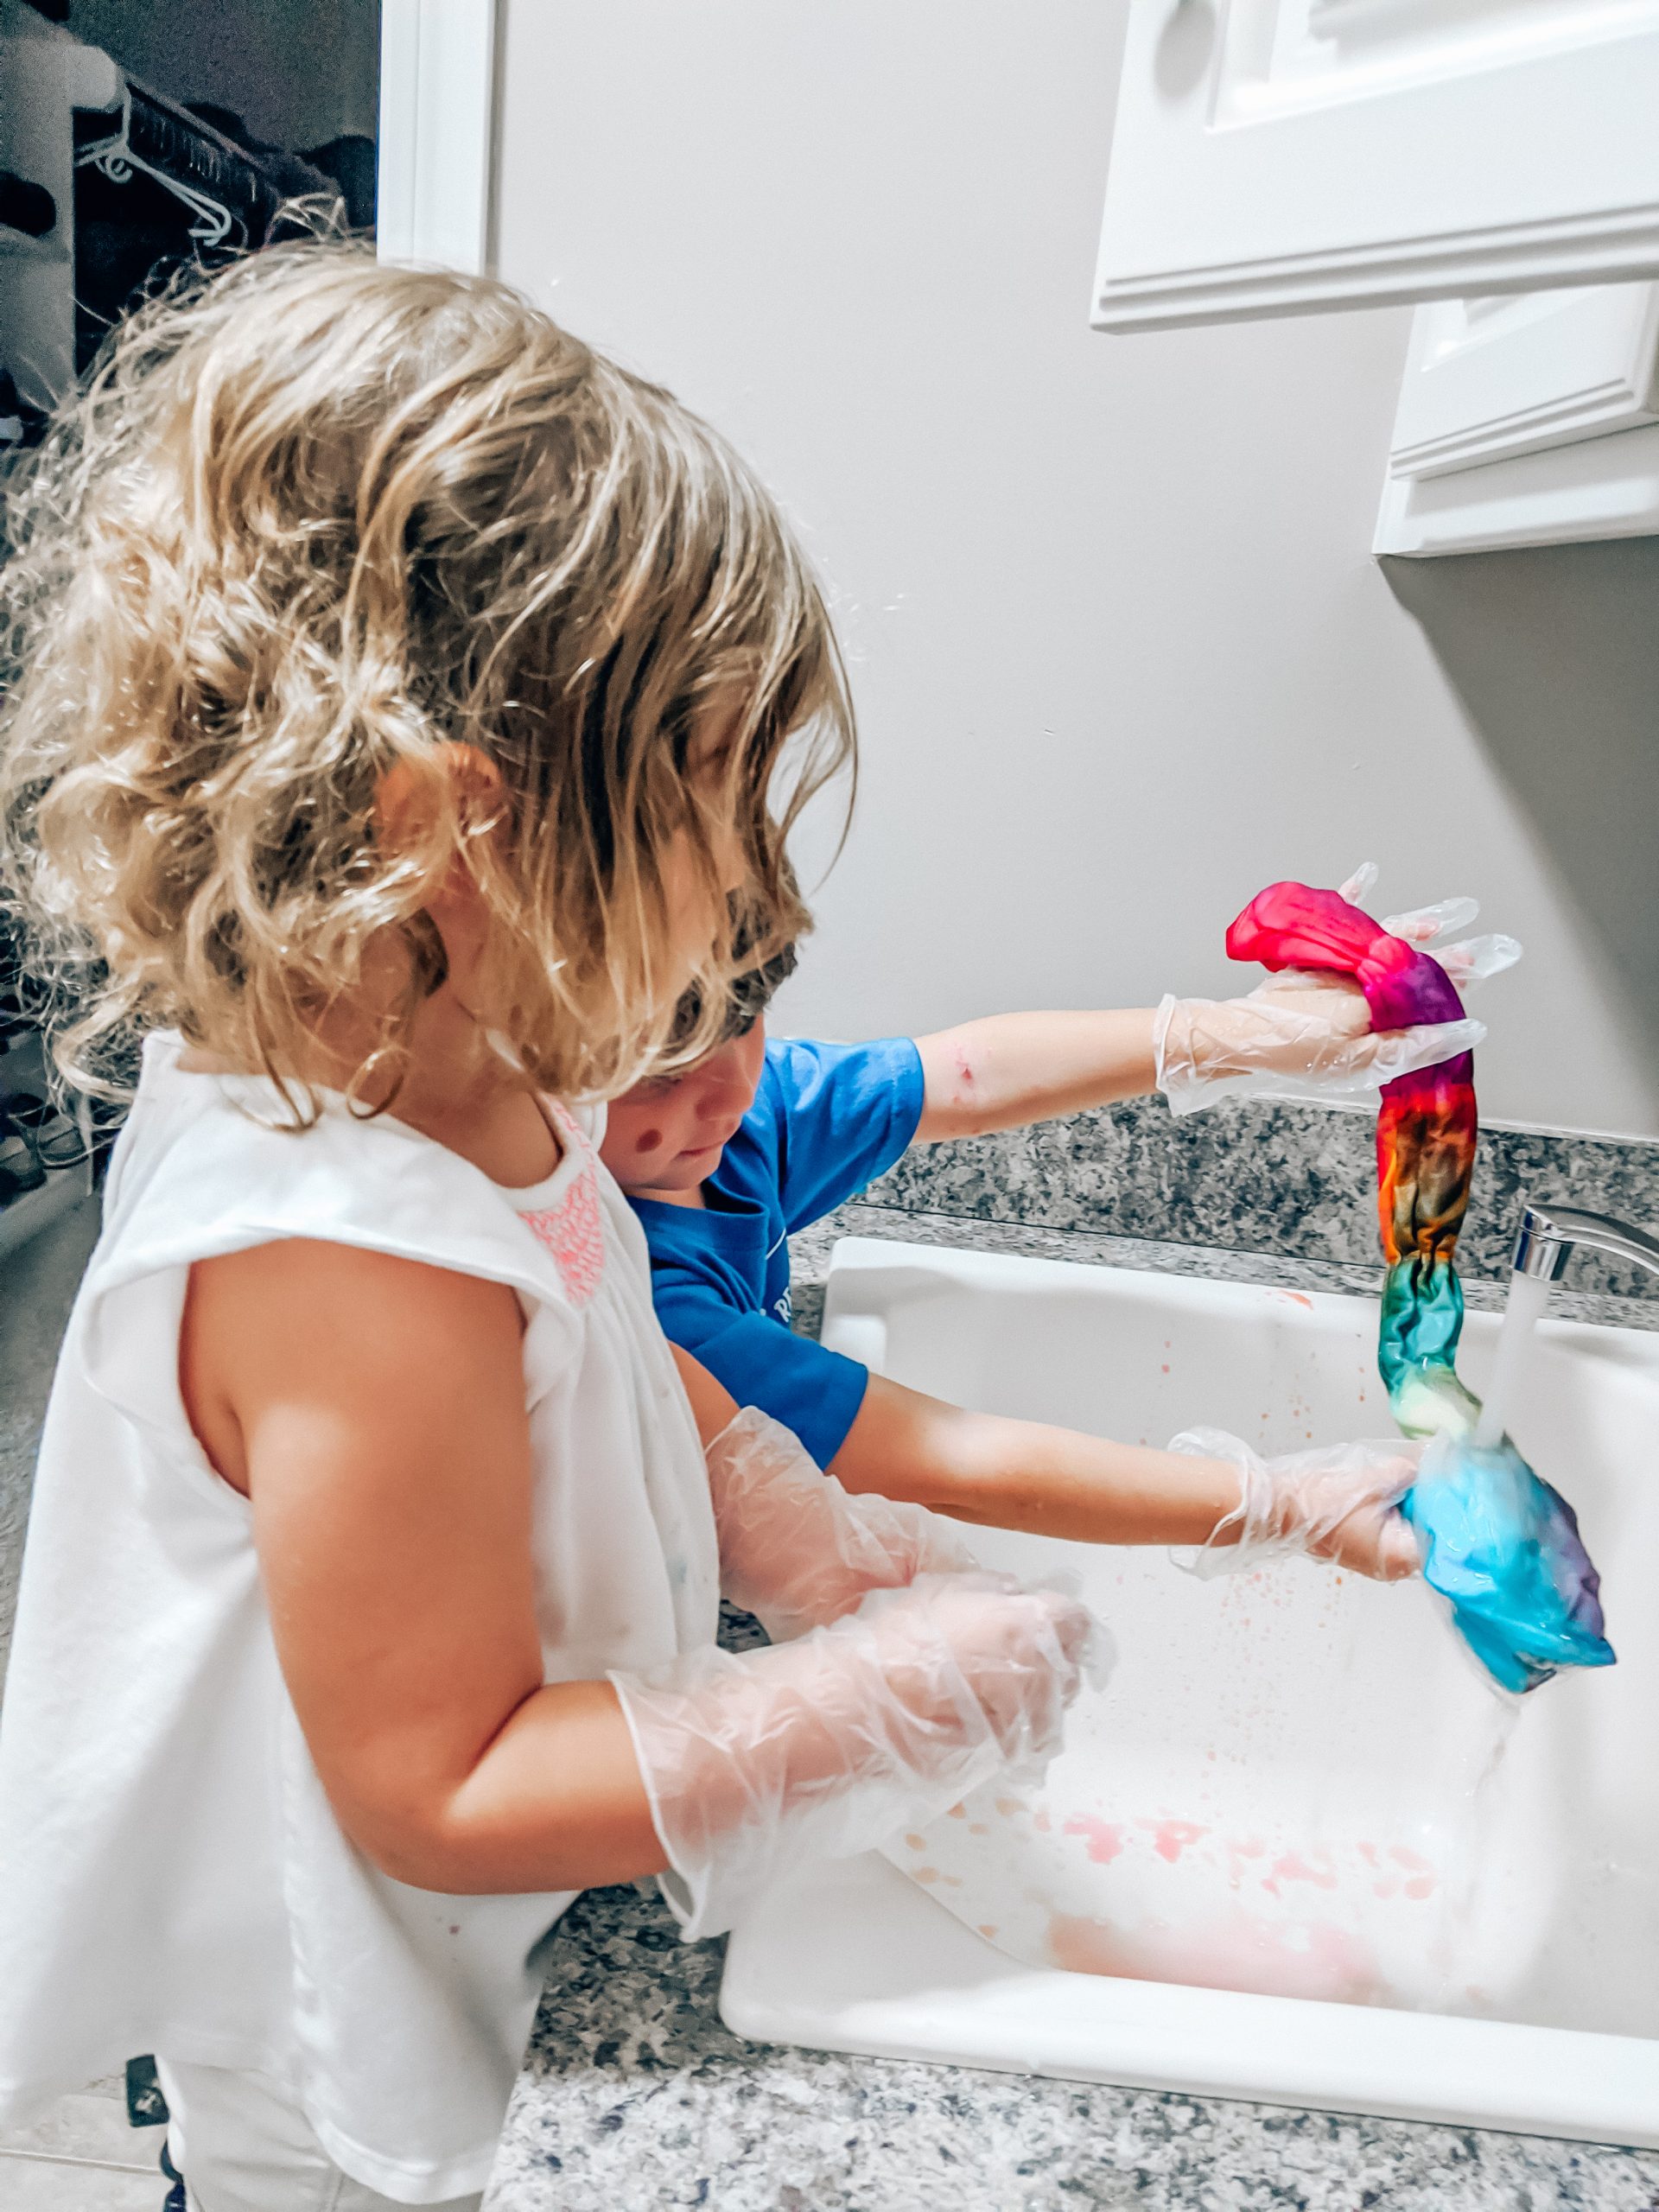
After your garments have cooled, it’s time to rinse! Remove the rubber bands (try to avoid cutting them so you can reuse them, but cut if you must). Then, rinse under cool water until you don’t see any more dye coming out.
Next, wash them! I washed each clothing item separately the first time, then washed all of our tie dye projects together in one load. So, each item made it through the washer twice. Then dry as normal. (I also ran a bleach-only load in our washer before putting in any of our regular clothes, just to be 100% sure no dye was left.)
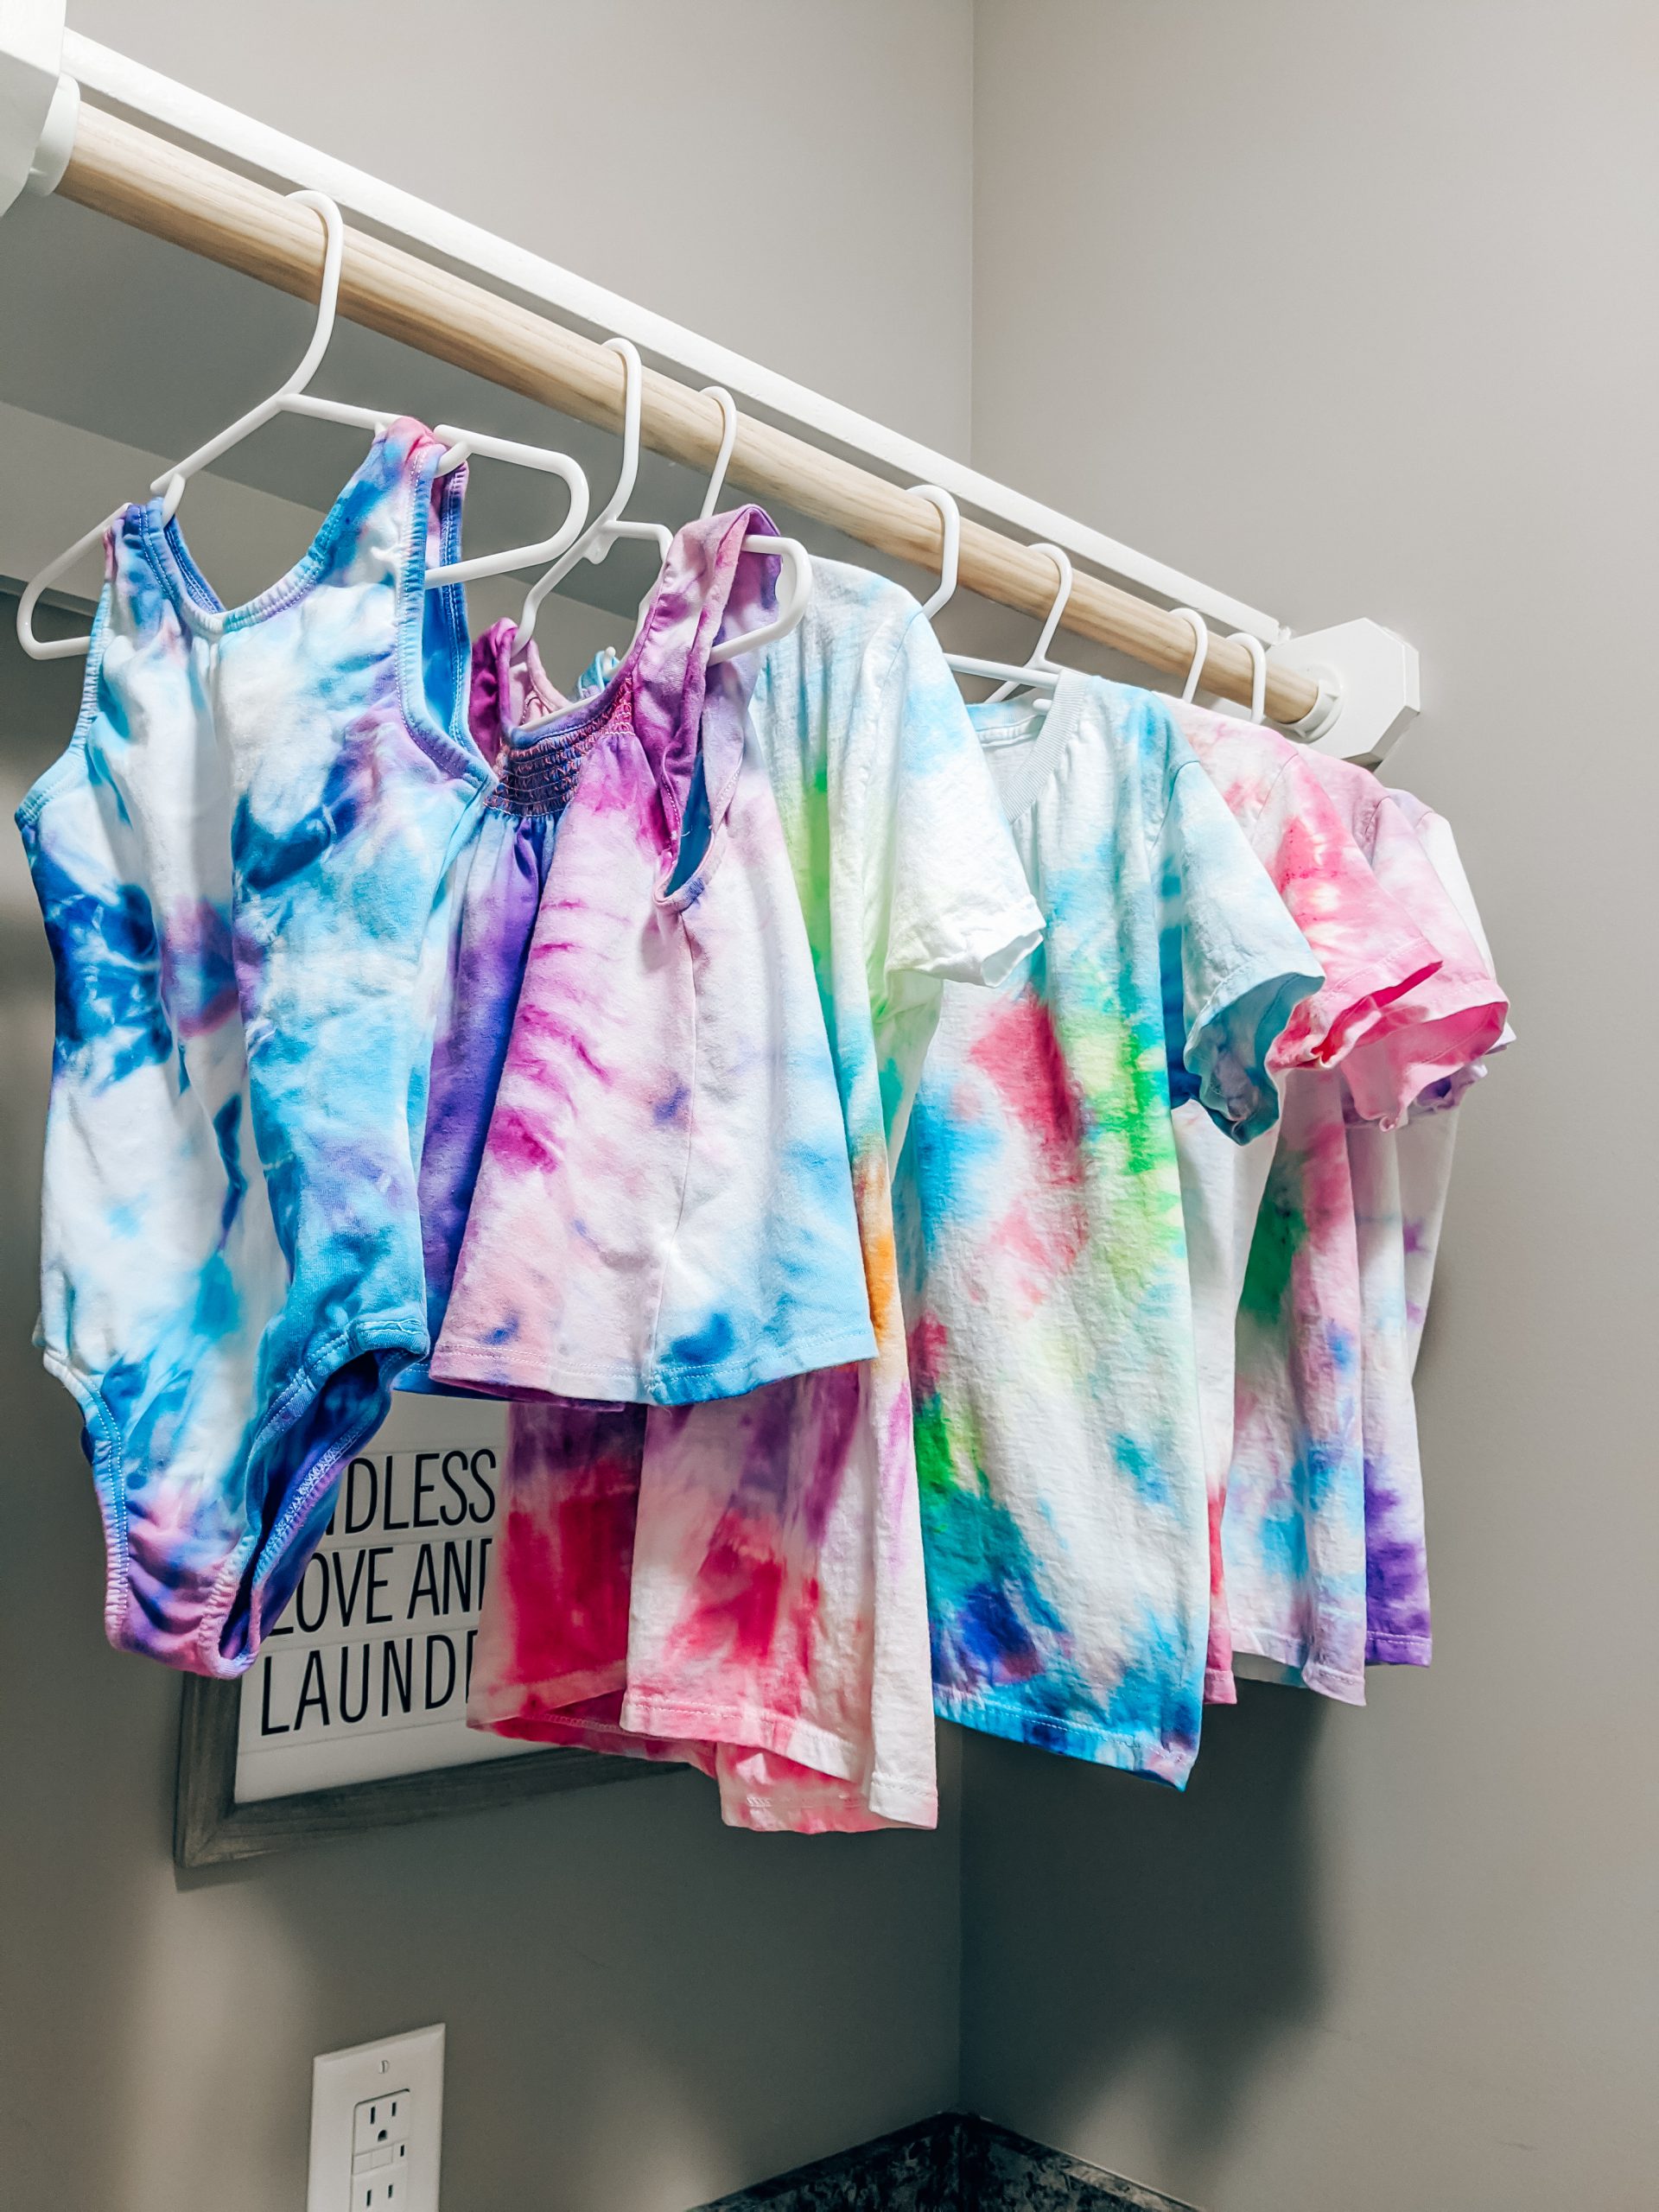
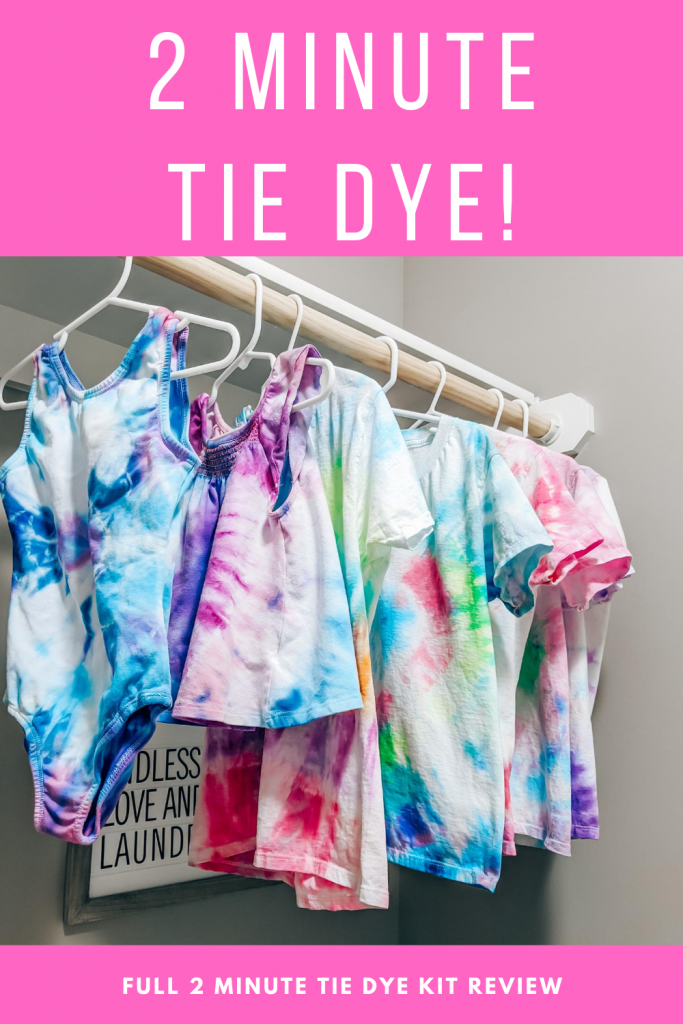
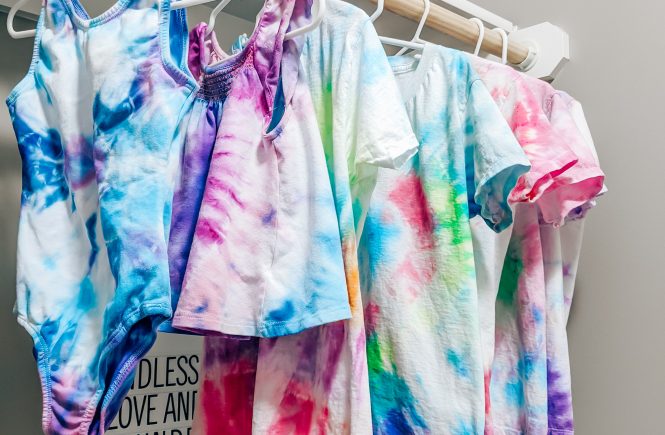
Here are all of our projects! We used these shirts and this leotard to dye. (If you want to make a tie dye leotard for an older dancer/gymnast, I’ve heard good things about dyeing this one in adult sizes.)
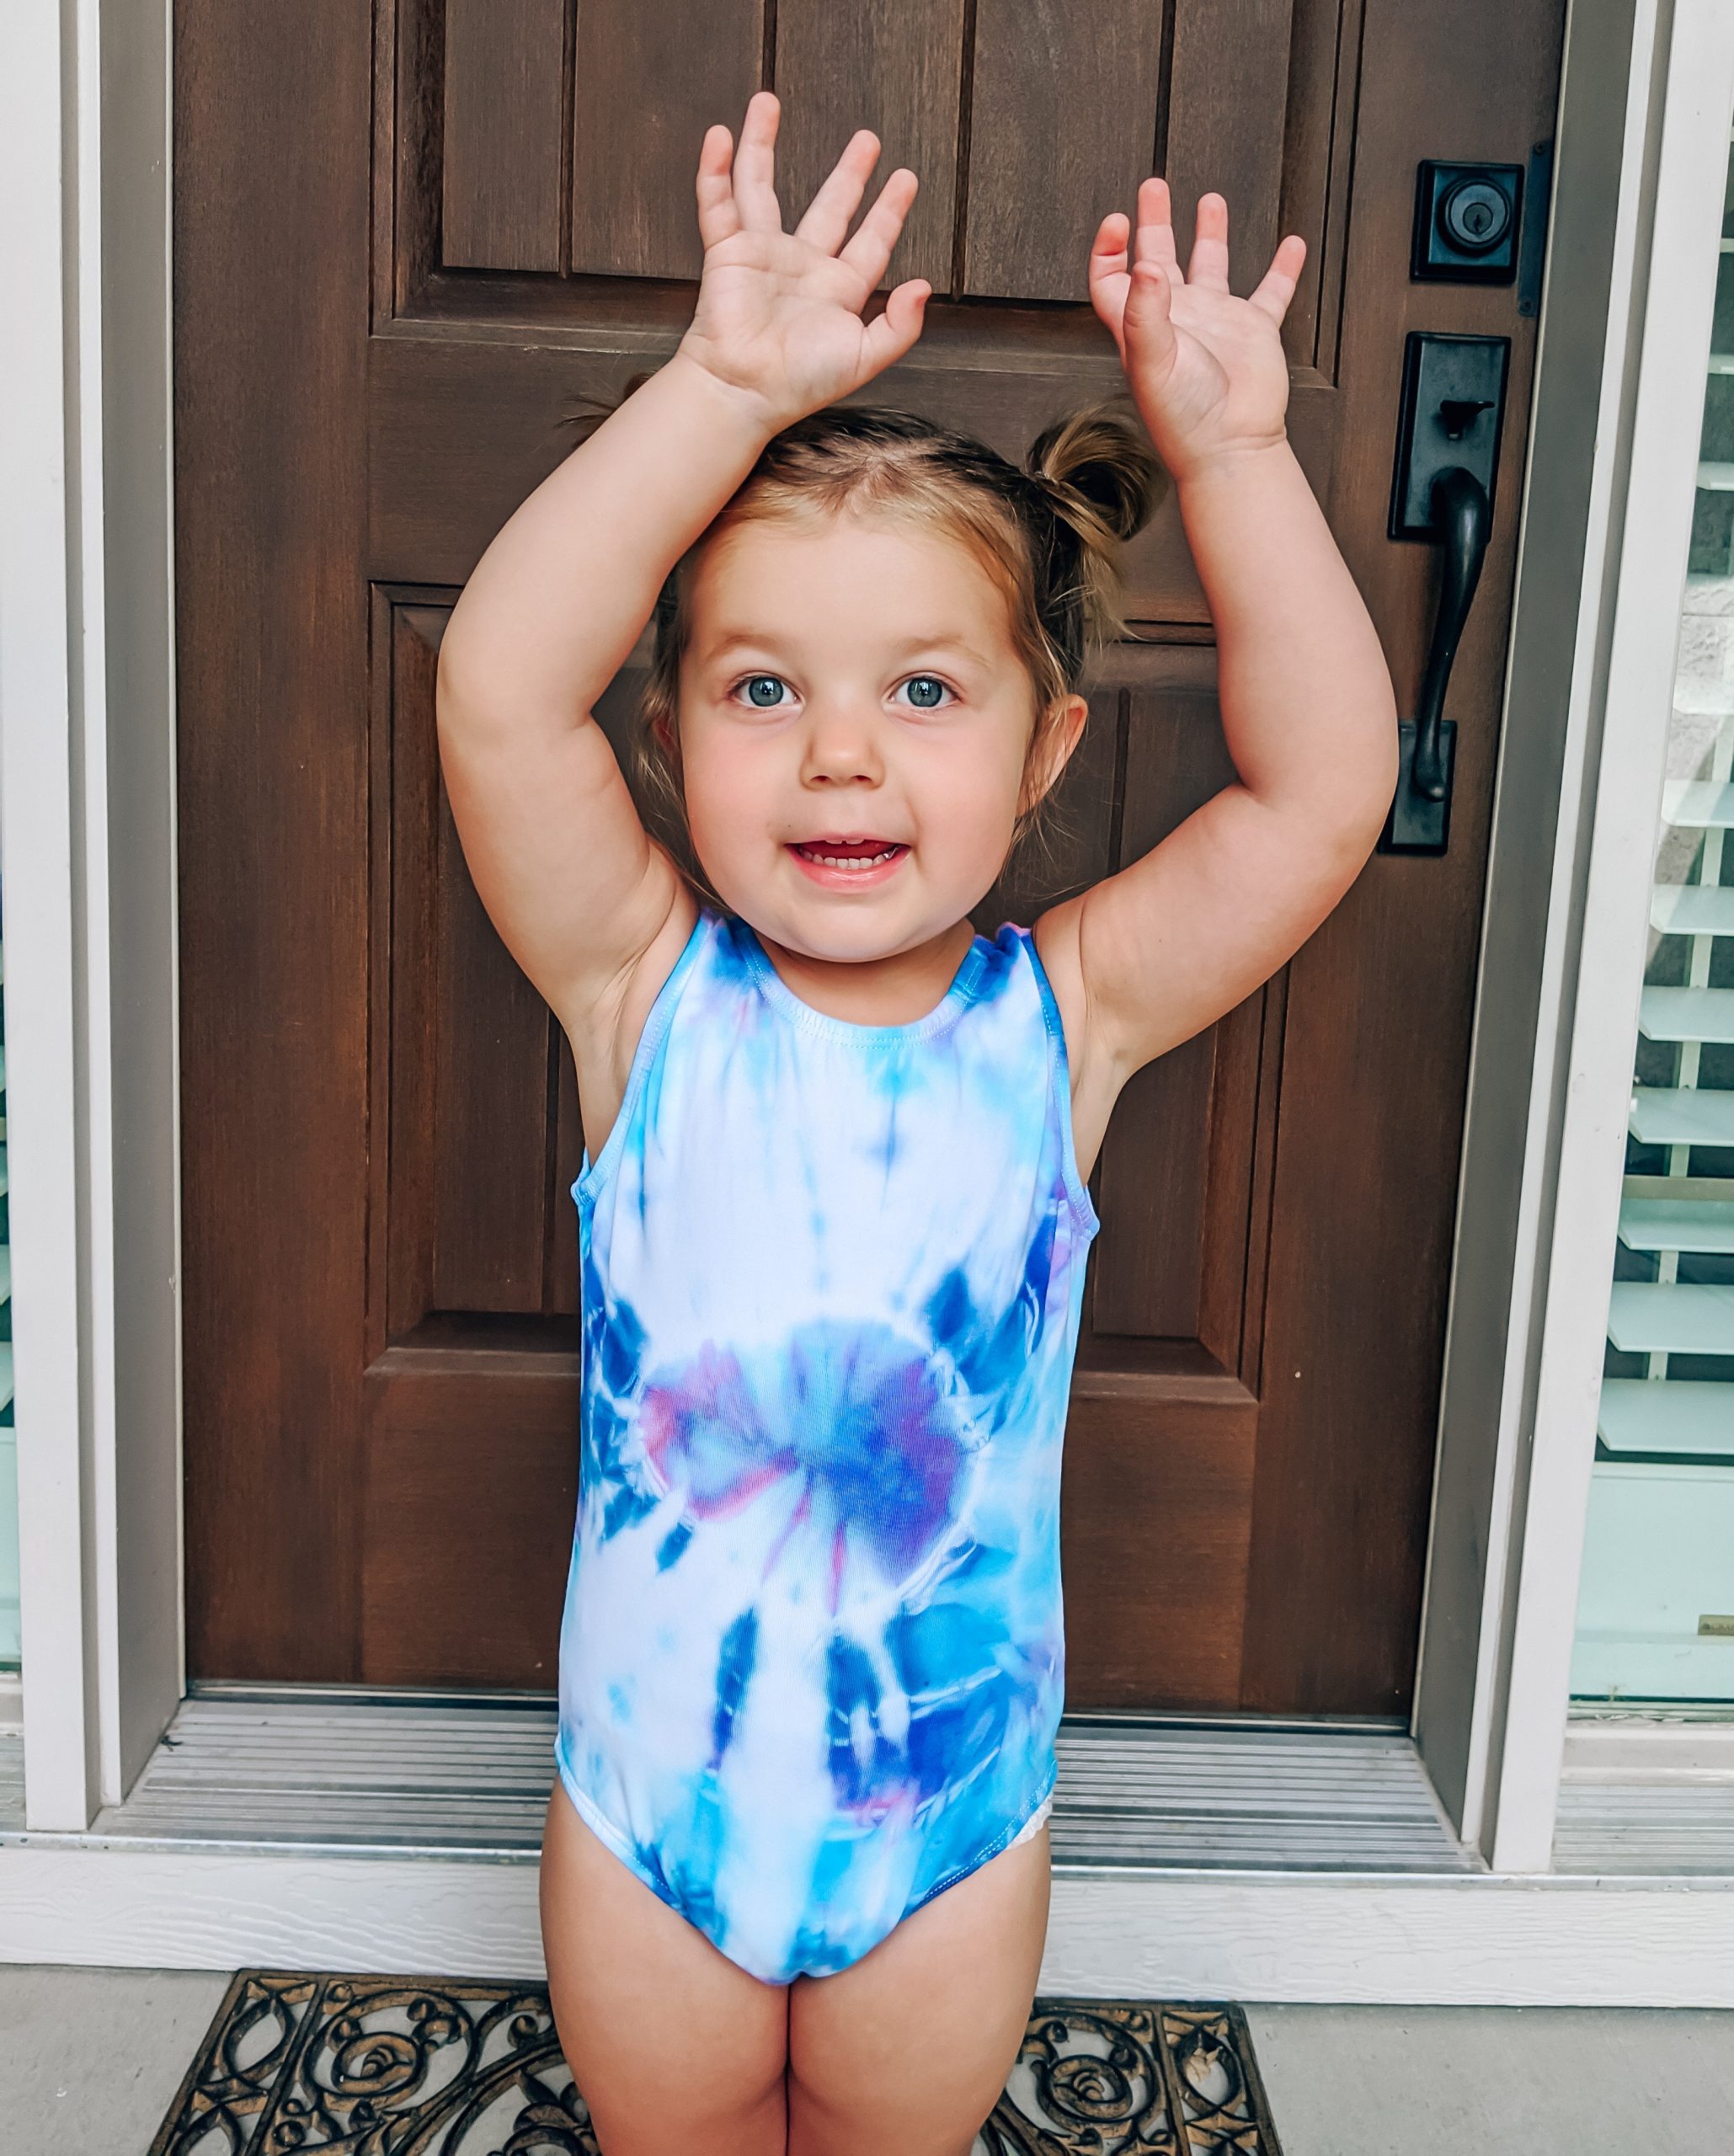
Blair was so excited to wear her own tie dye leotard to gymnastics!
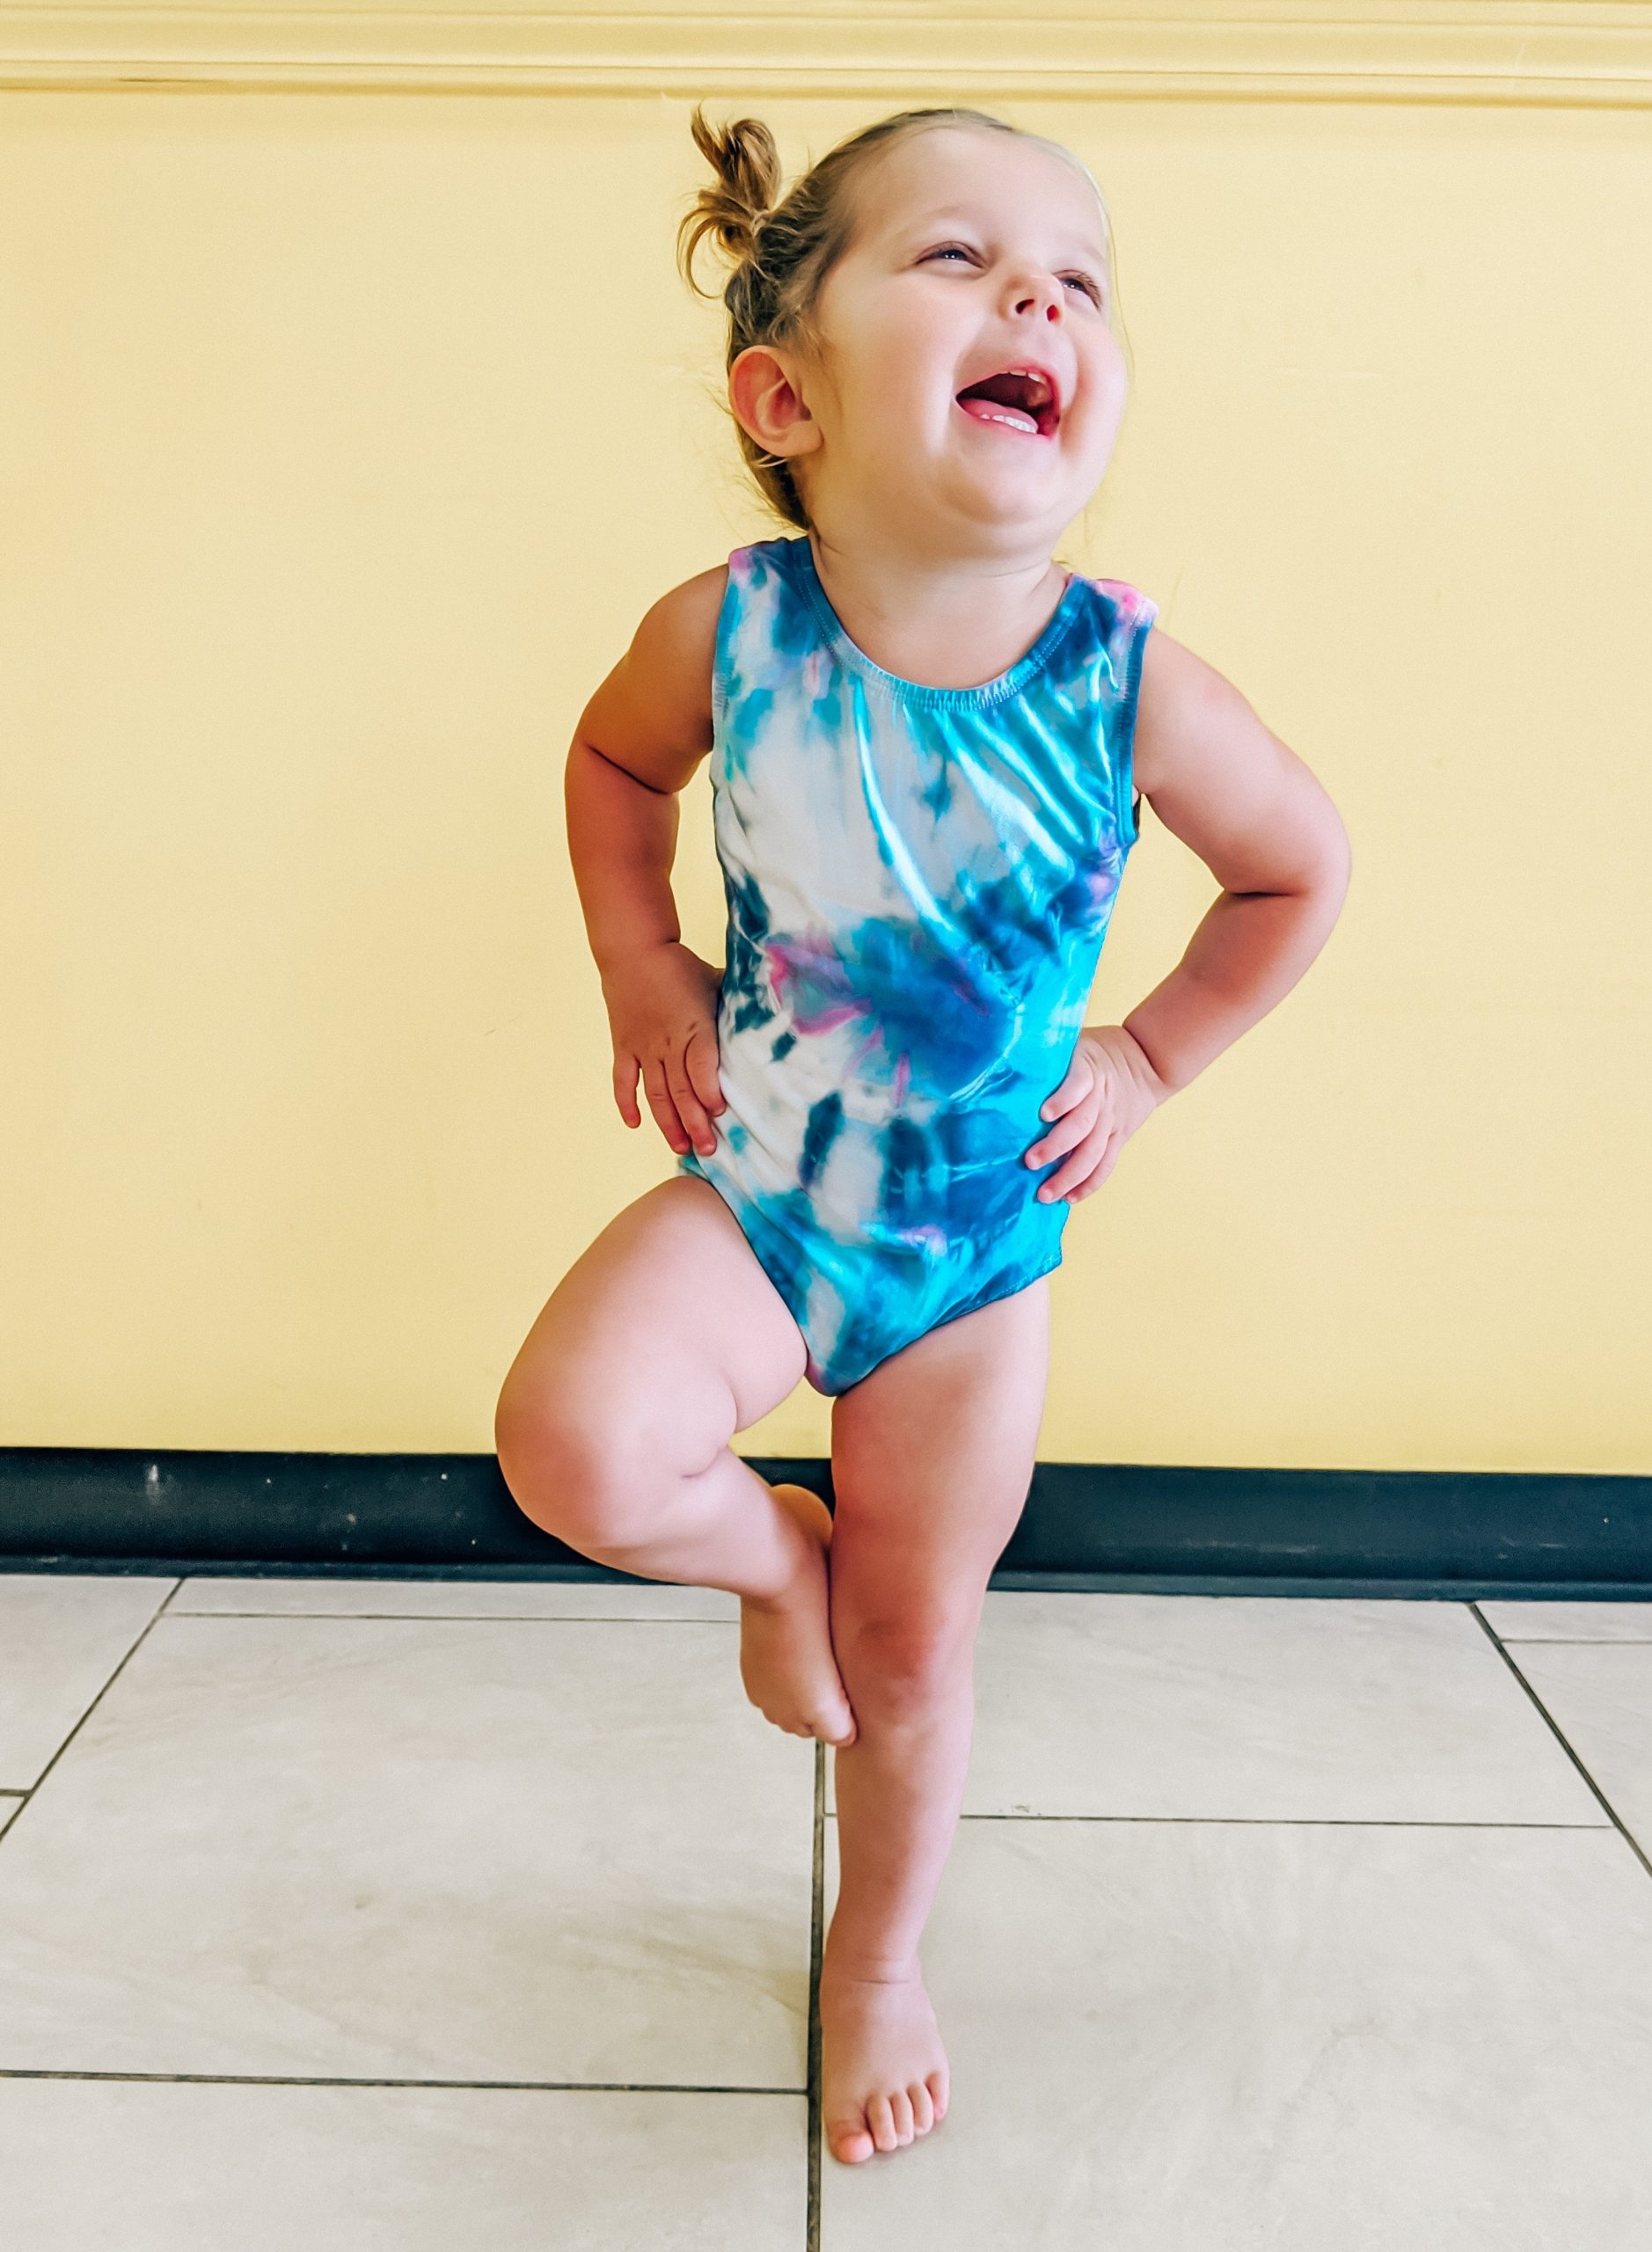
Overall, I’m really impressed with the 2 minute tie dye kit! The colors are quite vibrant, even after washing. Highly recommend!
I’ll link everything we used below! Feel free to comment below or message me if you have any specific questions, too.
One more thing, don’t forget you can check out my 2 minute tie dye reviews video on Instagram or TikTok if you want to see more of the process!
Shop 2 Minute Tie Dye Kit Reviews



2 Comments
Thanks for this post. These are all great tie dye options…I love all of them.
Glad you liked them, Amanda! Hopefully you’ll be able to put some to use soon!